This post may contain affiliate links. Please read our disclosure policy.
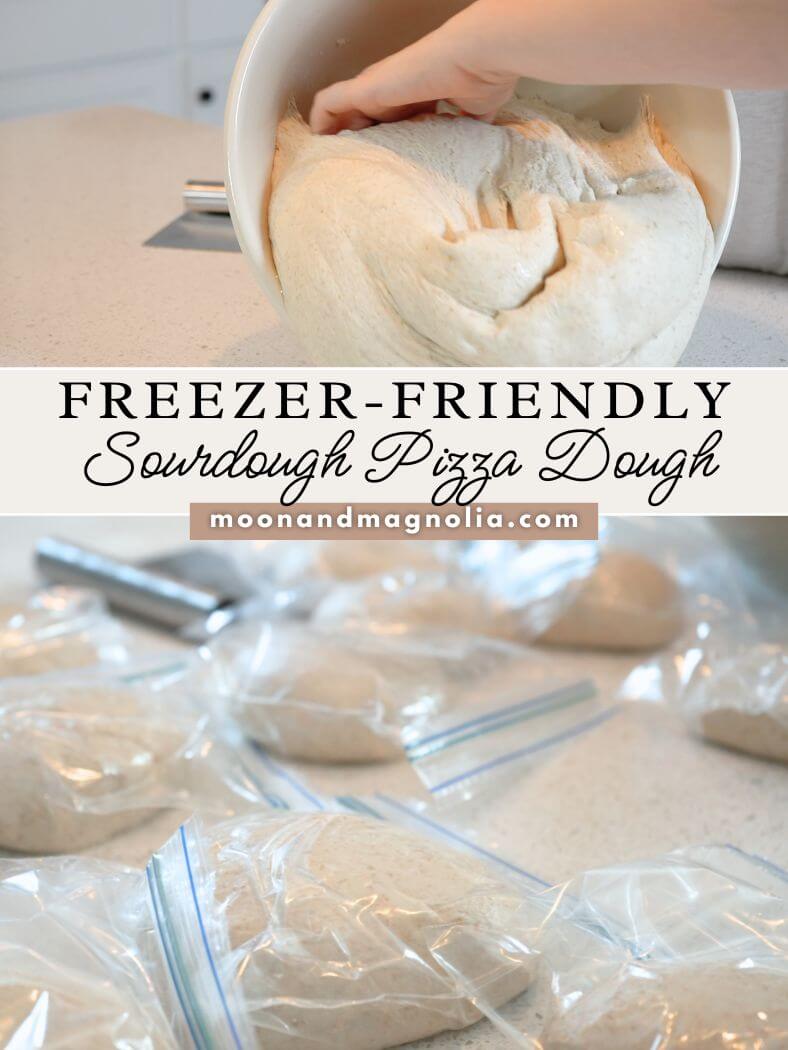
This freezer-friendly sourdough pizza dough makes pizza night cheap, easy, and nutritious. You can freeze up to a year’s worth, so you don’t have to worry about making dough every time you crave pizza.
If I had to choose one food for the rest of my life, it might be pizza. Right now, I’m stuck on my fall harvest pizza recipe. And for an “I have no time, and nothing is thaw dinner,” I lean on no-wait fresh-milled pizza or a quick sourdough tortilla pizza.
But really, from plain cheese to meat lovers, I love just about every pizza.
When I was a kid, there was a pizza place across the street from my dance studio. After ballet class, we would walk over and grab “the special.” It was two slices of pizza and a drink for $3.00.
The days of a $3.00 meal are long gone. The last time we ordered pizza, I was shocked at how much it cost.
So, I’ve sworn off pizza delivery and stocked up our freezer with a year’s worth of sourdough pizza dough. (Also, while you are at it, you can freeze sourdough bread, too).
Making homemade sourdough pizza dough solves a few problems. It saves a ton of money because it costs practically pennies to make. And you can add healthier ingredients than most restaurants offer.
Now, you don’t have to go buck wild like I did and make an entire year’s worth. But because sourdough pizza dough freezes like a dream, I encourage you to make extra and stash it in the freezer.
That way, when time or money is tight, you have healthy food on hand.
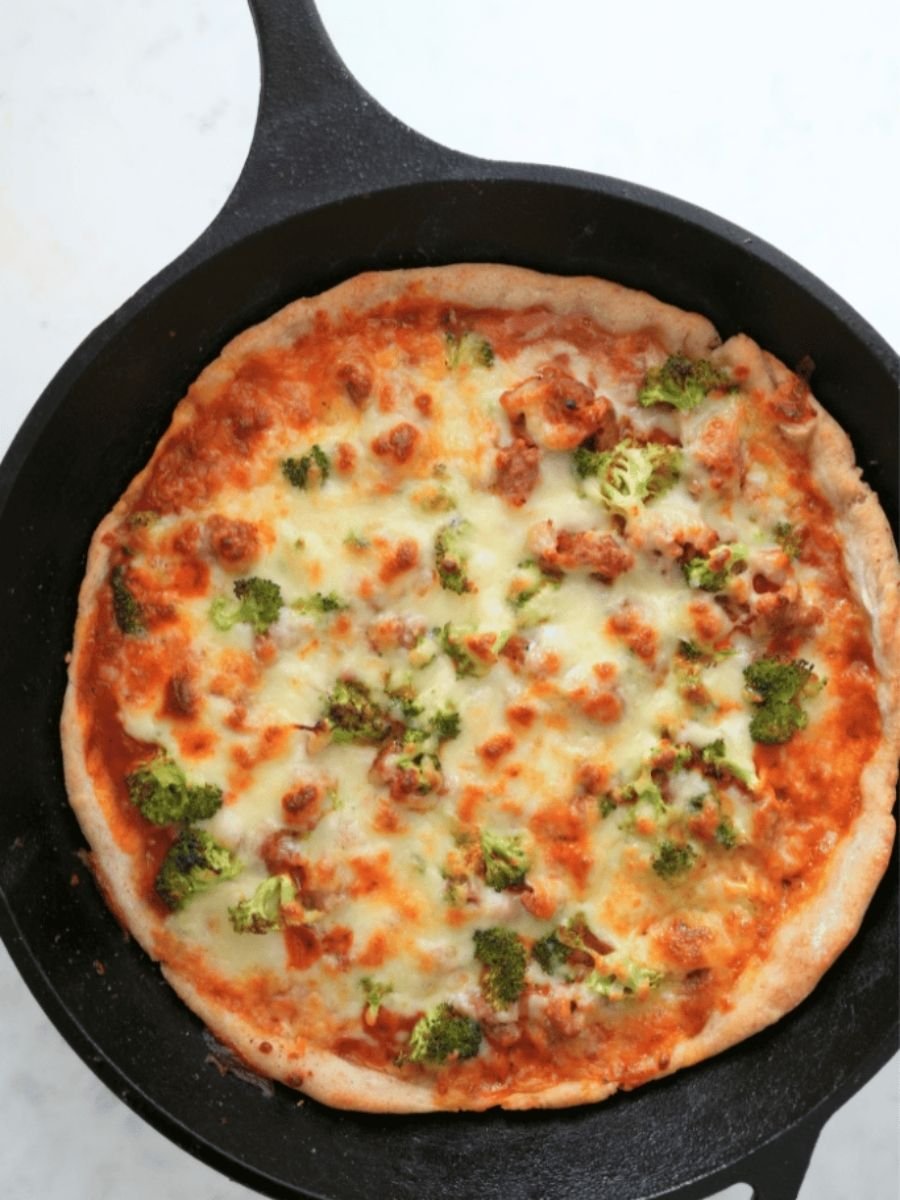
All you have to do is thaw it, add pizza sauce and your favorite toppings, bake, and enjoy your delicious pizza.
Family pizza nights just got cheap, easy, and nutritious-and I’m here for it!
Ps. For more freezer-friendly hacks, check out freezing sourdough bread dough and freezing baked sourdough bread.
Why You’ll Love This Recipe
Cheaper: Pizza delivery and takeout are expensive. But making homemade sourdough pizza dough is a quick and easy way to save money.
Healthier: When making homemade pizza dough, you can add nutritious ingredients like whole wheat flour or fresh-milled flour.
Convenient: You can make pizza anytime with a batch of pizza dough in the freezer. Just make sure you thaw it 10-12 hours ahead of pizza night.
Easy Clean Up: You only dirty the kitchen and dishes once by batch-prepping freezer-friendly sourdough pizza dough.
Kid-Friendly: Kids love making pizza dough and assembling their own pizzas. Check out my mama and toddler meals video on YouTube to see how we made fun and healthy pizza spirals.
Versatile: With homemade dough, you can get as creative as you want when making a pizza. I love scratch-made toppings like homemade bacon, lacto-fermented peppers, and fermented onions.
Video – A Year’s Worth of Sourdough Pizza Dough
Follow along as I make a year’s worth of sourdough pizza dough. The measurements in this video are a little different. But my finalized measurements are in the printable recipe card below.
Also, don’t forget to subscribe to my YouTube channel to stay in the loop. New videos come out weekly.

Ingredients

Flour: I use a blend of all-purpose and whole wheat flour. You can also use 00 pizza flour. If you are converting to fresh-milled flour, use hard white wheat. (If you are new to fresh-milled flour, check out my beginner's guide to fresh-milled flour).
Sourdough Starter: Active or inactive starter will work. However, inactive starter will take longer to ferment. If you don’t have one yet, check out my beginner’s guide to making a starter.
Olive Oil: Olive oil adds flavor and creates a more elastic dough and a crispy crust. Avocado oil will also work.
Get the full list of ingredients and measurements on the printable recipe card below.
Tools You Will Need
Stand Mixer: I use a KitchenAid 7-qt bowl lift stand mixer for kneading dough, and I love it!
Kitchen Scale: Using a kitchen scale is more precise and repeatable. Also, it results in fewer dirty dishes (which is always welcome if you ask me).
Large Bowl: Use a large bowl for bulk fermenting the pizza dough. I love my 12″ Dominion bowl from Ohio Stoneware for big batches of dough.
Ziplock Bags: I use sandwich bags and freezer-safe bags for portioning and freezing my sourdough pizza dough.
Step-by-Step Instructions

Step 1: In the bowl of a stand mixer, combine all of the ingredients. Mix on low speed with a dough hook until combined.
Scrape the sides of the bowl if necessary.

Step 2: Bump up the speed to medium and knead the dough until it is smooth and elastic and passes the windowpane test.
(If the dough is too sticky, add one tablespoon of flour at a time until you can handle it without it sticking to your hands).

Step 3: Place the dough in an oiled bowl and bulk ferment for 8 hours or until it is doubled and domed on top.
Cover with a damp towel.

Step 4: When it has doubled, turn the dough out onto a clean counter or work surface.

Step 5: Use a bench scraper to divide it into 4 equal portions.

Step 6: Shape each portion into a ball by turning it clockwise while simultaneously pulling it toward yourself on the countertop.
Lightly flour the tops of the dough balls (this will help prevent them from sticking to the bag in the next step).

Step 7: Use a bench scraper to lift the shaped dough off of the counter and into your hand.
Transfer each dough ball into a small resealable plastic bag. Remove as much air as possible from the bag before sealing. (I recommend only one dough ball per bag).

Step 8: Label and date a large freezer-safe ziplock bag.
Place all of the individual bags of dough in the freezer-safe bag. Again, remove as much air as possible before sealing the bag.
Put the bag in the freezer and use the dough at your convenience.
How To Thaw
10-12 hours before making pizza, remove the dough from the freezer and place it in the fridge to thaw.
Once it has completely thawed, use it for your favorite pizza recipe.
How To Bake
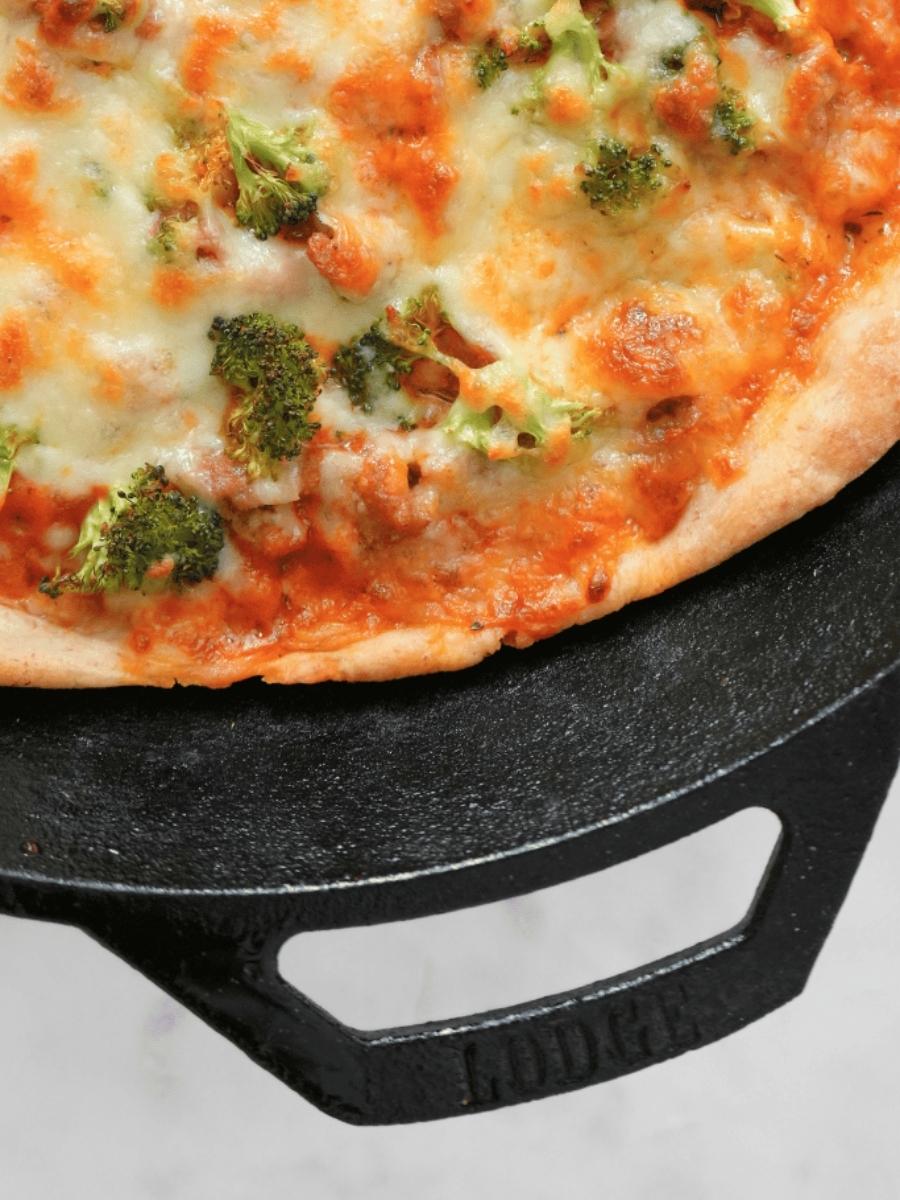
- Preheat a stone baking sheet or cast iron skillet in the oven at 500° F.
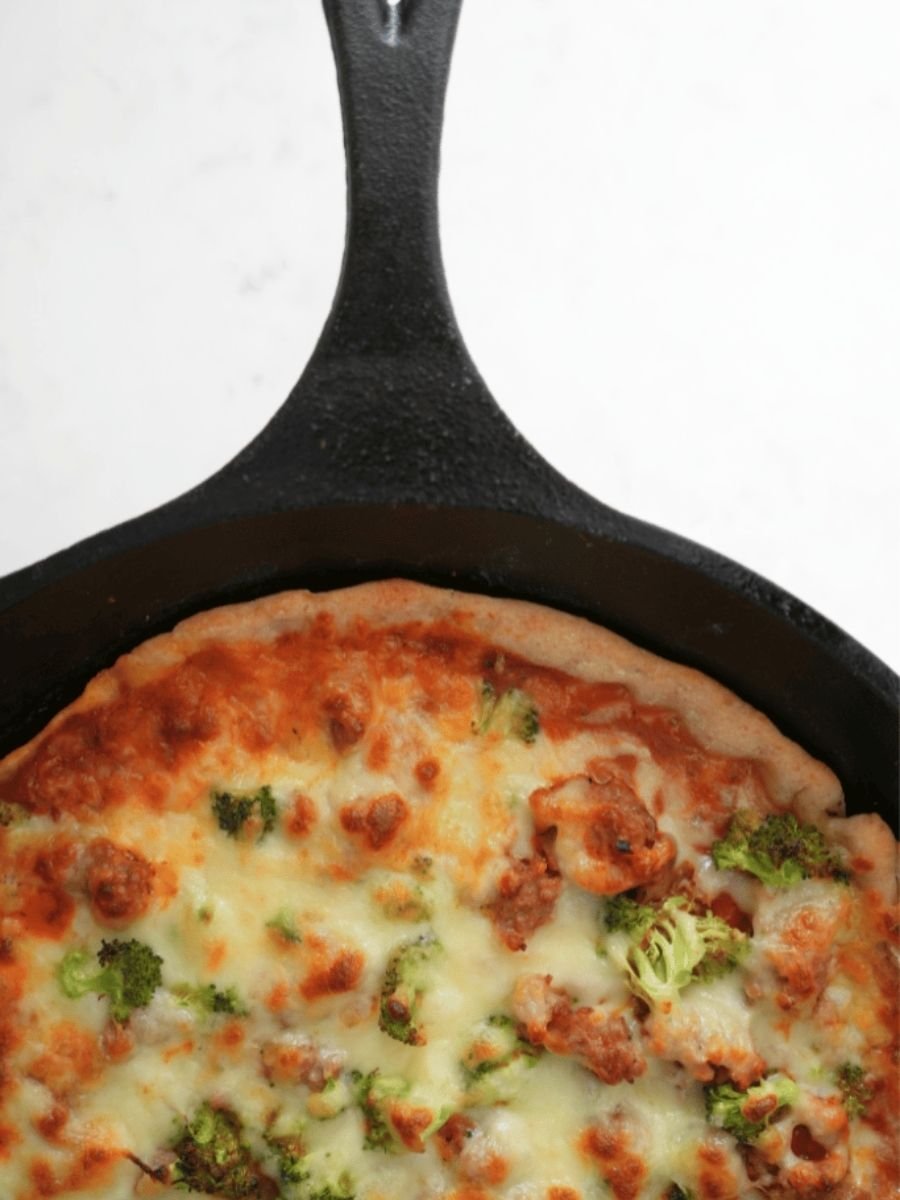
- Shape the dough on a floured countertop. I usually shape mine into a rustic, flatbread-like shape. You can make the crust as thick or as thin as you like.
- When the oven is preheated and the baking stone or skillet is hot, remove it from the oven.
- Transfer the dough to the baking stone or skillet.
- Top the dough with your favorite sauce, cheese, and toppings.
- Bake for 10-15 minutes or until the cheese is bubbly and the crust is golden.
Note: For the best results, I recommend making your pizza in your home oven using a preheated pizza stone or cast iron skillet. Or bake it in an outdoor pizza oven if you have one.
Tips for Success
- If you are doubling or tripling this recipe, write down the adjusted measurements. It’s too easy to forget and mismeasure something (ask me how I know).
- Depending on how much dough you are making and the type of mixer you have, you may need to make this dough in batches.!
- To divide the dough evenly, weigh it first, then split it based on the total. (For example, 1,000 grams makes four 250-gram pieces.) But honestly, I usually just eyeball it.
- Making a few little portions for kids is fun. My three-year-old daughter loves making her own little pizza.
Using a Stand Mixer for Large Batches of Dough
A stand mixer makes kneading much easier. However, not all stand mixers can handle large batches of dough.
Before you batch prep pizza dough, check the recommendations and guidelines for your stand mixer.
Some mixers can only handle one batch at a time, while others can handle up to four batches.
I’ve made up to a triple batch of this recipe in my Kitchen Aid Professional. However, it handles a double batch better, and it’s better for the longevity of the mixer to do smaller batches.
Of all my kitchen tools for scratch cooking, the stand mixer is one of the most used. So I’d rather spend a little more time making batches of dough than overwork my mixer.

FAQs
You need as much pizza dough as you prefer or want to make. I like to make a year’s worth of this sourdough pizza crust recipe because it is one and done. But it’s really up to you.
Technically, frozen food can last indefinitely. But most foods are best consumed within a year. In fact, you can even freeze sourdough starter for up to a year!
The trick is to pack it well. Remove as much air as possible from the bags, and make sure the outermost bag or container is freezer-safe.
Also, food stored in a deep freezer lasts longer because it does not go through defrost and refreeze cycles.
If you use a fresh, mature, and active starter, your dough will ferment faster. Inactive starter will work, but the fermentation process will be significantly slower.
Additionally, the warmer the temperature, the faster your dough will ferment. I’ve found that anything below 73° F slows it down. So, if I can’t find a warm spot, I use a proofing box.
The most likely reason is that it was slightly defrosted and refrozen. This can happen if you use a regular kitchen freezer instead of a deep freezer, or if you experience a power outage, for example.
This has happened to me a few times. Although it slightly changed the consistency of the dough, it was still totally edible and delicious.
If your pizza dough is hard after baking, there are several possible causes. The dough could have been overworked, there could have been too much flour, or it could have been baked too long.
More Posts You’ll Love
Let's Connect
If you made freezer-friendly sourdough pizza dough, leave a comment or review. I'd love to hear how it turned out!
Be sure to pin this recipe and follow Moon + Magnolia on Pinterest for more scratch-made favorites.
And if you share your pizza on Instagram, tag @moon_and_magnolia so I can see and celebrate your baking!


Freezer-Friendly Sourdough Pizza Dough
Ingredients
- 100 g sourdough starter, active and bubbly
- 500 g all-purpose flour
- 100 g whole wheat flour
- 350 g water
- 10 g salt
- 30 g olive oil
Instructions
Make the Dough
- In the bowl of a stand mixer, combine all of the ingredients.100 g (1/2 cups) sourdough starter, active and bubbly, 500 g (4 cups) all-purpose flour, 100 g (3/4 cup) whole wheat flour, 350 g (1 1/2 cups) water, 10 g (1 1/2 tsp) salt, 30 g (2 tbsp) olive oil
- Mix on low speed with a dough hook until combined. Scrape the sides of the bowl if necessary.
- Bump up the speed to medium and knead the dough until it is smooth and elastic and passes . (If the dough is too sticky, add one tablespoon of flour at a time until you can handle it without it sticking to your hands).
- Place the dough in an oiled bowl and bulk ferment for 8 hours or until it is doubled and domed on top.
- When it has doubled, turn the dough out onto a clean counter on work surface.
- Use a bench scraper to divide it into 4 equal portions.
- Shape each portion into a ball by turning it clockwise while simultaneously pulling it toward yourself on the countertop.
- Lightly flour the tops of the dough balls (this will help prevent them from sticking to the bag in the next step).
Bag and Freeze
- Use a bench scraper to lift the dough off of the counter and into your hand.
- Transfer each dough ball into a small resealable plastic bag. Remove as much air as possible from the bag before sealing. (I recommend only one dough ball per bag).
- Label and date a large freezer-safe ziplock bag.
- Place all of the individual bags of dough in the freezer-safe bag. Again, remove as much air as possible before sealing the bag.
- Put the bag in the freezer and use it at your convenience!
To Thaw
- 10-12 hours before making pizza, remove the dough from the freezer and place it in the fridge to thaw.
- Once it has thawed, use it for your favorite pizza recipe.
To Bake
- Preheat a stone baking sheet or cast iron skillet in the oven at 500° F.
- Shape the dough on a floured countertop. I usually shape mine into a rustic, flatbread-like shape. You can make the crust as thick or as thin as you like.
- When the oven is preheated, and the baking stone or skillet is hot, remove it from the oven.
- Transfer the dough to the baking stone or skillet.
- Top the dough with your favorite sauce, cheese, and toppings.
- Bake for 10-15 minutes or until the cheese is bubbly and the crust is golden.
Video
Notes
- Depending on how much dough you are making and the type of mixer you have, you may need to make this dough in batches. Check the manufacturer’s instructions for recommendations.
- Various factors determine the hydration of your dough, including your starter, the type of flour, and environmental conditions. If your dough is sticky, add one tablespoon of flour at a time while kneading until it no longer sticks to your hands.
- If possible, I recommend freezing your pizza dough in a deep freezer. Regular kitchen freezers have a defrost cycle that can slightly thaw and then refreeze the dough. This can lead to ice crystals forming on the dough.
Nutrition
Nutrition information is auto-calculated and may not reflect your final product. Please verify independently if needed.


Will Einkorn flour work in this recipe?
Hey there!
Yup! You can definitely use einkorn. But since it has a different gluten structure, you may have to use less water and anticipate a less “stretchy” dough.
Hope that helps!
-Rebecca
Love this! Although I went to thaw some last night and realized we ate all that was in the freezer. Can I bake this pizza dough directly after the bulk ferment or is the freezer part a requirement?
Hey there!
You can definitely bake it after the bulk ferment. 🙂 So glad you are enjoying it!
-Rebecca
What do you set your temperature on if using a proofing box and for how many hours?
Hey there!
I usually set it anywhere between 72 and 81 depending on how much of a hurry I’m in. 😊
-Rebecca
If I don’t have whole wheat flour, can I use all AP flour?
Definitely! That will work just fine.
-Rebecca
Hi! I put dough in refrigerator to bulk ferment, but our plans changed and I now need to freeze it. It’s in the proofer now (cold from refrig). Question is if I’m going to freeze, should I let it rise as much as I would if I wasn’t going to freeze? Thank you!
Hey there!
Yes, any time you freeze dough, I recommend letting it finish the bulk ferment.
-Rebecca
I just made this dough – can I put it in the fridge overnight and slow ferment tomorrow?
Definitely, you can slow down the process at any point by putting the dough in the fridge. I often pop it in the fridge, then pull it out the next day. It will still slowly ferment while in the fridge, but it will finish up once you take it out. 🙂
-Rebecca
I have made many batches of this dough and have loved every pizza. That being said, I decided to freeze some batches to have ready when needed. The finished product after 9 days in a kitchen freezer was just as good if not better than same day dough.
I’m so glad to hear this! Thank you for sharing!
-Rebecca
Can you make this recipe with discard?
Definitely, just keep in mind that dough made with unfed starter usually takes a little longer to ferment. Also, the longer it has been since you fed the starter, the more sour it will taste. But with that said, I use unfed starter/discard straight out of the fridge all of the time for my recipes.
Hope that helps!
-Rebecca
How much longer would you say it takes to ferment (past the 8 hours) when using discard? Thanks!
Hey there!
That depends on how long it’s been since you fed your starter, the temperature of the room, and the type of flour. So it’s a little hard to tell. For me, it usually tacks on an extra hour or two. 🙂
Hope that helps!
-Rebecca