This post may contain affiliate links. Please read our disclosure policy.
Can you freeze sourdough starter? Absolutely! Once you make a sourdough starter, freezing it is an easy way to preserve it for up to a year, so you can have a backup or take a baking hiatus. Only 5 minutes of hands-on time!
Recipe Overview: Freezing Sourdough Starter
- Ready In: 5 minutes (using freshly-fed starter)
- Makes: 1 jar’s worth of frozen starter or as much as you need
- Calories: 100 kcal (depending on the amount and type of flour used)
- Main Ingredients: Starter, flour, water
- Why You’ll Love It: Freezing sourdough starter is an easy, low-maintenance way to preserve it. Whether you need an emergency backup or want to take a baking break, freezing starter means you always have some on hand. And it can last up to a year without feeding!
SUMMARIZE & SAVE THIS RECIPE ON
Whether you have an all-purpose starter, a fresh-milled sourdough starter, or an einkorn sourdough starter, you can keep a backup in the freezer.
And you don’t even have to worry about freezing it for up to a year!
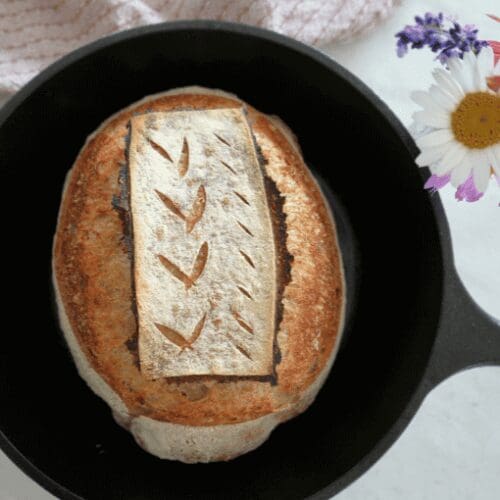
Then, when you are ready to get back to baking easy no-knead sourdough bread, sandwich sourdough bread, jalapeno cheddar sourdough bread, or your other favorite recipes, all you have to do is thaw the starter and feed it a few times!
Ps. I have other sourdough hacks in my How to Store Sourdough Dough in the Fridge and How to Freeze Sourdough Dough posts!
Jump to:
Why You’ll Love This Recipe
No Feeding: Frozen starter can be stored in a freezer bag for up to a year without feeding.
Easy: It takes about 5 minutes of hands-on time. And to revive it, you’ll just have to let it thaw and feed it for a few days.
Backup Starter: Moldy starter? Toss it and grab your frozen backup. Jar shattered? Frozen starter to the rescue!
Stash Excess Starter: Even though you can store sourdough starter in the fridge, if you end up with too much, keeping it in the freezer saves fridge space.
Discard Recipes: You can thaw frozen starter for discard recipes, such as sourdough discard banana bread, sourdough discard tortillas, or sourdough peanut butter blossoms.
Key Ingredients
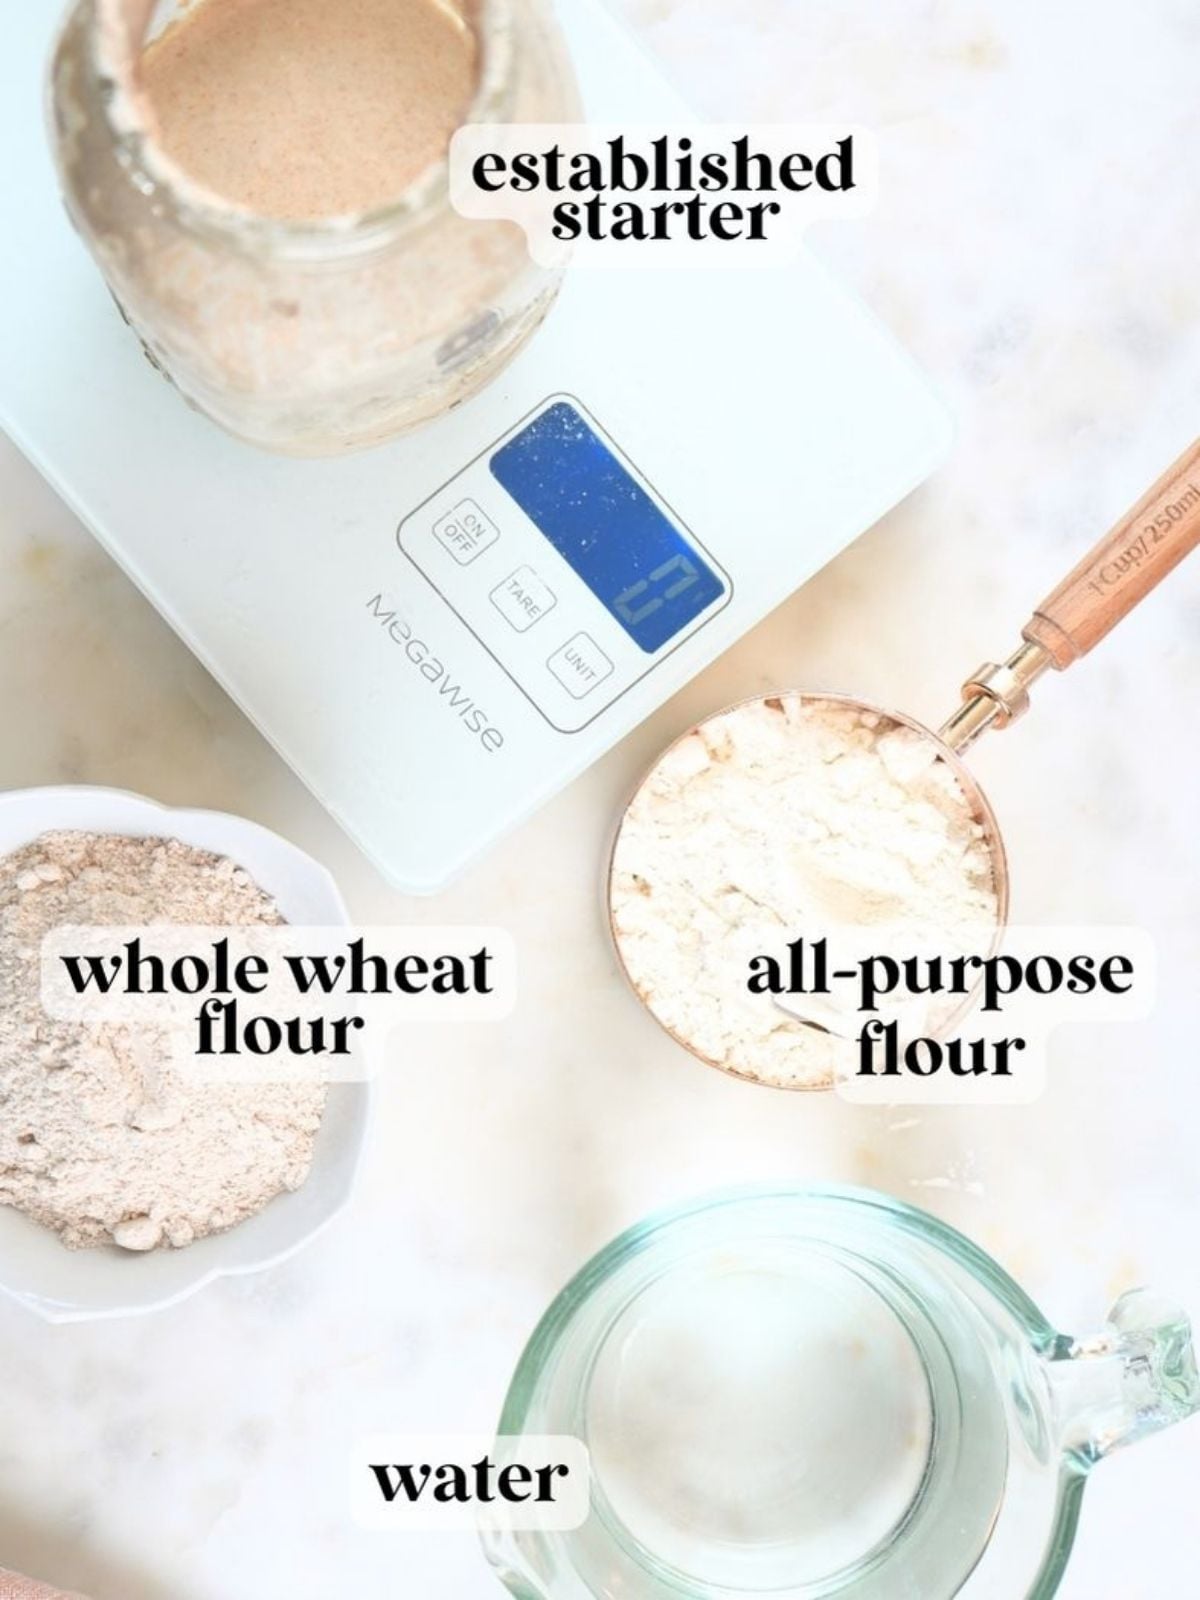
Starter: You will need an established sourdough starter. If you don’t have one, check out my sourdough starter beginner’s guide.
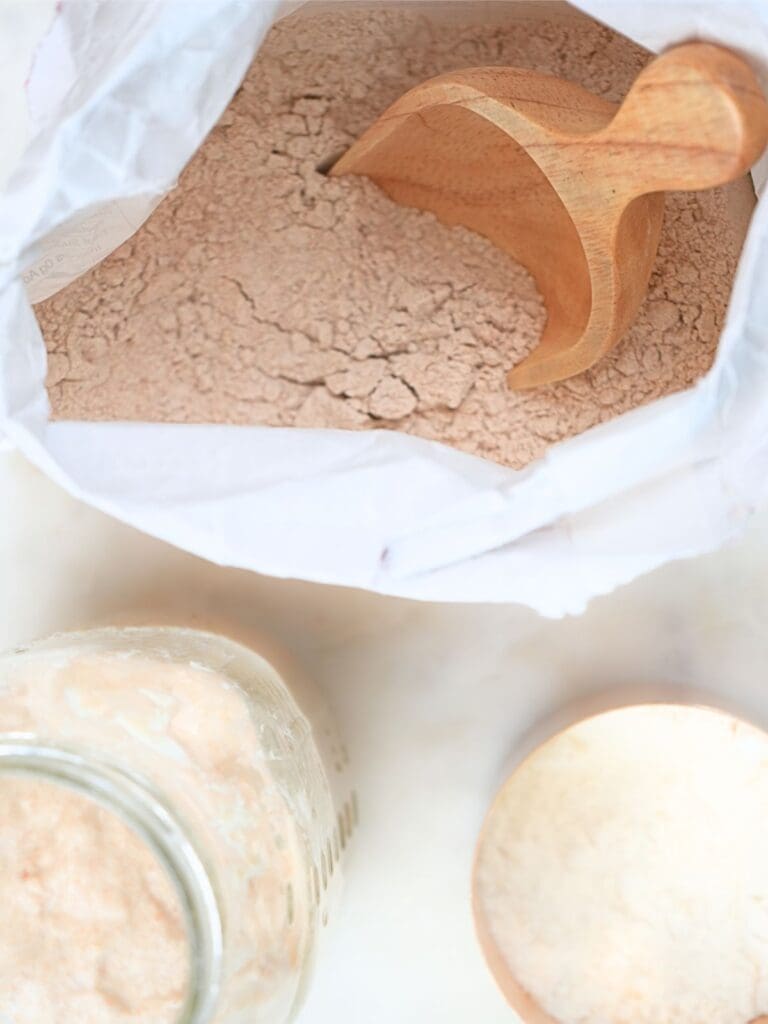
Flour: I recommend using a 50/50 mix of all-purpose flour and whole wheat (or rye) flour.
Water: With each feeding you will need to give your starter an equal portion of starter, flour, and water.
Get the full list of ingredients and measurements on the printable recipe card below.
Tools You Will Need
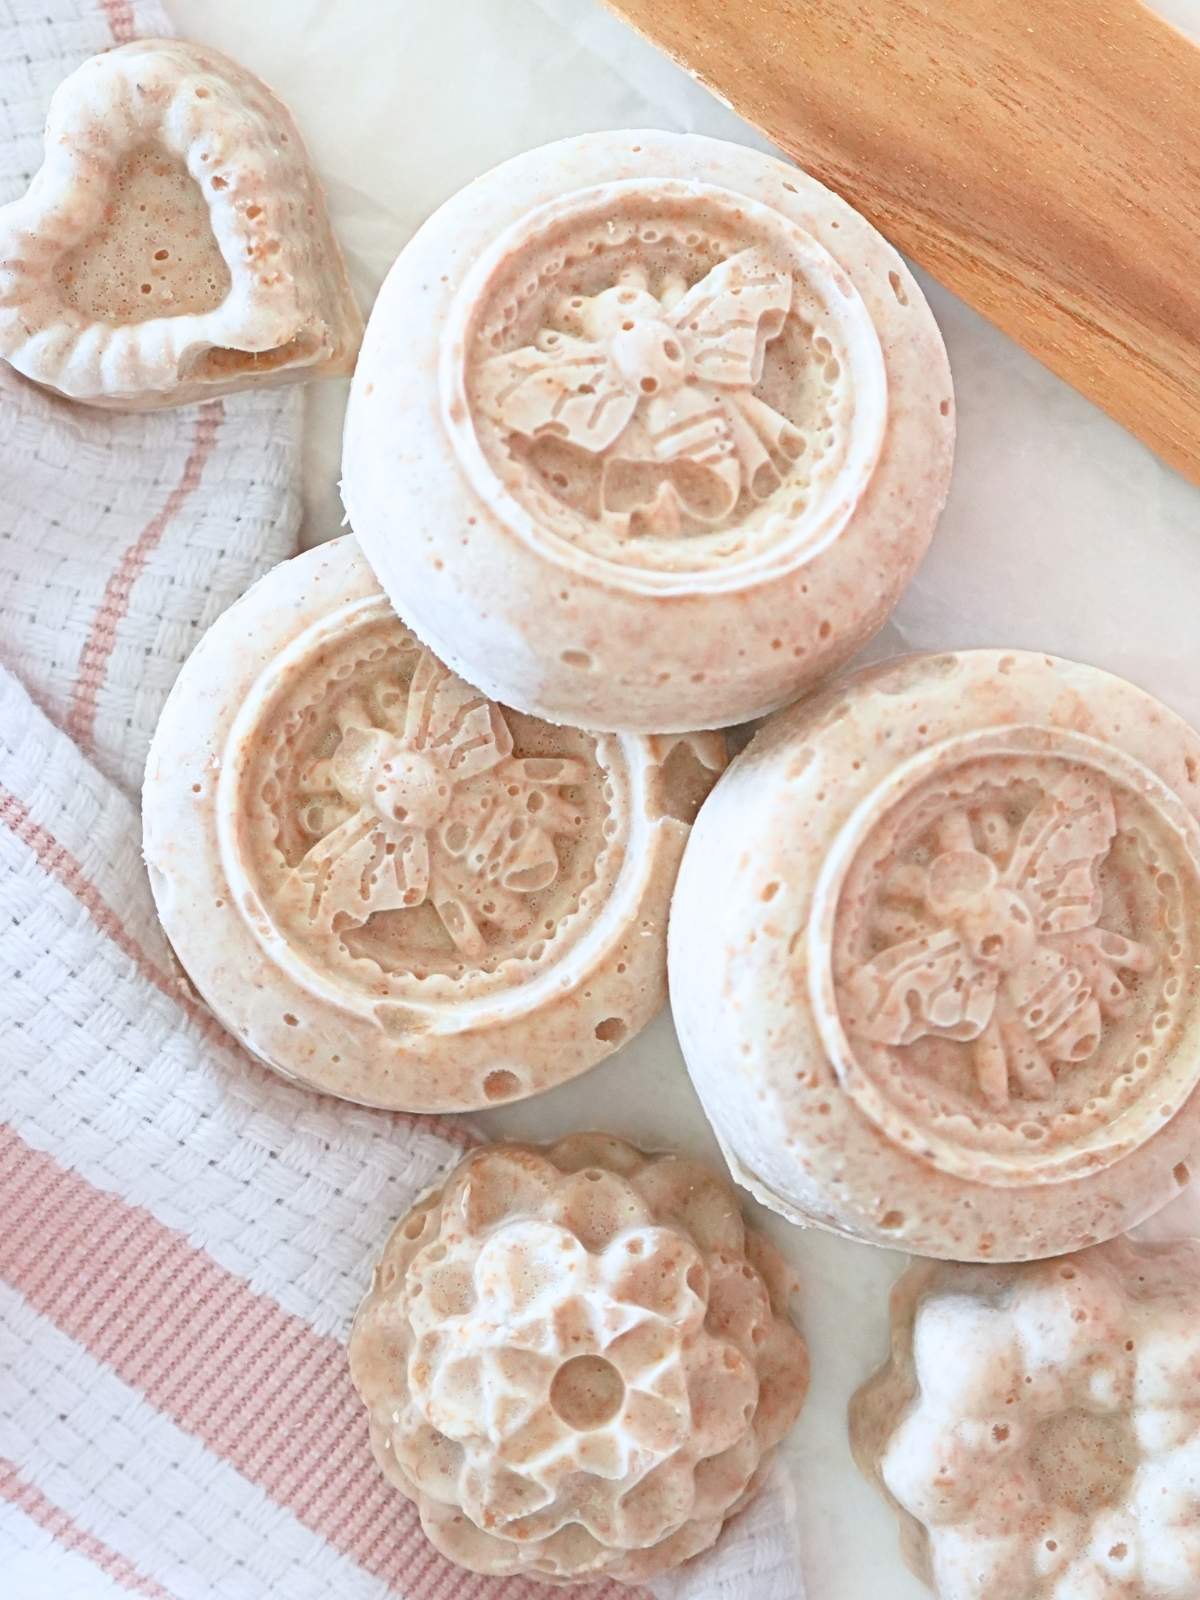
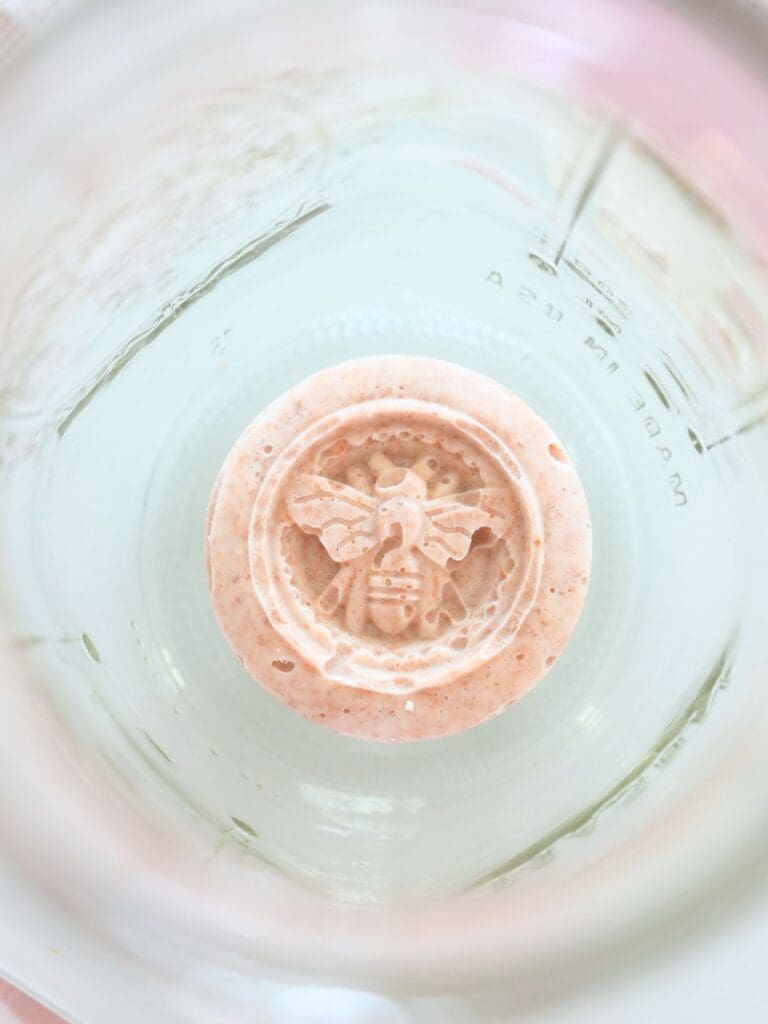
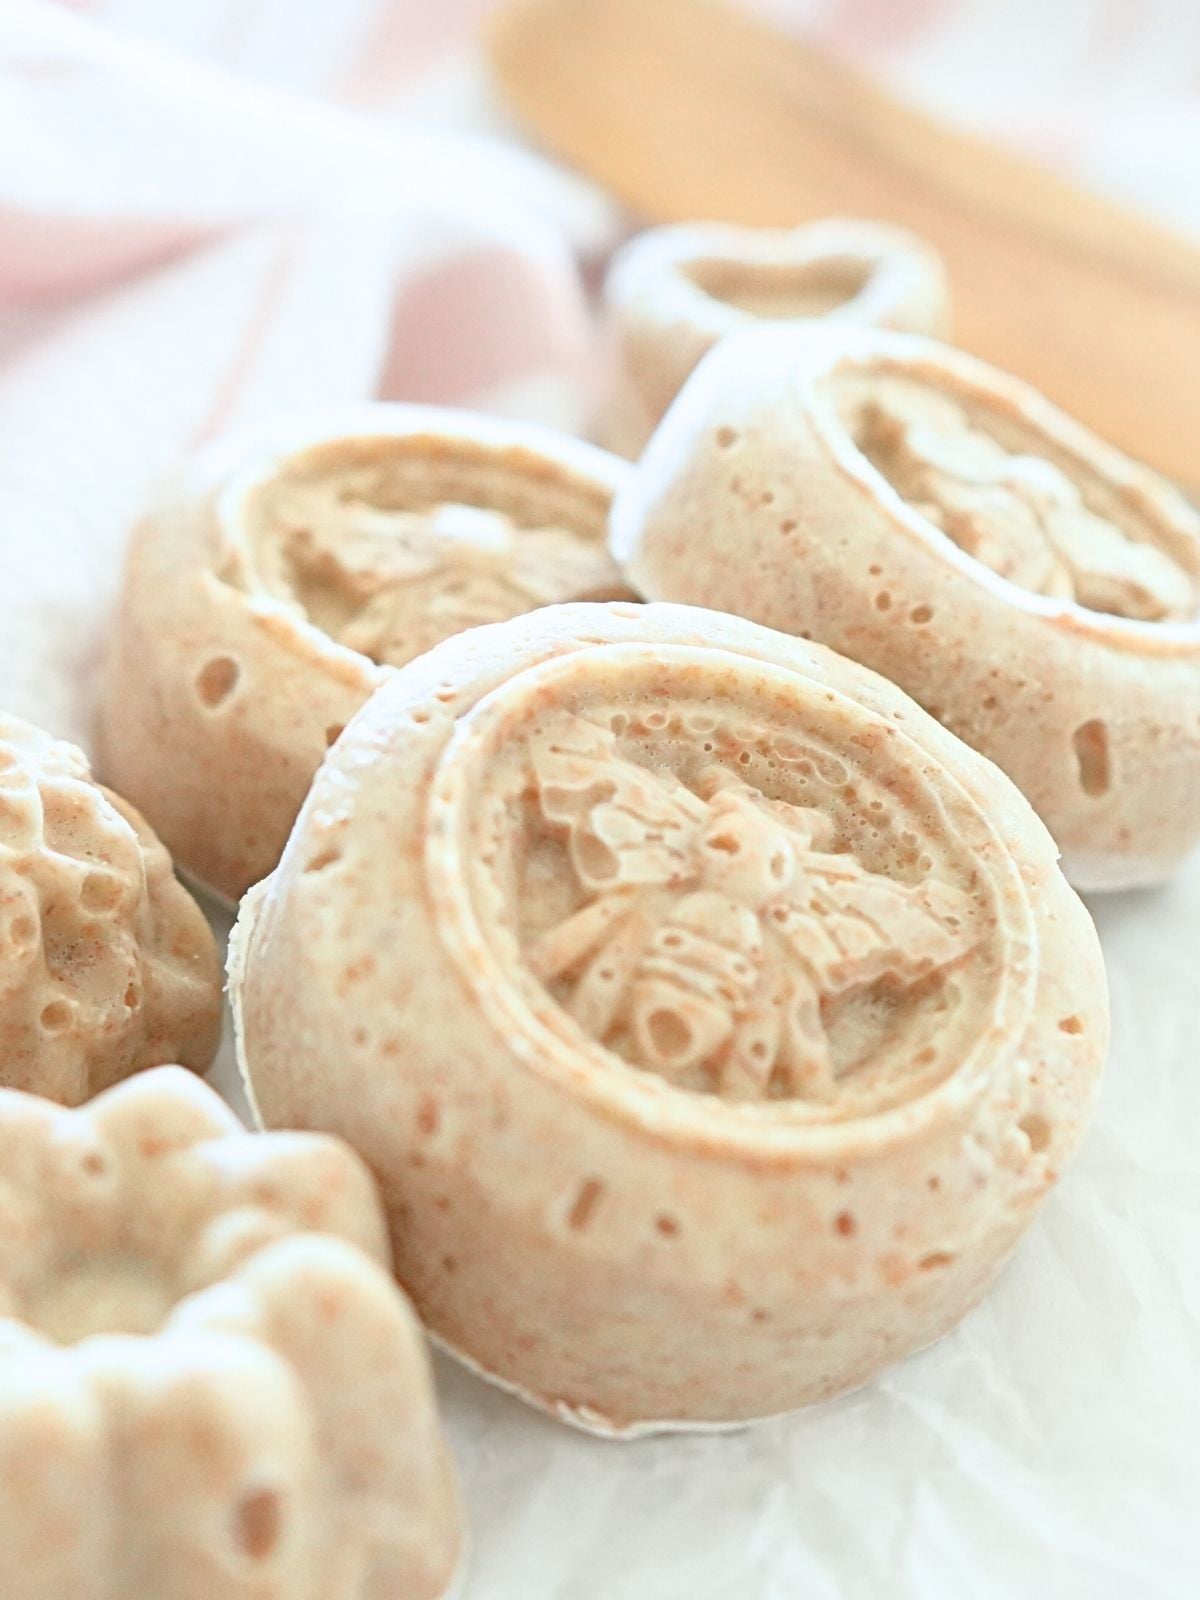
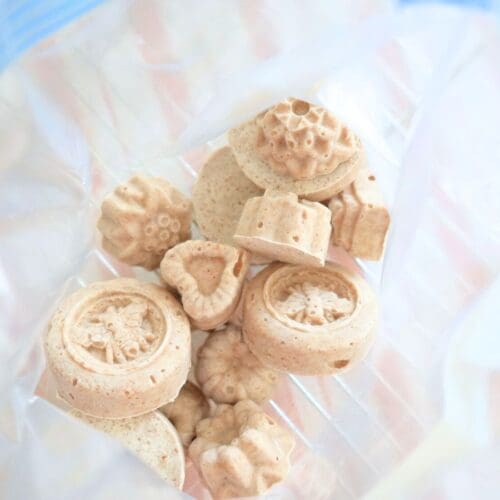
Silicone Molds: These are useful because the frozen starter will pop right out. I love these silicone bee molds and silicone flower molds.
How to Freeze Sourdough Starter
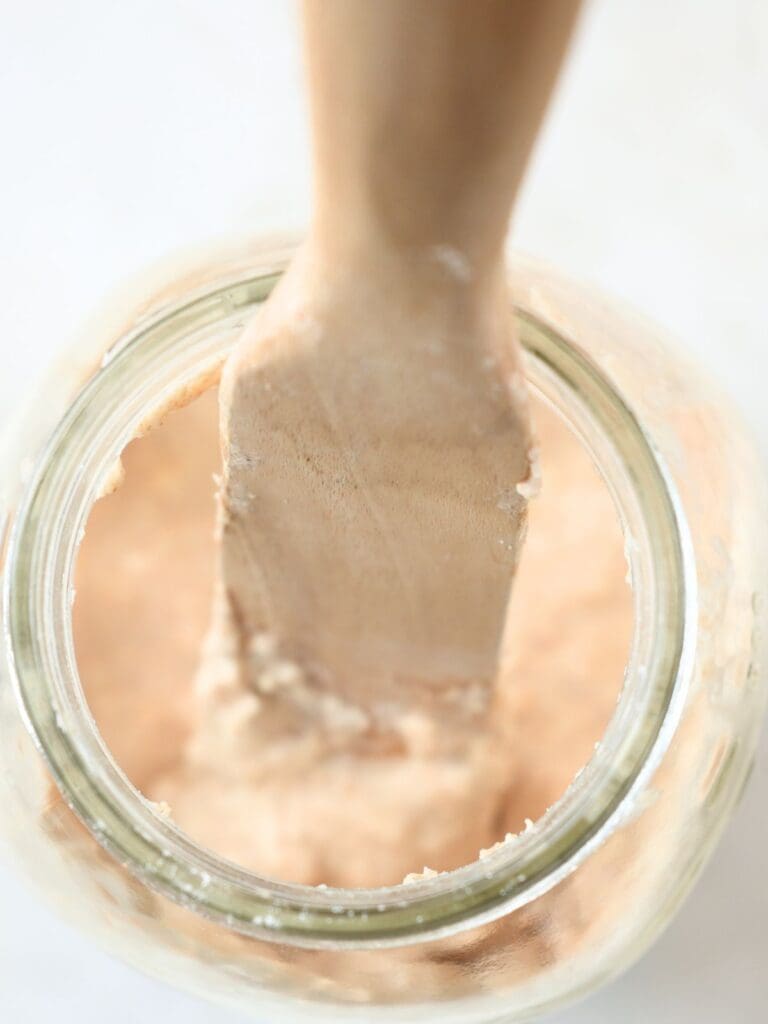
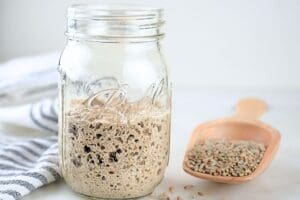
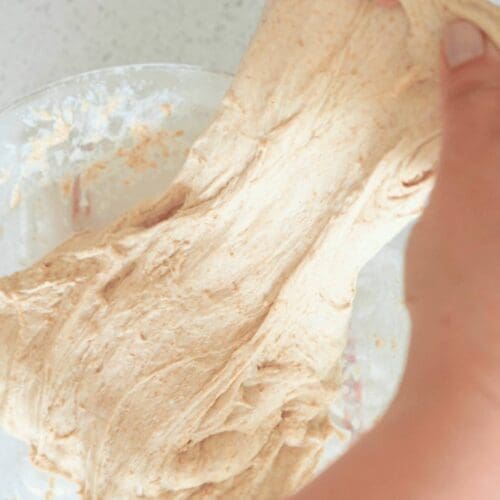
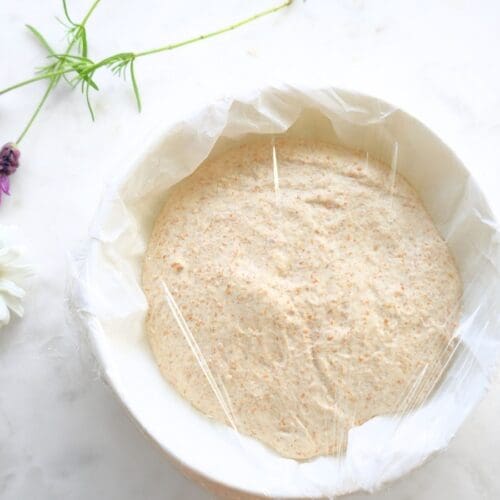
Step 1: Feed your starter. Allow it 4-12 hours to become active and bubbly. How long that takes depends on your starter, so keep an eye on it.
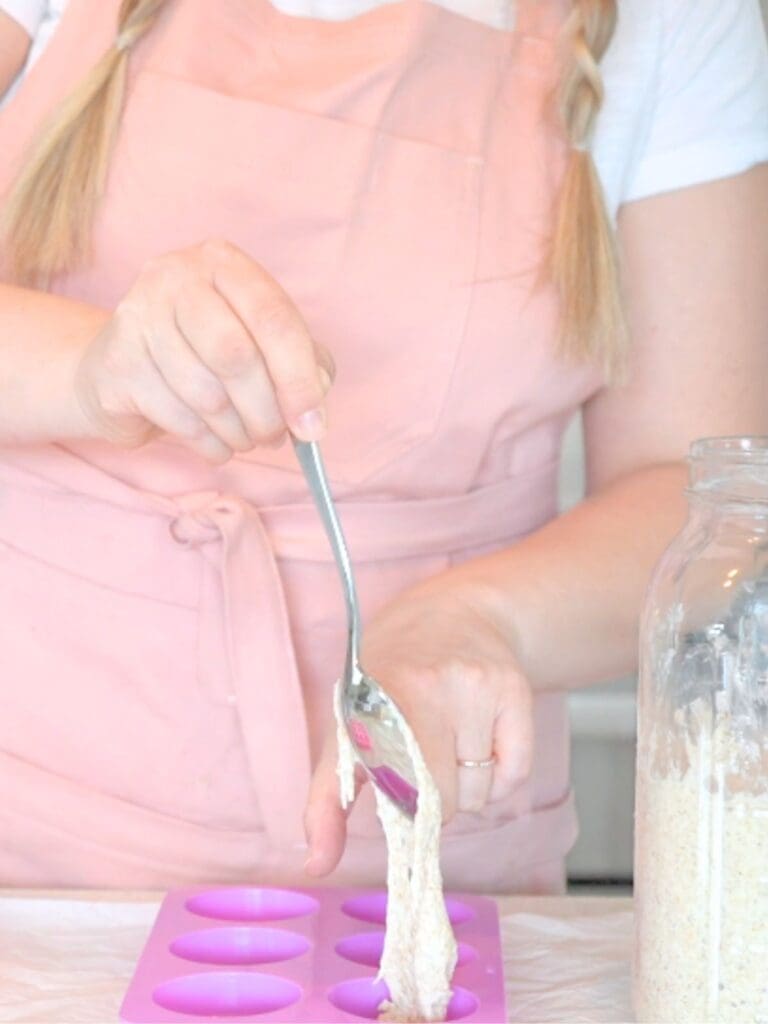
Step 2: Once your starter is bubbly and doubled in size, spoon dollops of your active starter into a silicone mold, ice cube tray, or muffin tin lined with plastic wrap.
The amount of starter depends on your mold. Fill it to the top.

Step 3: Freeze for 12-24 hours or until completely frozen.
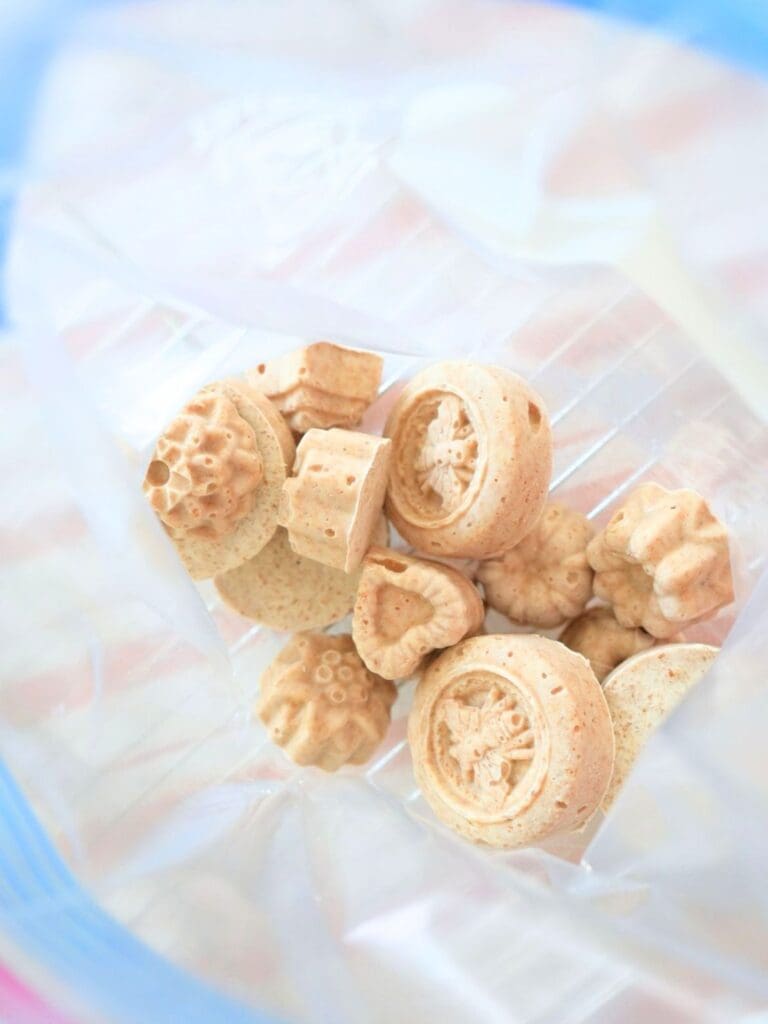
Step 4: Once frozen, remove the starter from the mold. Place the frozen starter in a Ziploc bag and seal. Your starter will last up to a year in the freezer.
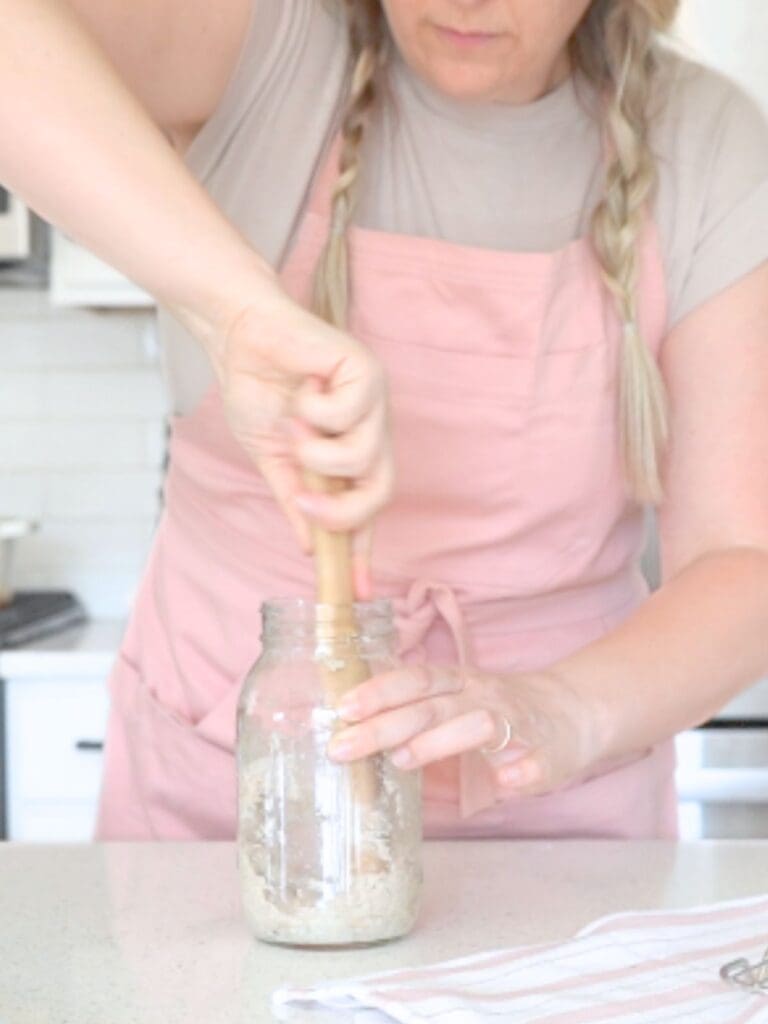
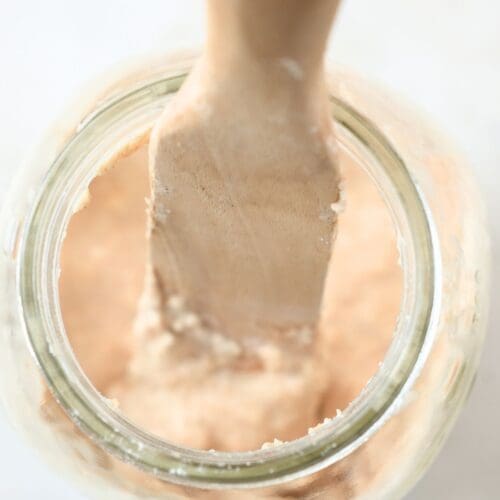
Step 5: To thaw, first, weigh your frozen starter. This will help you determine how much to feed it.
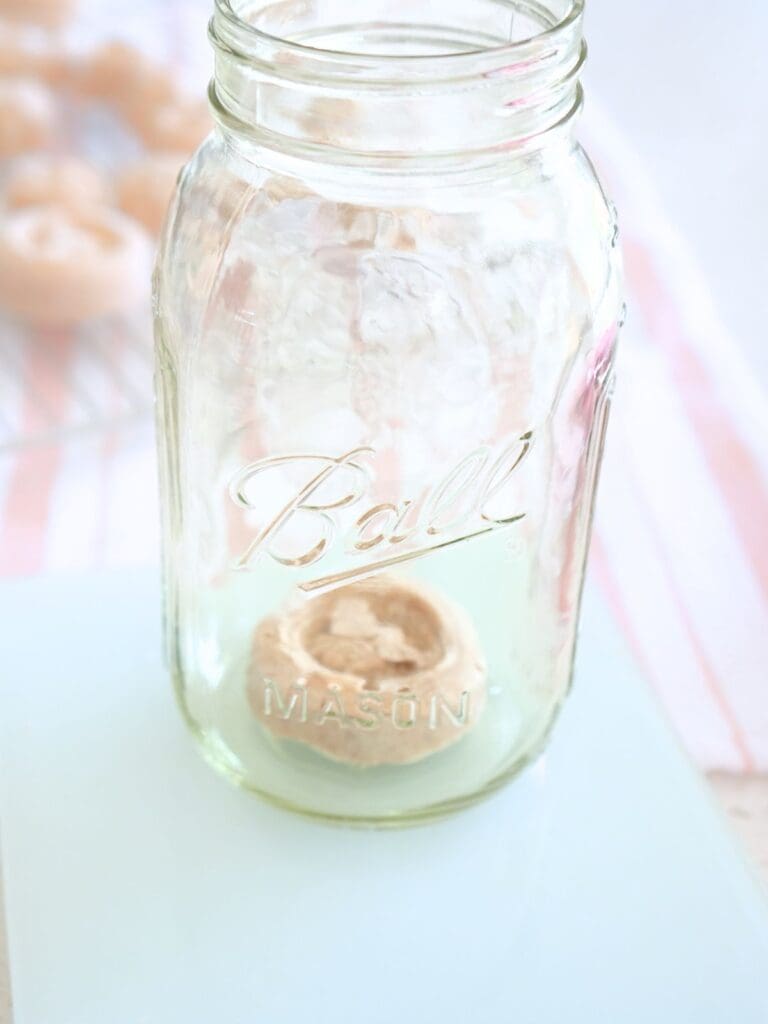
Step 6: Place the frozen starter in a jar, loosely covered, and allow to sit in a warm spot until completely thawed.
Mine took about 4 hours to get back to room temperature.
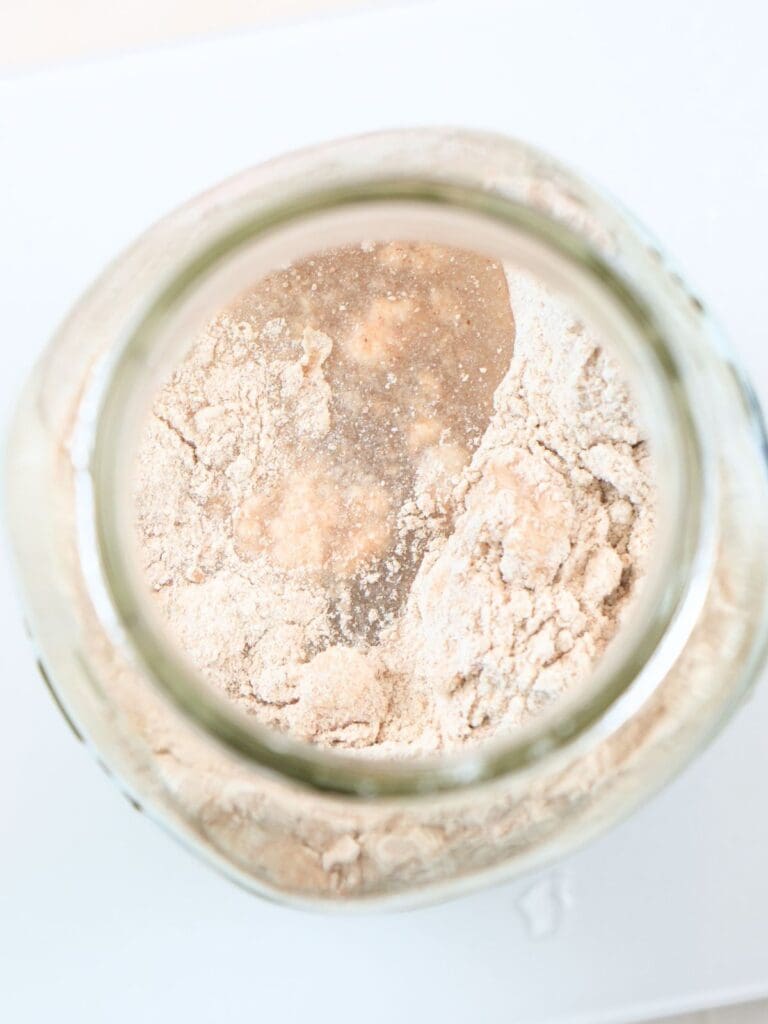
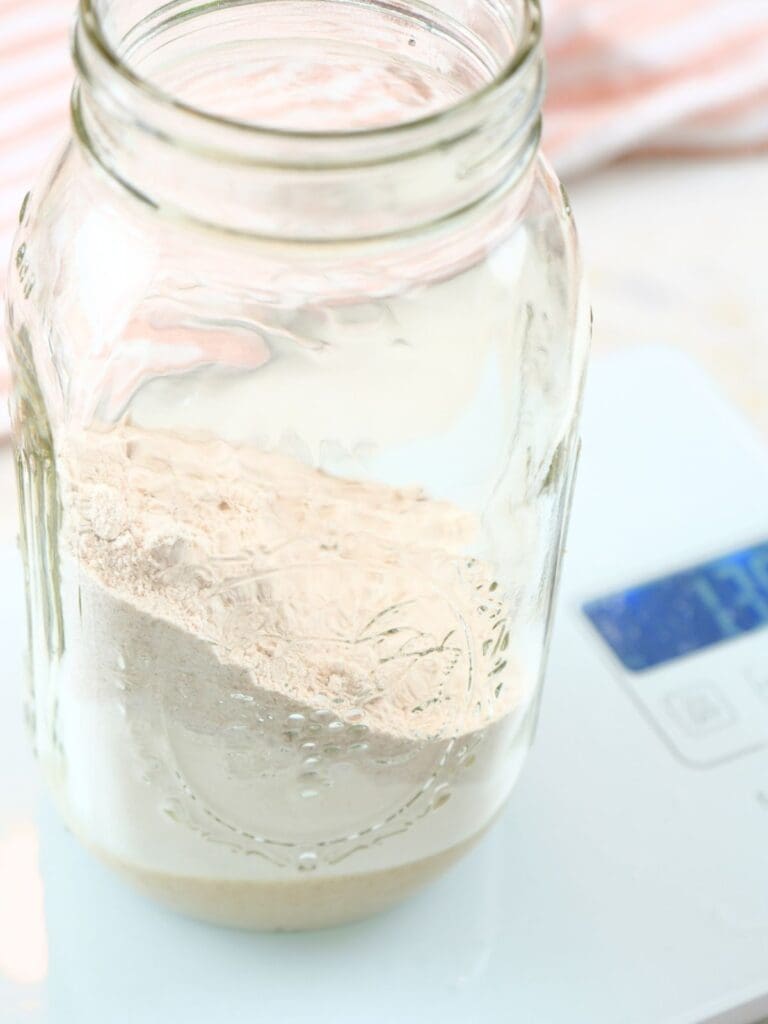
Step 7: To revive, combine equal parts (in grams) starter, flour, and water. Stir until thoroughly combined. Allow it to sit at room temperature for 12 hours.
Step 8: Discard half of the starter. Again, combine equal parts (in grams) starter, flour, and water.
Step 9: Continue feeding your starter every 12 hours. Once it consistently doubles after each feeding, it is ready for baking.
Step 10: Once your starter is revived, resume your regular sourdough starter feeding routine.
Tips for Success
- For the first few feedings, use either all whole wheat or rye. After a day or so, I usually switch to a 50/50 of all-purpose and whole wheat. You can feed your starter any flour, as long as it is wheat.
- You can use a plastic wrapped-lined ice cube tray to freeze starter, but it’s easier to pop out of a silicone mold.
- For best results, freeze a mature, active starter fed within 4-12 hours. While you can freeze inactive starter, an active one performs better.
- For best results when reviving your starter, note its weight before or after freezing. Write it on the freezer bag so you'll know how much to feed it later.
How To Use Frozen Starter
Bread: After a few feedings, your starter will be ready for baking bread. Use it for any sourdough recipe, such as sandwich bread, maple oatmeal bread, or cranberry walnut bread.
Discard Recipes: I often thaw starter for discard recipes like sourdough discard brownies, sourdough lemon bars, and sourdough discard pancakes. For dicard recipes, you don’t even have to worry about feeding it!
Pizza Dough: One of my favorite ways to use up starter is to make large batches of freezer-friendly pizza dough. It makes for an easy scratch-made pizza night.
Gifting: Sourdough starter makes a sweet, handmade gift. Check out this sourdough starter gift guide for free printable instructions and gift tags for your sourdough starter gift set.
Storing
- Frozen sourdough starter should be stored in an airtight container in the freezer for up to 12 months.
Freezing Sourdough Starter FAQs
No! Some of the yeast and lactic acid bacteria may die off during freezing, but enough remain dormant to be reactivated once thawed and fed for a few days.
For bread, you will need to feed your starter for a few days after thawing it. But for discard recipes like sourdough brownies or sourdough strawberry scones, you can use it right away.
Technically, yes. But you are better off freezing an active and healthy sourdough starter for the best results. Because some of the yeast dies when frozen, you want the starter to have as much healthy yeast as possible before freezing.
Dried starter is great for long-term storage, lasting over 12 months. However, it takes longer and can mold if not dried properly. Frozen starter, on the other hand, is quick to prepare and mold-free.
More Sourdough Posts
If you tried freezing sourdough starter or any other recipe on my blog, please leave a 🌟 star rating and let me know how it went in the 📝 comments below. Thanks, y'all!

How To Freeze Sourdough Starter
Equipment
- Mason Jar
- Loose-fitting lid
Ingredients
- sourdough starter
- whole wheat or rye flour
- all-purpose flour
- water
Instructions
FREEZING INSTRUCTIONS
- Feed your starter. Allow it 4-12 hours to become active and bubbly. How long that takes depends on your starter, so keep an eye on it.
- Once your starter is bubbly and doubled in size, spoon dollops of your active starter into a silicone mold, ice cube tray, or muffin tin lined with plastic wrap. The amount of starter depends on your mold. Fill it to the top.
- Freeze for 12-24 hours or until completely frozen.
- Once frozen, remove the starter from the mold. Place the frozen starter in a Ziploc bag and seal. Your starter will last up to a year in the freezer.
THAWING INSTRUCTIONS
- To thaw, first, weigh your frozen starter. This will help you determine how much to feed it.
- Place the frozen starter in a jar, loosely covered, and allow to sit in a warm spot until completely thawed. Mine took about 4 hours to get back to room temperature.
TO REVIVE
- To revive, combine equal parts (in grams) starter, flour, and water. Stir until thoroughly combined. Allow it to sit at room temperature for 12 hours.sourdough starter, whole wheat or rye flour, all-purpose flour, water
- Discard half of the starter. Again, combine equal parts (in grams) starter, flour, and water.
- Continue feeding your starter every 12 hours. Once it consistently doubles after each feeding, it is ready for baking.
- Once your starter is revived, resume your regular feeding routine.
Notes
- For the first few feedings, use either all whole wheat or rye. After a day or so, I usually switch to a 50/50 of all-purpose and whole wheat. You can feed your starter any flour, as long as it is wheat.
- You can use a plastic wrapped-lined ice cube tray to freeze starter, but it's easier to pop out of a silicone mold.
- For best results, freeze a mature, active starter fed within 4-12 hours. While you can freeze inactive starter, an active one performs better.
- For best results when reviving your starter, note its weight before or after freezing. Write it on the freezer bag so you’ll know how much to feed it later.
Nutrition
Nutrition information is auto-calculated and may not reflect your final product. Please verify independently if needed.