This post may contain affiliate links. Please read our disclosure policy.
This homemade cottage cheese recipe is simple and delicious. It’s also way cheaper than the store-bought stuff. You can adjust the fat content, curd size, and creaminess to suit your preferences.

Recipe Overview: Homemade Cottage Cheese
- Ready In: 3 hours
- Serves: 4
- Calories: 348 kcal (approximately)
- Main Ingredients: Milk, vinegar, heavy cream
- Dietary Notes: Gluten-free, high-protein
- Why You’ll Love It: This homemade cottage cheese recipe is uses just a few basic ingredients, yet tastes so much better than anything from the store. It's customizable to your preferred texture and creaminess, and a great way to use up milk before it goes to waste. Plus, it’s a great introduction to cheesemaking!
SUMMARIZE & SAVE THIS RECIPE ON
Making cottage cheese is surprisingly simple and much better than store-bought.
It's cheaper, more flavorful, and a great way to use up milk before it expires. All you need is milk and an acid, such as vinegar or lemon juice.
With just 15 minutes of hands-on time, it's faster than a trip to the store. It's an easy entry into cheesemaking, and your whole family will love it.
I like to serve it with a dollop of Instant Pot apple butter or even mixed into fluffy scrambled eggs for a high-protein breakfast.
Jump to:
Why You’ll Love Homemade Cottage Cheese
Nutritious: Homemade cottage cheese is made from simple ingredients: milk, vinegar, cream, and salt (and the cream and salt are optional). That’s it! It’s made with simple ingredients and is packed with protein.
Easy: This is an easy recipe. It’s as simple as warming milk, adding vinegar, and straining it. And most of the process is completely hand-off.
Versatile: Homemade cottage cheese is delicious in dessert recipes, pasta dishes, and dips. I like to add a little to fermented salsa when I have chips and salsa.
Reduces Food Waste: If you have milk that’s about to expire, use it to make cottage cheese!
Key Ingredients

Milk: You can use any kind of cow’s milk for cottage cheese, including nonfat milk, 1%, or 2%. I used pasteurized whole milk. Do not use ultra-pasteurized milk.
Vinegar: Regular old white vinegar will do the trick. Lemon juice will also work, but it might have a slightly different flavor.
Cream: For a creamy texture, add heavy cream to taste.
Get the full list of ingredients and measurements on the printable recipe card below.
Tools You Will Need
Dutch Oven or Pot: I used an enameled cast iron Dutch oven. I love my Staub 5.5-quart Dutch oven. A heavy-bottomed sauce pot will also work.
Digital Thermometer – A digital fry thermometer will help you gauge the temperature of the milk, which is critical for making cheese curds.
Towel or Cheesecloth – Use a clean kitchen towel or cheesecloth to drain the whey.
How to Make Homemade Cottage Cheese

Step 1: Pour the milk into a cast iron Dutch oven or heavy-bottomed sauce pot.

Step 2: Attach a digital kitchen thermometer to the pot.

Step 3: Over medium heat, warm the milk to 185°-190° F. Stir regularly to prevent the milk on the bottom of the pan from burning. The milk will get frothy as it warms, but it should not boil.
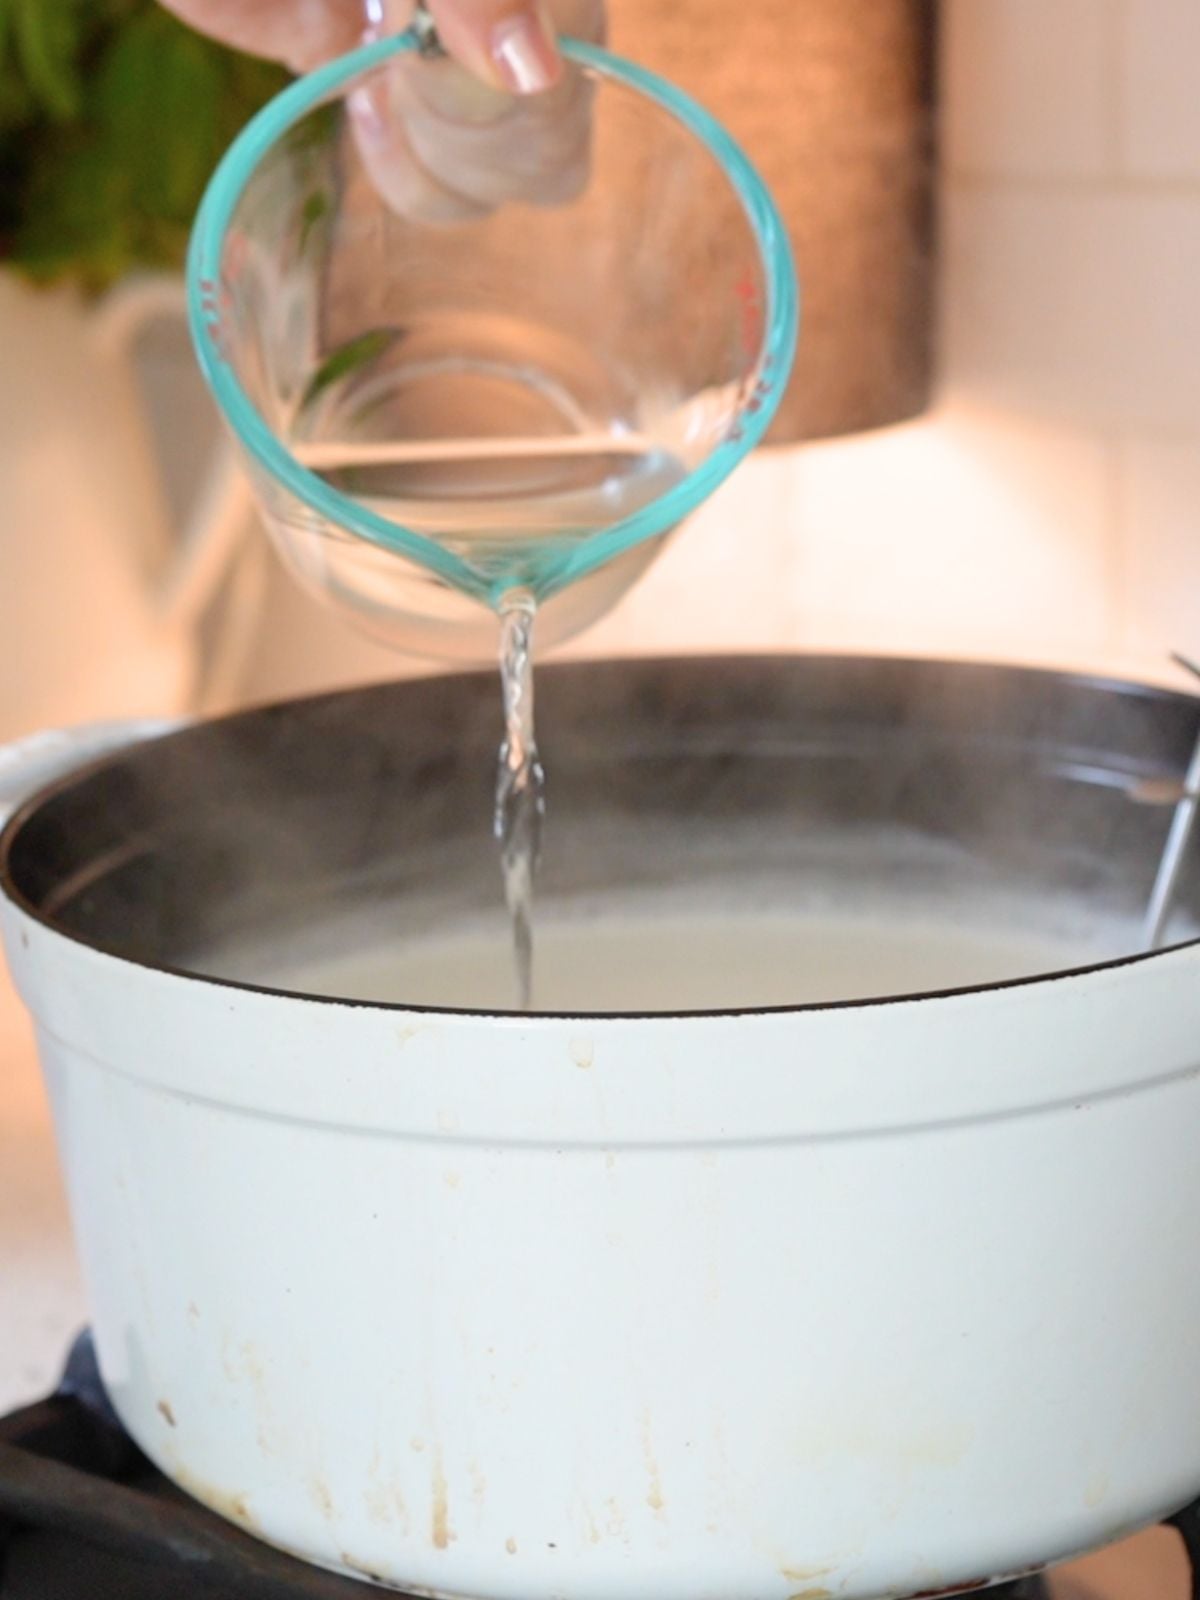
Step 4: Once the milk is to temperature, turn off the heat and pour in the vinegar. Give it a good stir, but try not to crush the curds.

Step 5: At this point, the milk will begin to curdle. Remove from the heat, cover, and allow to sit at room temperature for 30 minutes.

Step 6: Line a large bowl with a large kitchen towel or cheesecloth.
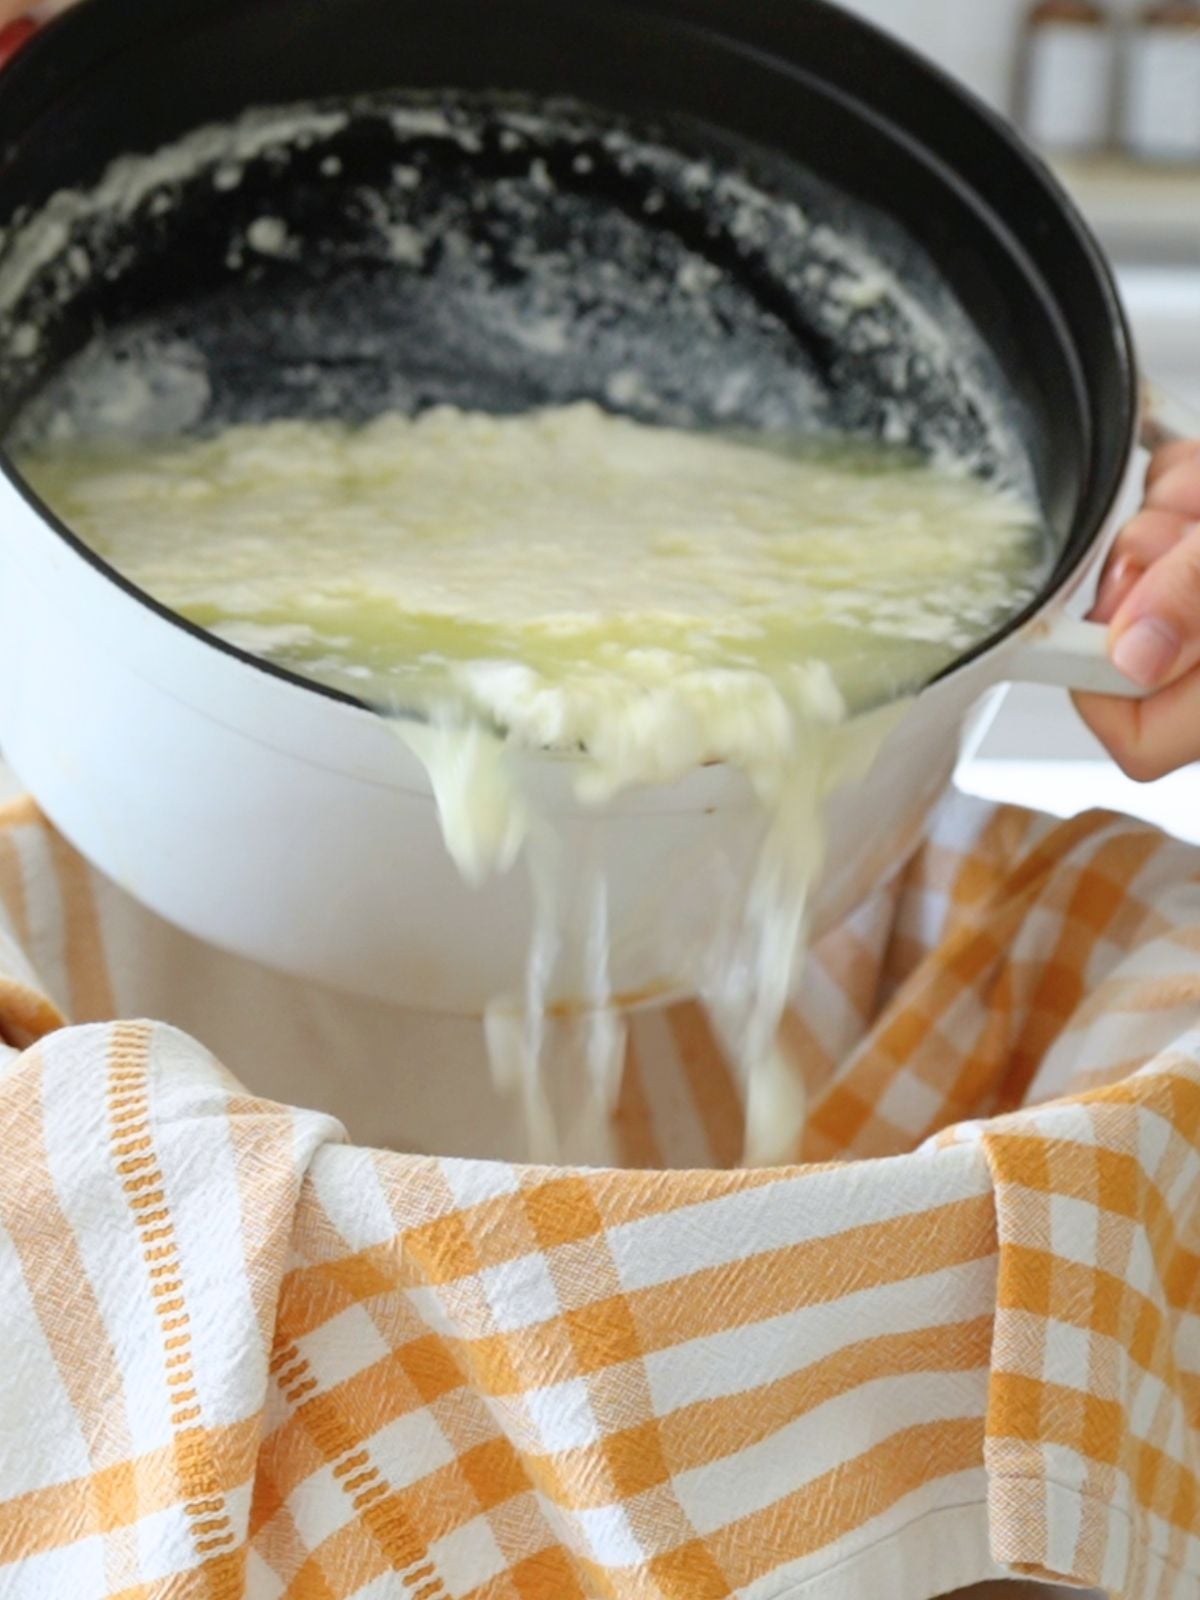
Step 7: Strain the curds through the towel/cheesecloth.

Step 8: Gather the cheesecloth by the ends with one hand. With the other hand, squeeze out the excess liquid (whey).
Optional: For a less sour flavor, rinse the curds with cold water and drain well.
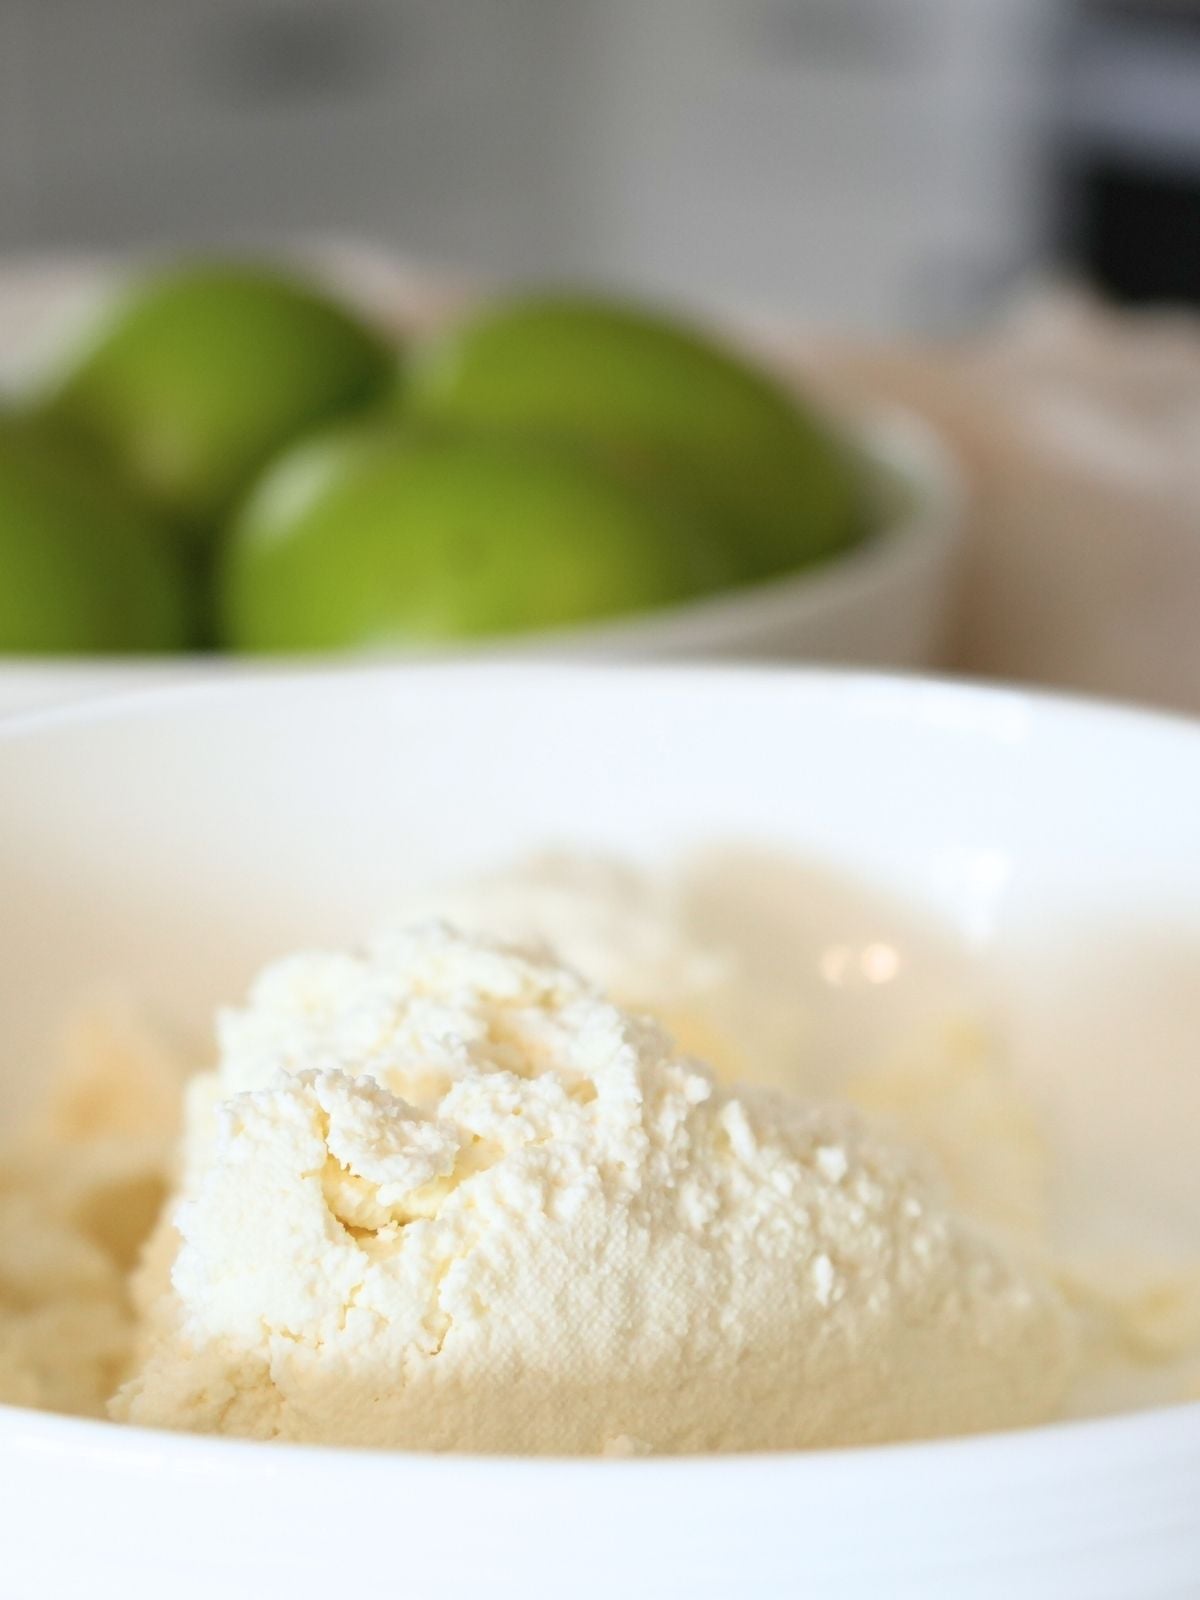
Step 9: Unwrap the cheese and place it into a bowl. Use a wooden spoon to break apart the cheese curds.
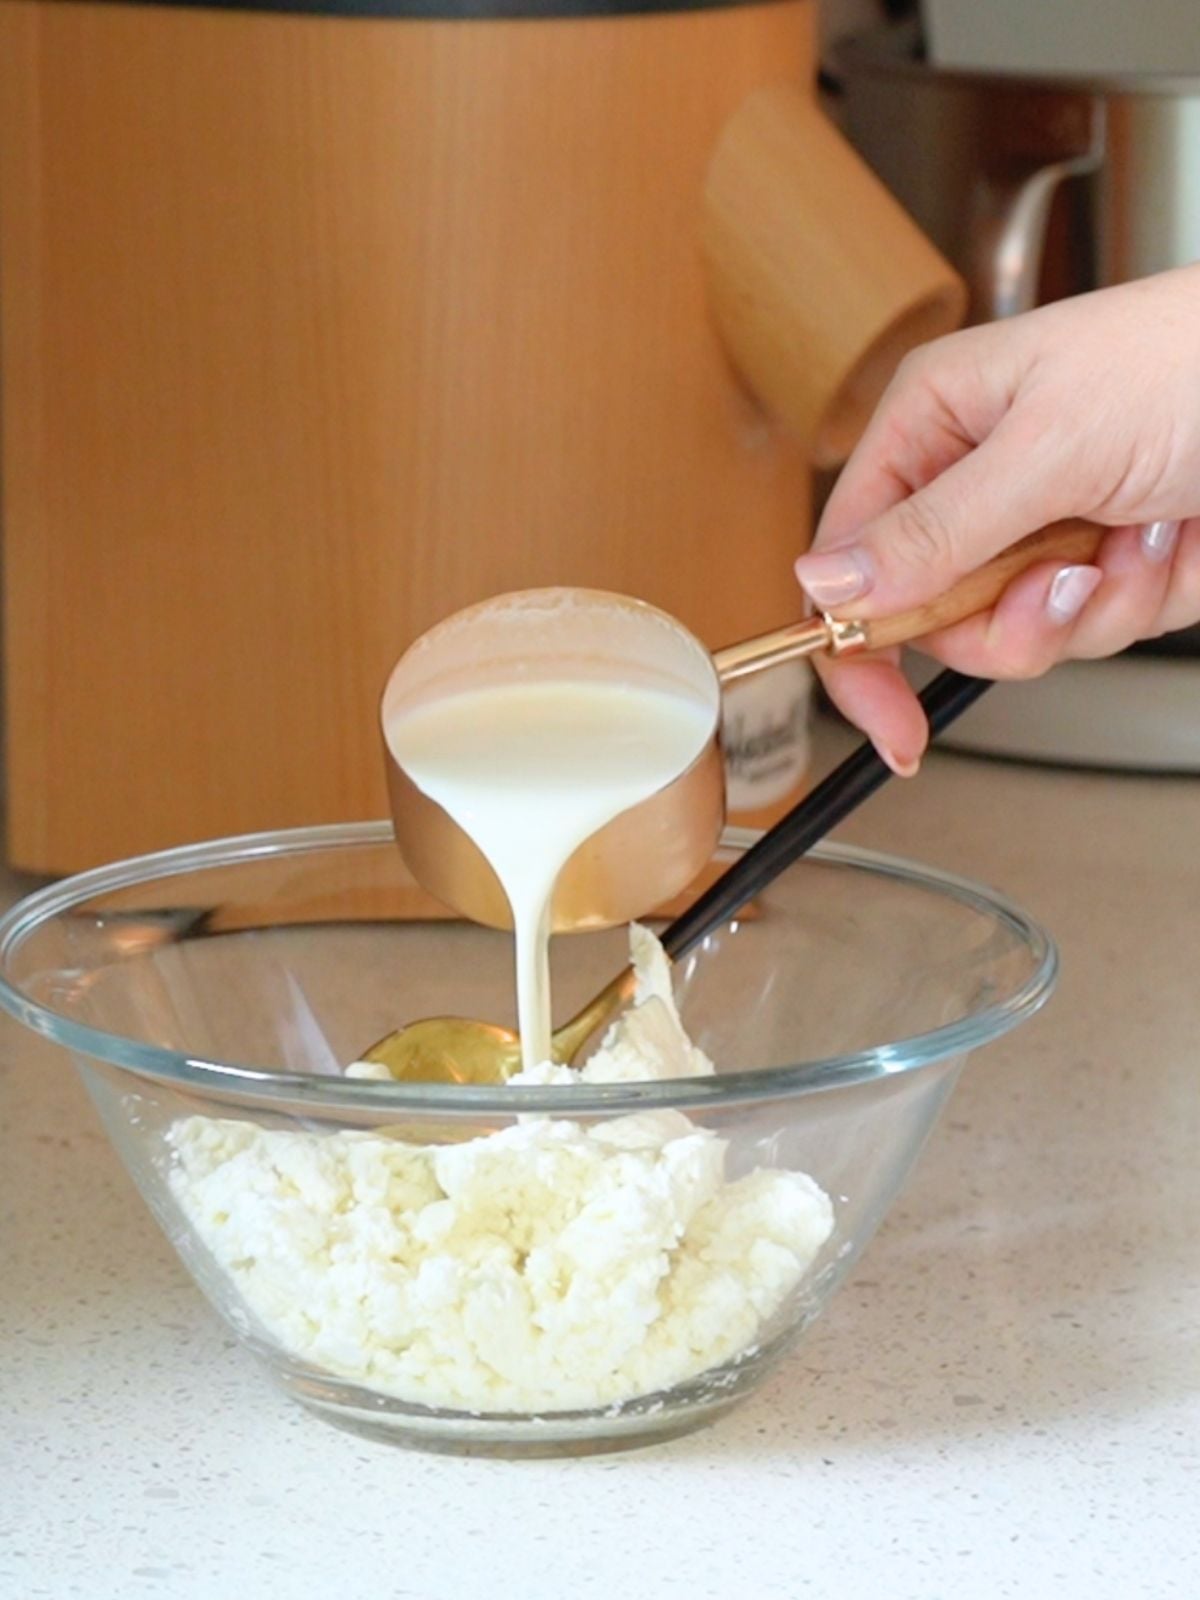
Step 10: Optional: For creamier cottage cheese, add heavy cream to taste. Add in 2 tablespoons at a time until it reaches your desired consistency.
Add salt to taste.

Step 11: Chill in the fridge for at least an hour before serving.
Homemade cottage cheese will last about 5 days in the fridge. But if your milk is getting close to the expiration date, I recommend using it up sooner.
Tips for Success
- Do not use ultra-pasteurized milk. The high heat in the ultra-pasteurization process alters the milk proteins and bacteria needed to make cottage cheese.
- Boiling the milk may create firmer curds and yield less cheese. I recommend using a fry thermometer to make sure you stay within the 185°-190° F range.
- You can use the leftover whey in smoothies, soups, and other recipes. We even use it to fertilize our garden beds sometimes.
- The curd size only affects the texture, not the taste. Break up the curds as much or as little as you prefer.
- You can use any type of milk, from skim to whole. The more fat in the milk, the more fat and flavor in the cottage cheese.
- If you prefer thick cottage cheese, mix in less or no heavy cream. Or, if you like a creamier texture, add cream to taste.
Serving Suggestions
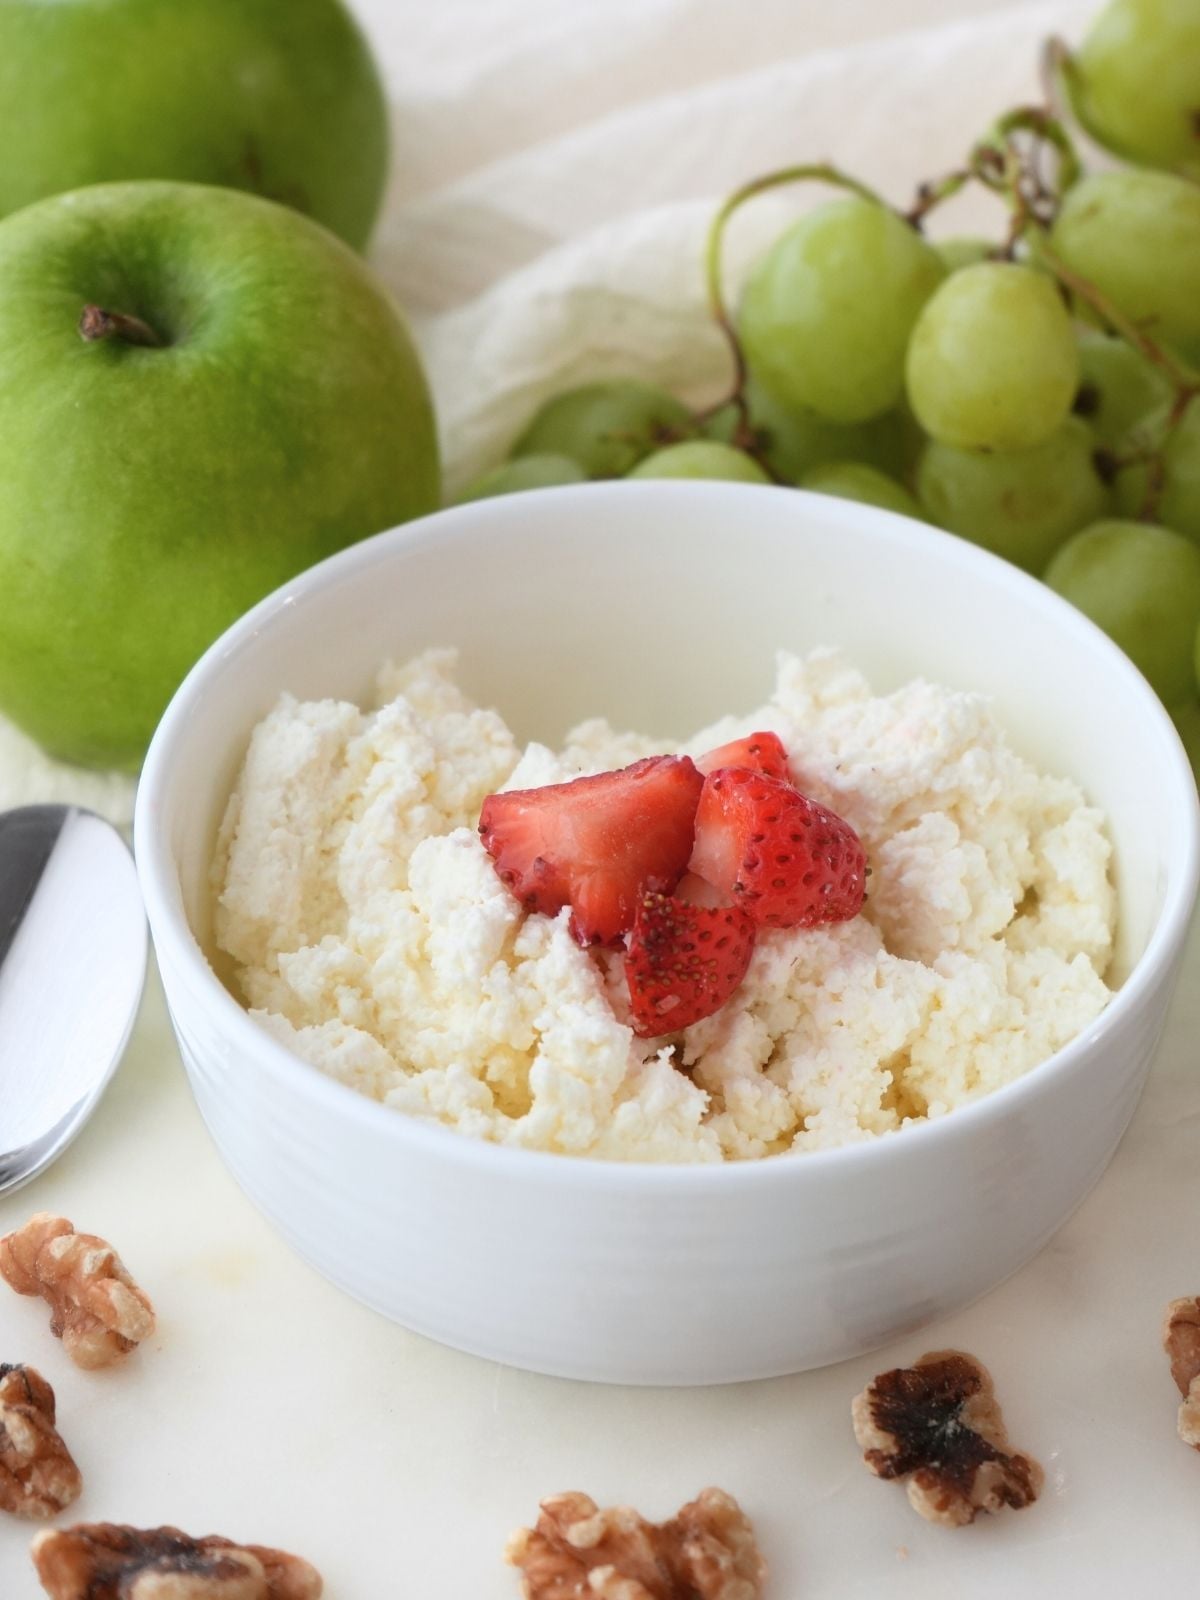
Breakfast: Cottage cheese and fresh fruit is a classic. It’s also great with freeze-dried apples or freeze-dried strawberries. I like to add a little salt and black pepper to plain cottage cheese.
Chocolate: Add a little cocoa powder and sugar for a sweet treat.
Pasta: Cottage cheese is a great alternative to ricotta. I always use cottage cheese in my slow cooker lasagna or a baked ziti freezer meal.
Dips: Throw a little cottage cheese into creamed spinach dip, salsa, or your other favorite dips.
Eggs: One of my favorite ways to make fluffy scrambled eggs is to add a spoonful of cottage cheese before cooking. I even do this when I scramble freeze-dried eggs or make fluffy scrambled eggs.
Savory: For a savory snack, top homemade cottage cheese with fresh or freeze-dried herbs, a drizzle of olive oil, and salt and pepper.
Storing
Compared to aged cheeses and those with preservatives, homemade cottage cheese has a short shelf life.
Leftover cottage cheese should be stored in an airtight container in the fridge for 3-5 days. If the milk was close to the expiration date, you may need to use it up sooner.
Homemade Cottage Cheese FAQs
Cottage cheese is a simple combination of curds and cream. When warm milk and acid are combined, the milk separates into curds and whey (oh hey, Little Miss Muffet). The curds are mixed with cream, and voila! You have cottage cheese.
Cottage cheese is made from milk curds, while ricotta is made from whey, the liquid left after curdling milk. They're similar but differ in texture and moisture.
Both ricotta and homemade cottage cheese work well in slow cooker lasagna soup or my classic slow cooker lasagna recipe.
The yield of homemade cottage cheese can vary slightly, but in general, a gallon of milk will make about 3 cups of cottage cheese.
Absolutely! You can swap the white vinegar for lemon juice at a 1:1 ratio.
I don’t have any experience making plant-based cottage cheese. However, online recipes combine milk alternatives, nutritional yeast, and other ingredients to make vegan cottage cheese.
Swap it in for some liquid when making sourdough, such as sourdough pizza dough, no-knead bread for beginners, or sourdough sandwich bread. Or stir it into soups and stews. It also works well for cooking slow cooker wheat berries or even adding a boost of protein to your morning smoothie.


If you tried this Homemade Cottage Cheese recipe or any other recipe on my blog, please leave a 🌟 star rating and let me know how it went in the 📝 comments below. Thanks, y'all!


Homemade Cottage Cheese
Equipment
- Large Bowl
- Cheese Cloth (or kitchen towel)
Ingredients
- 8 cups milk
- 6 tablespoon white vinegar
- 1/4 cup heavy cream, optional
- Salt to taste
Instructions
- Pour the milk into a cast iron Dutch oven or heavy-bottomed sauce pot.8 cups milk
- Attach a digital kitchen thermometer to the pot.
- Over medium heat, warm the milk to 185°-190° F. Stir regularly to prevent the milk on the bottom of the pan from burning. The milk will get frothy as it warms, but it should not boil.
- Once the milk is to temperature, turn off the heat and pour in the vinegar. Give it a good stir, but try not to crush the curds.6 tablespoon white vinegar
- At this point, the milk will begin to curdle. Remove from the heat, cover, and allow to sit at room temperature for 30 minutes.
- Line a large bowl with a large kitchen towel or cheesecloth.
- Strain the curds through the towel/cheesecloth.
- Gather the cheesecloth by the ends with one hand. With the other hand, squeeze out the excess liquid (whey).
- Unwrap the cheese and place it into a bowl. Use a wooden spoon to break apart the cheese curds.
- Optional: For creamier cottage cheese, add heavy cream to taste. Add in 2 tablespoons at a time until it reaches your desired consistency.1/4 cup heavy cream
- Add salt to taste.Salt to taste
- Chill in the fridge for at least an hour before serving. Homemade cottage cheese will last about 5 days in the fridge. But if your milk is getting close to the expiration date, I recommend using it up sooner.
Notes
- Do not use ultra-pasteurized milk. The high heat in the ultra-pasteurization process alters the milk proteins and bacteria needed to make cottage cheese.
- Boiling the milk may create firmer curds and yield less cheese. I recommend using a fry thermometer to make sure you stay within the 185°-190° F range.
- You can use the leftover whey in smoothies, soups, and other recipes. We even use it to fertilize our garden beds sometimes.
- The curd size only affects the texture, not the taste. Break up the curds as much or as little as you prefer.
- You can use any type of milk, from skim to whole. The more fat in the milk, the more fat and flavor in the cottage cheese.
- If you prefer thick cottage cheese, mix in less or no heavy cream. Or, if you like a creamier texture, add cream to taste.
Nutrition
Nutrition information is auto-calculated and may not reflect your final product. Please verify independently if needed.


This is so much better than the store-bought stuff. I love it in lasagna in place of ricotta.