This post may contain affiliate links. Please read our disclosure policy.
This sourdough pie crust is tender, buttery, and perfectly flaky. Made with sourdough discard and a few simple pantry staples, it comes together quickly and works beautifully for sweet and savory pies.
True confession: I was intimidated by pie crusts for years.
Everyone made it sound so fussy. Keep the butter cold, don't use your hands, work fast…and I never felt like I really knew what I was doing.
So I stuck with things that seemed easier, like sourdough peach cobbler and pumpkin cobbler.
But here's the thing: homemade pie crust is just as simple. And this sourdough version is proof that if I can do it, you can, too.
This is a classic all-butter pie crust with a sourdough twist. The sourdough starter adds a subtle tang and helps create that perfectly flaky texture.
It's an excellent base for everything from sourdough peach pie to sourdough Pop-Tarts made with homemade strawberry jam.
I've included extra tips in the recipe to help you keep the butter cold and feel confident throughout the process.

Why You’ll Love This Recipe
Flaky Texture: This sourdough pie crust recipe has flaky and buttery layers that melt in your mouth.
Sourdough: The sourdough starter adds a delicious, subtle tang. If you don’t have a starter yet, be sure to download my free sourdough starter eBook.
Make-Ahead Friendly: You can store sourdough pie dough in the fridge for up to 4 days or in the freezer for up to 3 months, so you can have it ready when you need it.
Versatile: This recipe works great for fruit pies, pot pies, quiches, hand pies, and more!
Ingredients

Flour: I used all-purpose flour for this recipe. But you can also use fresh-milled soft wheat. Check out my fresh-milled flour conversion guide to learn how to adapt this recipe.
Butter: Pop your butter in the freezer a few hours before making the pie crust. The colder the butter, the flakier the crust.
Sourdough Starter: You can use active or inactive starter for this recipe. But keep in mind that if you haven’t fed your starter recently, it will be more sour. Check out my active vs. inactive starter tutorial on YouTube to learn more.
Get the full list of ingredients and measurements on the printable recipe card below.
Tools You May Need
Box Grater: Use a box grater to shred the frozen butter.
Pastry Cutter: A pastry cutter makes incorporating the butter into the flour easier. If you don’t have one, you can also use a fork.
Rolling Pin: Using a rolling pin to shape the plastic-wrapped dough will prevent your hands from warming up the butter. I prefer a French rolling pin because it is easier to control.
Pie Dish: Once you are ready to bake, you’ll need a pie dish. I recently got a Le Creuset pie dish and love it!
Step-by-Step Instructions

Step 1: Use a cheese grater to shred the frozen butter into a bowl or on a plate. Place the shredded butter in the freezer.

Step 2: In a large mixing bowl, whisk together the flour, salt, and sugar.

Step 3: Remove the butter from the freezer and add it to the flour mixture. Use a pastry cutter to cut the butter into the flour until it forms pea-sized crumbles.
There will still be loose flour in the bowl at this point.

Step 4: Add the sourdough starter and use a fork to initially mix it into the flour. Once it is coated in flour, switch to your hands and mix it together until the dough comes together.

Step 5: If there isn’t enough moisture to bring the dough together, add a teaspoon of ice water at a time just until it comes together. Do not add too much water.

Step 6: Turn the pie dough out onto a clean counter and use your hands to shape it into a disc.
Do this quickly to prevent your hands from warming up the butter.

Step 7: Wrap the dough in plastic wrap and use a rolling pin to flatten and shape the disc. This will prevent your hands from warming the butter too much.
Chill the pie dough in the fridge for at least 2 hours or up to 4 days.

Step 8: When ready to bake, remove the pie dough from the fridge and follow your recipe instructions.
Tips for Success
- This recipe makes one crust. If you need a double crust (a top and bottom crust), you will need to double this recipe.
- Freeze your butter for a few hours beforehand and use discard straight from the fridge. This will ensure the butter stays nice and cold.
- Don’t overwork the dough. Use your hands to mix the dough just until it comes together. It’s okay if it looks rough or a little shaggy.
- When I add ice water to my dough, I use a 1/4 teaspoon and add water to different sides of the bowl. That way, the dough comes together more easily without overworking it or adding too much water.
- If you are blind baking this pie crust, use pie weights to avoid bubbling.

How To Long Ferment Sourdough Pie Crust
Long fermentation is a great option if you want to make your sourdough pie crust more digestible or create a more sour flavor. It’s also super easy.
- Prepare the pie crust as directed.
- Shape it into a disc and wrap it tightly in plastic wrap.
- Let it ferment in the refrigerator for 3-4 days. This long fermentation in the fridge will allow the wild yeast and bacteria to slowly metabolize the wheat without over-fermenting it.
- When you are ready to bake, follow the recipe instructions for your pie.
Make Ahead & Storage Tips
- You can store your sourdough pie dough in the fridge for 4 days.
- For longer storage, store the dough in a freezer-safe container and freeze for up to 3 months.
- You can also pre-bake and freeze the crusts for up to 3 months. This is a great option for busy holidays or last-minute desserts.
How To Use Sourdough Pie Crust
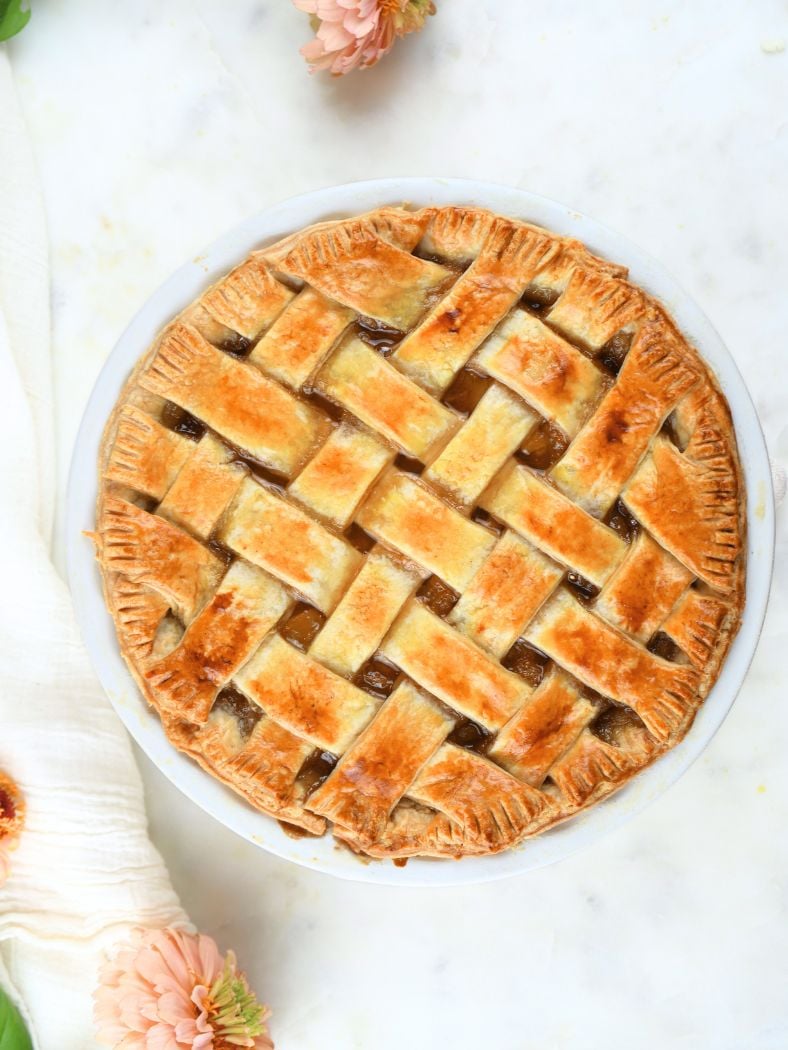
Sweet: Of course, sweet pies are the classic go-to. This sourdough pie crust is perfect for any fruit pie and makes a lovely lattice top.
Savory: Sourdough pie crust is also great for savory pies, such as chicken pot pie, meat pies, or vegetable tarts, with hearty, comforting fillings.
Quiche: This recipe also works great as a base for a quiche or other breakfast casserole.
Hand Pies: Sourdough pie dough also works great for homemade Pop-Tarts and other hand pies.
FAQs
Absolutely. This recipe works well for single and double-crust pies. Just double the recipe if needed.
Blind bake the bottom crust (using pie weights) for custard pies, no-bake pies, or pies with juicy filling.
It may be too cold or too dry. Let it rest at room temperature for 10-15 minutes, and sprinkle a little water over any dry spots if needed.
Not really. It has a subtle tang that enhances flavor but is not overly sour, especially if you use it within a day or two.

Let's Connect!
If you tried this recipe and loved it, leave a comment or review below.
Also, don't forget to pin this post and follow Moon + Magnolia on Pinterest. You can save all my recipes on your boards and keep up with the latest happenings!
Share your creations on Instagram and tag @moon_and_magnolia!


Sourdough Pie Crust
Equipment
Ingredients
- 113 g unsalted butter, frozen
- 120 g all-purpose flour
- 1/2 teaspoon salt
- 1/2 teaspoon granulated sugar
- 120 g sourdough starter, active or inactive
- ice water
Instructions
- Use a cheese grater to shred the frozen butter into a bowl or on a plate. Place the shredded butter in the freezer.113 g (8 tablespoon) unsalted butter
- In a large mixing bowl, whisk together the flour, salt, and sugar.120 g (1 cup) all-purpose flour, 1/2 teaspoon salt, 1/2 teaspoon granulated sugar
- Remove the butter from the freezer and add it to the flour mixture. Use a pastry cutter to cut the butter into the flour until it forms pea-sized crumbles. There will still be loose flour in the bowl at this point.
- Add the sourdough starter and use a fork to initially mix it into the flour. Once it is coated in flour, switch to your hands and mix it together until the dough comes together.120 g (1/2 cup) sourdough starter
- If there isn't enough moisture to bring the dough together, add a teaspoon of ice water at a time just until it comes together. Do not add too much water.ice water
- Turn the pie dough out onto a clean counter and use your hands to shape it into a disc. Do this quickly to prevent your hands from warming up the butter.
- Wrap the dough in plastic wrap and use a rolling pin to flatten and shape the disc. This will prevent your hands from warming the butter too much. Chill the pie dough in the fridge for at least 2 hours or up to 4 days.
- When ready to bake, remove the pie dough from the fridge and follow your recipe instructions.
Notes
- If you need a double crust (a top and bottom crust), you will need to double this recipe.
- Freeze your butter for a few hours beforehand and use discard straight from the fridge. This will ensure the butter stays nice and cold.
- Don’t overwork the dough. Use your hands to mix the dough just until it comes together. It’s okay if it looks rough.
- When I add ice water to my dough, I use a 1/4 teaspoon and add water to different sides of the bowl. That way, the dough comes together more easily without overworking it or adding too much water.
Nutrition
Nutrition information is auto-calculated and may not reflect your final product. Please verify independently if needed.


This sourdough pie crust is my go-to for fruit pies and chicken pot pie!