This post may contain affiliate links. Please read our disclosure policy.
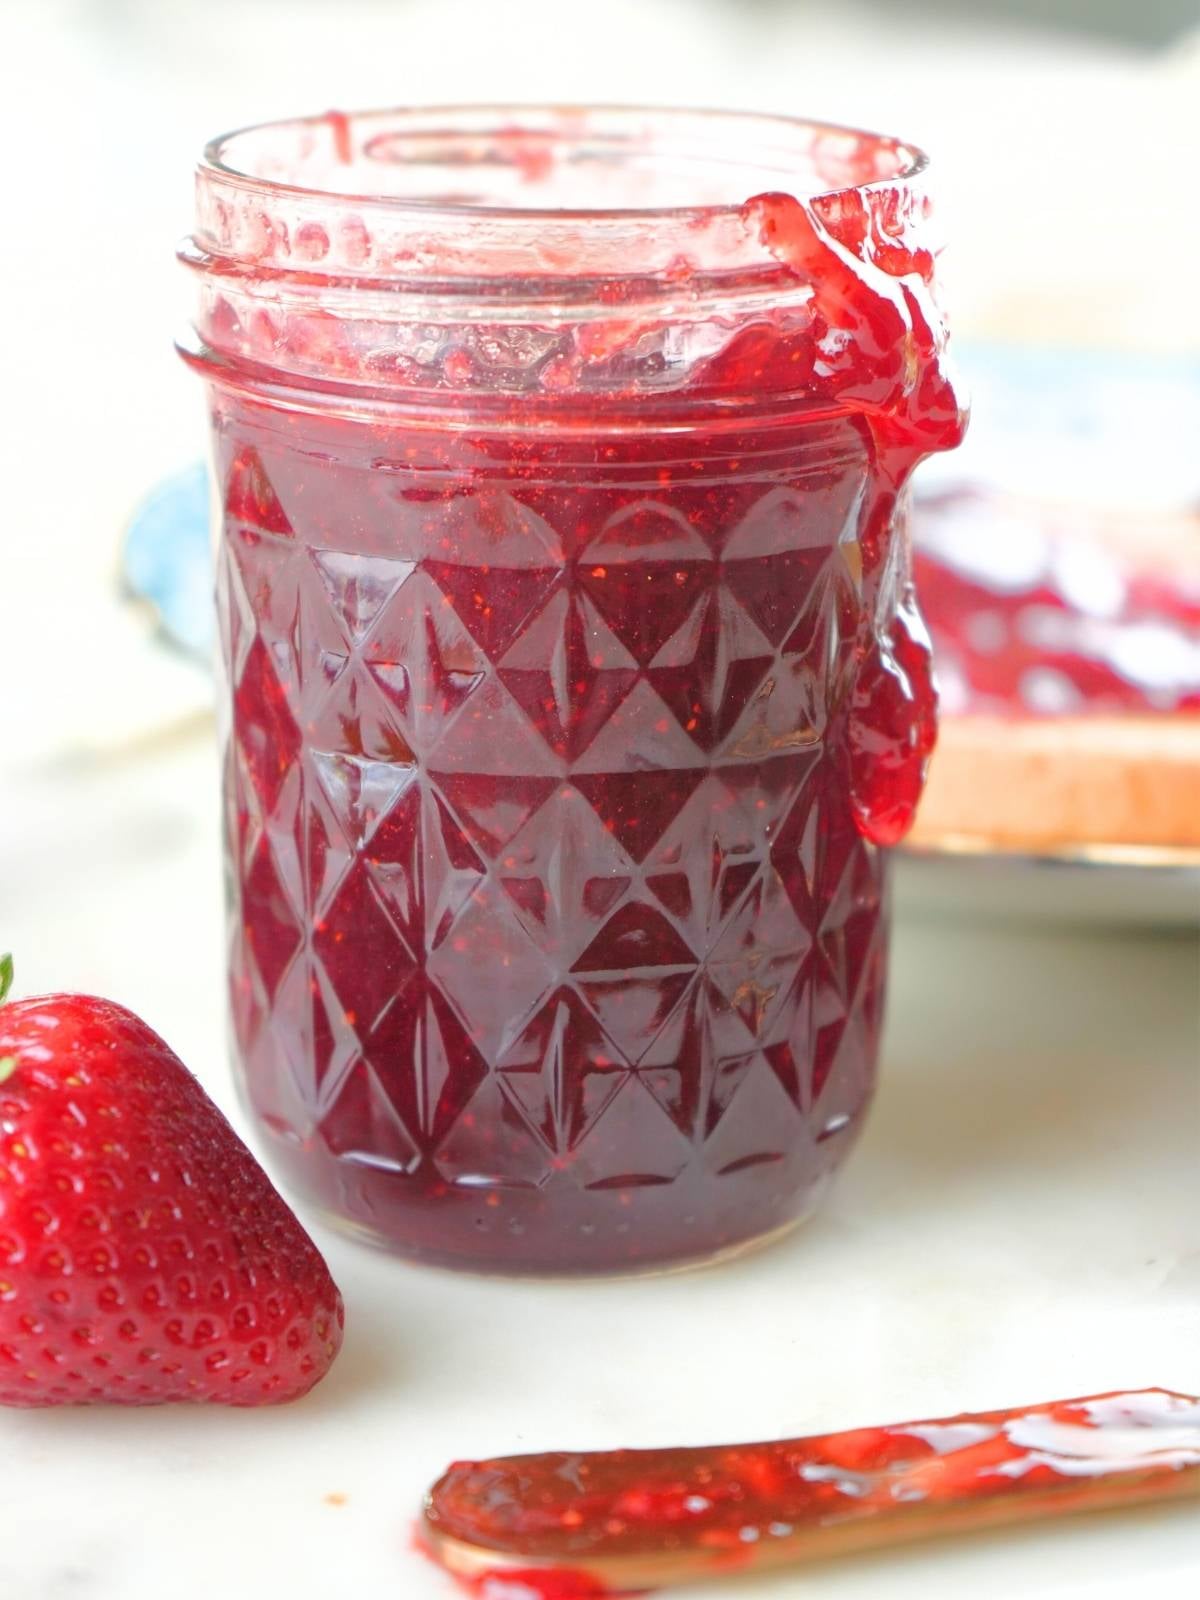
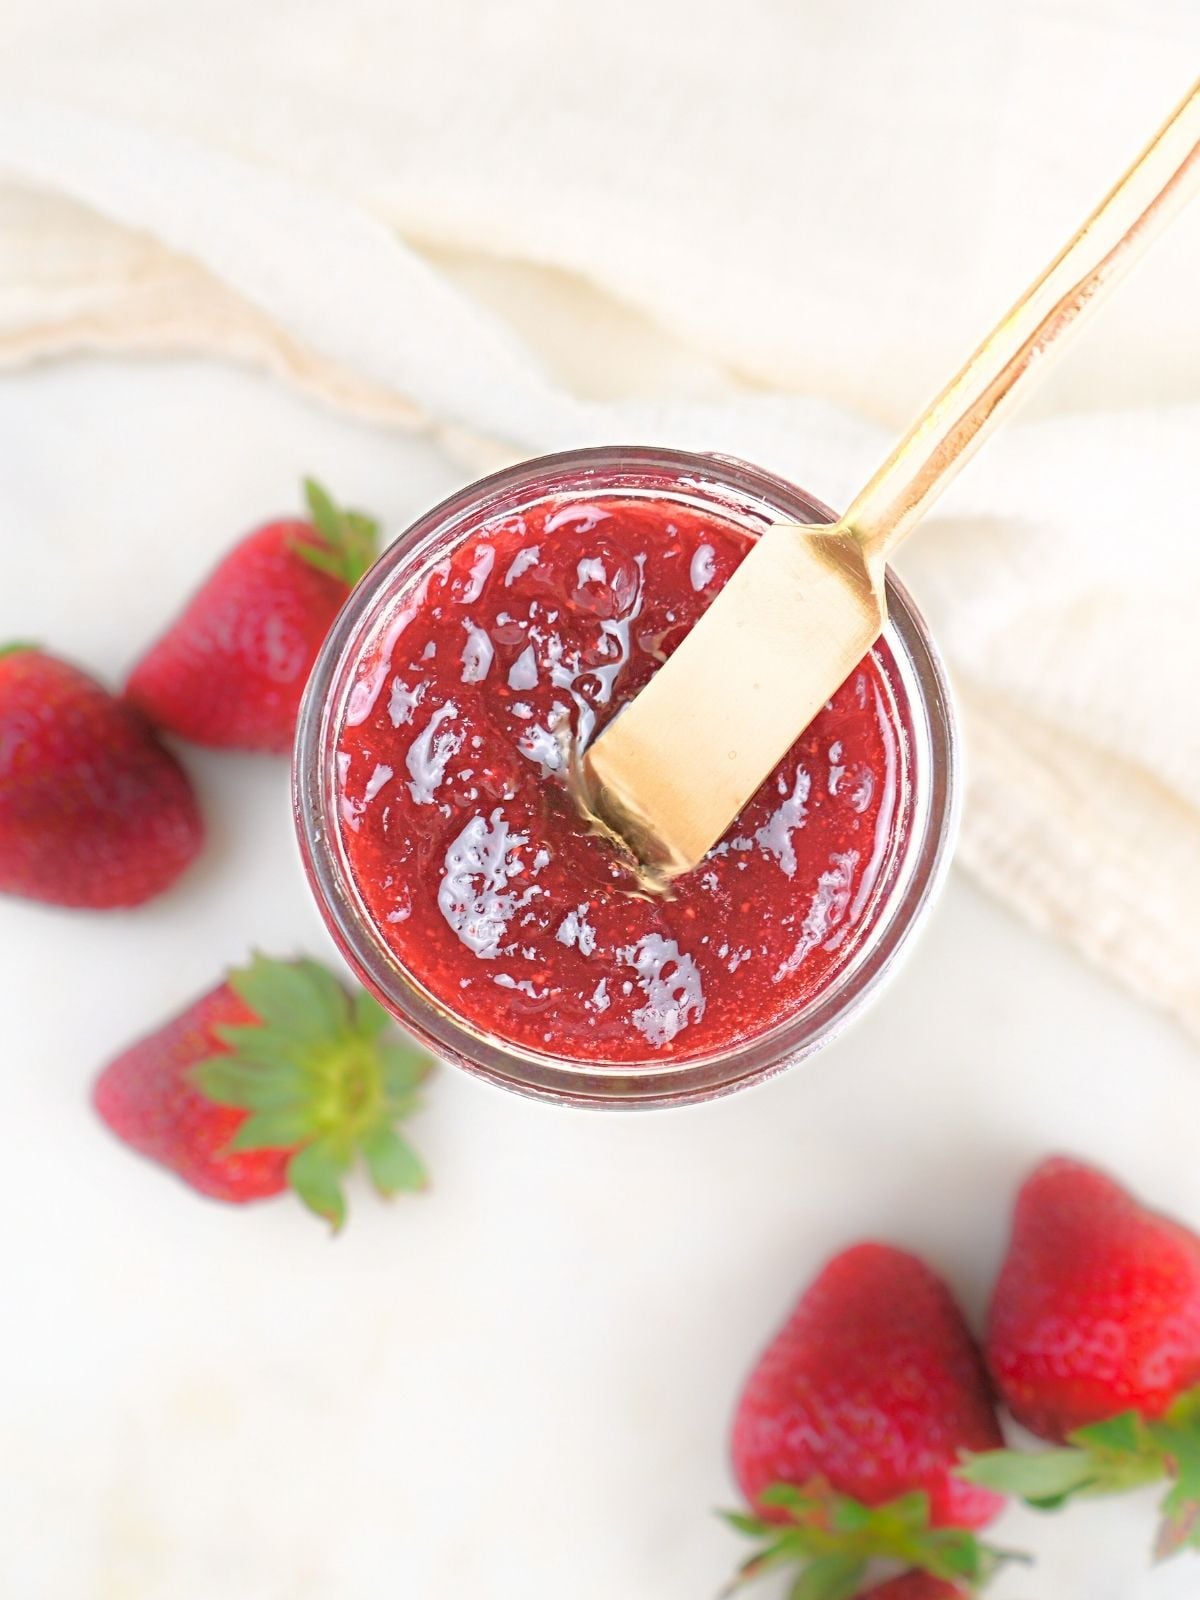
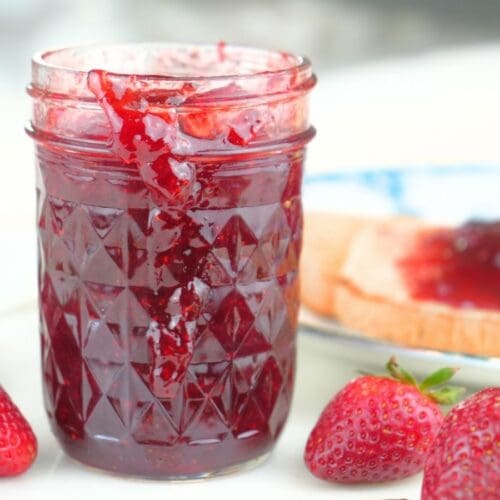
This canned strawberry jam recipe captures spring flavors with three simple ingredients. Made with whole berries, it delivers sweet, strawberry-filled bites in every spoonful. Beginner-friendly and great for small pantries!
A Quick Look At This Recipe
- Ready In: 1 hour, 40 minutes
- Serves: 4 half-pint jars
- Calories: 831 kcal per half-pint jar (approximately)
- Main Ingredients: Strawberries, lemon juice, sugar
- Dietary Notes: Gluten-free
- Why You’ll Love It: Sweet and simple, this old-fashioned canned strawberry jam is a classic way to preserve the taste of spring. Made with just a few ingredients and real berries, it has a bright, homemade flavor that's far better than store-bought. Plus, it's beginner-friendly and a great introduction to water bath canning.
SUMMARIZE & SAVE THIS RECIPE ON
Strawberry season always feels fleeting, but it's our first harvest of the year-and the sweetest.
Our fresh berries don’t last long around our house. They disappear quickly into our favorite recipes, such as strawberry jam Valentine’s Day cupcakes, strawberry sourdough cake, pickled strawberries, sourdough strawberry shortcake, old-fashioned strawberry ice cream, and even big batches of freeze-dried strawberries for year-round snacking.
But nothing tops homemade strawberry jam. It's simple, delicious, and a perfect way to preserve the bright flavor of spring.
Jump to:
About This Recipe
This recipe is a classic strawberry jam recipe, and I cross-referenced the ingredients and processing times in the Ball Complete Book of Home Preserving to ensure it follows all safety requirements.
Why You’ll Love This Recipe
Small Space Storage: This small batch of strawberry jam uses half-pint jars, making it optimal for kitchens without a homestead pantry or cellar.
Old-fashioned: This recipe is made just like your grandma made strawberry jam: long cooked on the stove and without pectin.
Spring Flavors: Nothing captures spring like fresh strawberries. And with canned strawberry jam, you can enjoy spring strawberries all year.
Beginner-Friendly: Canned strawberry jam is an easy recipe for anyone new to food preservation. Check out my beginner food preservation video on YouTube to learn more easy ways to get started.
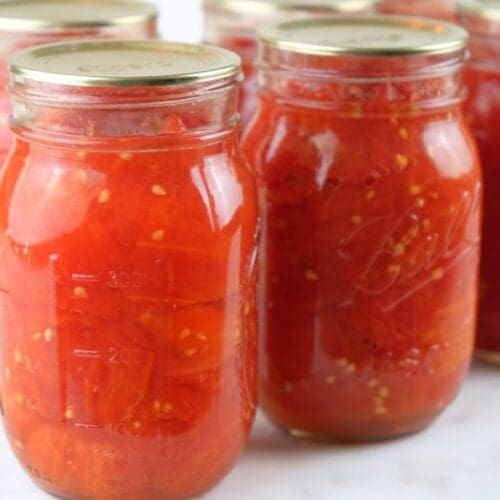
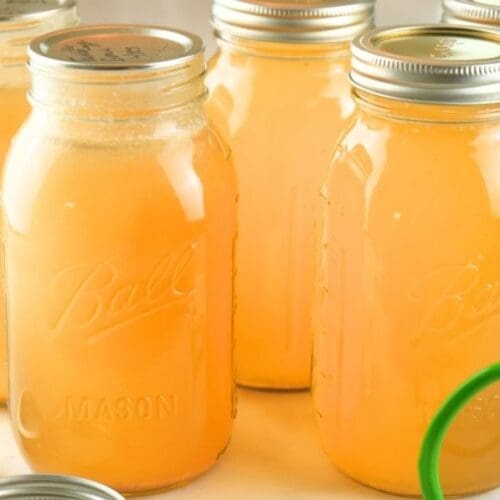
Heirloom Skill: Canning homemade jam is a timeless skill that can be shared and passed down through generations. For more simple canning traditions, try home-canned pinto beans and canned candied jalapeños.
Tools You Will Need
Water Bath Canner: I use a 21.5-quart water bath canner. Canning pots are taller than stockpots and keep jars covered by 2 inches of water for safe canning.
Food Funnel: Transfer the food into the jars using a canning funnel.
Jar Lifter: Always use canning tongs (aka a jar lifter) to transfer the hot jars in and out of the water bath canner.
Debubbler/Measurer: I like to use this canning debubbler. One side pops bubbles and the other measures headspace.
Mason Jars: This recipe uses half-pint jars. I usually need about 6 of them, but I prep a few extras just in case.
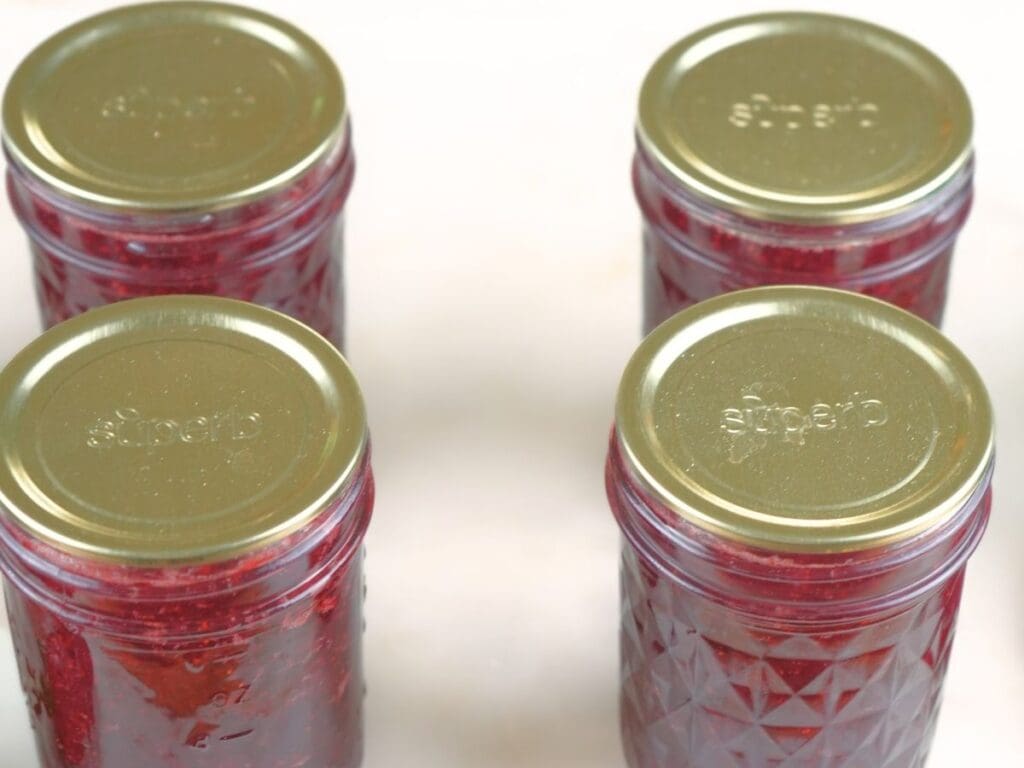
Canning Lids & Rings: I recently switched to Superb canning lids, and I love them. They are compatible with Ball rings, so you don’t need to purchase new rings if you already have a bunch. Remember, rings can be reused, but lids are not reusable.
Key Ingredients

Strawberries: Use fresh, ripe strawberries.
Lemon Juice: Always use bottled lemon juice when canning. Its consistent acidity makes the recipe safe for water bath canning, unlike fresh lemons with variable pH. Plus, it helps the jam set correctly.
Sugar: Use regular granulated sugar.
Get the full list of ingredients and measurements on the printable recipe card below.
How To Make Canned Strawberry Jam

Step 1: Following the manufacturer’s instructions, prepare your water bath canner, lids, and jars. I always put the jars in the canner so they stay hot.
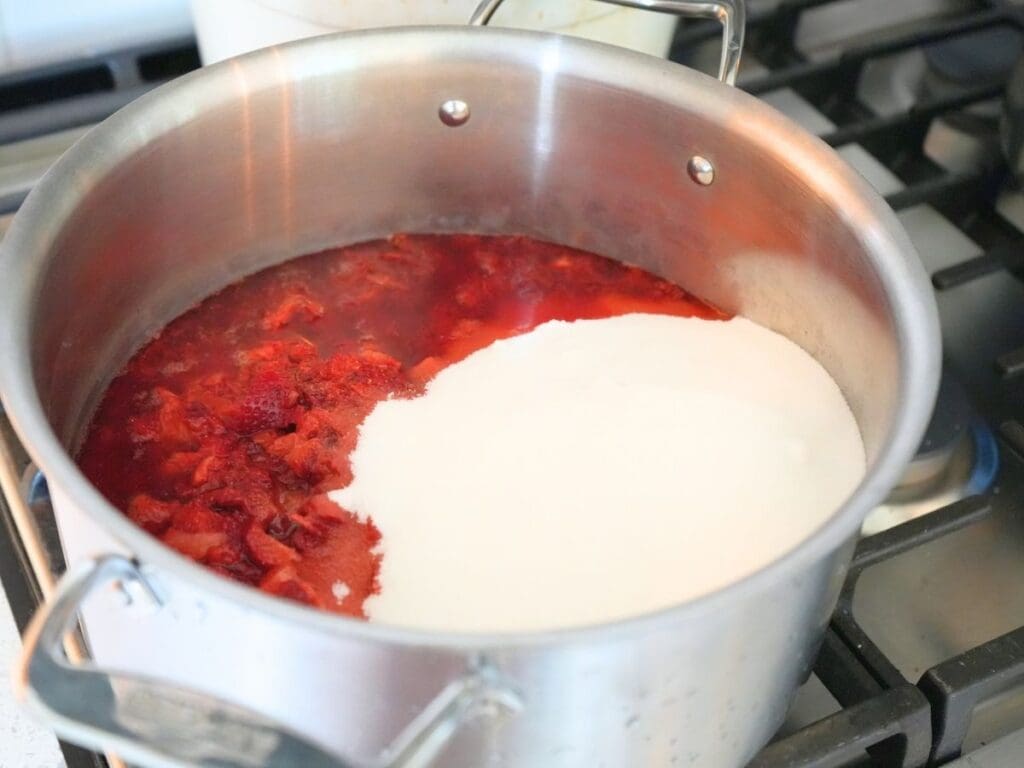
Step 2: Attach a frying or candy thermometer to a large, heavy-bottomed stainless steel pot. Add the crushed strawberries, lemon juice, and sugar. Stir well to combine.

Step 3: Bring the strawberry mixture to a boil over medium heat, stirring continuously to help the sugar dissolve and to prevent burning.
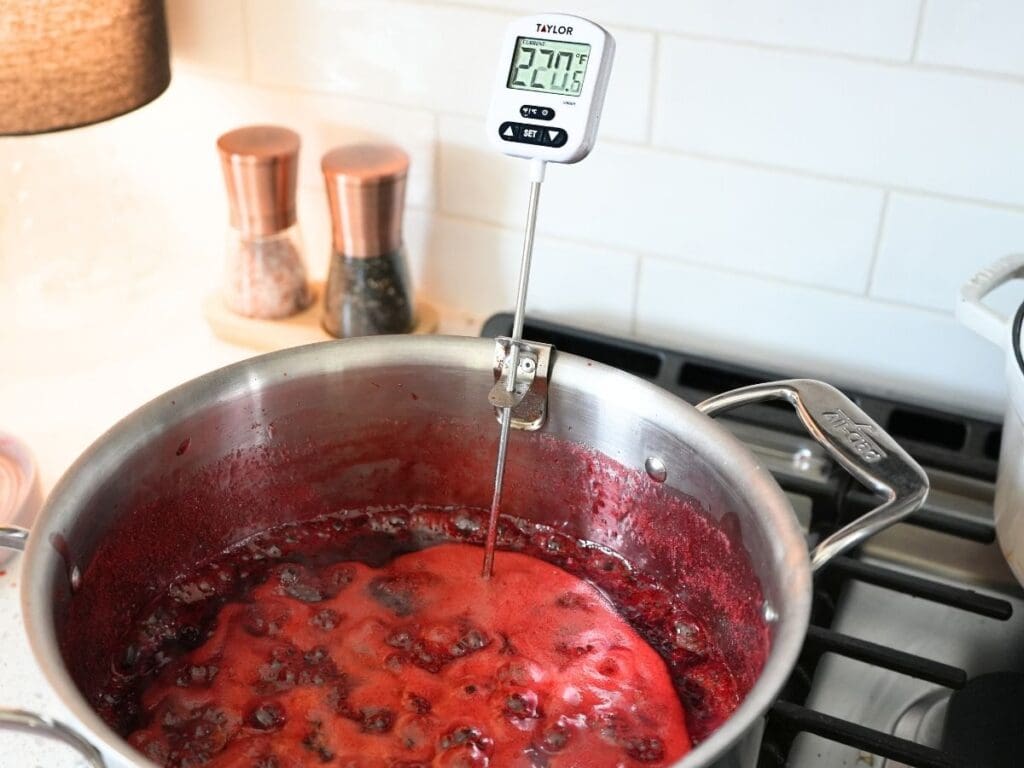
Step 4: Boil until it thickens and reaches 220° F (adjust the temperature for high altitudes as needed). Stir frequently to prevent scorching, especially as it thickens. Once it initially comes to a boil, it can take 40-60 minutes to reach 220° F.

Step 5: Use a jar lifter to remove the jars from the canner and fill the hot jars with hot strawberry jam, leaving 1/4″ headspace.
Use a clean debubbler to slide around the jar's edges and release air bubbles. Re-check the headspace and add more jam if needed.

Step 6: Wipe the jar rim with a clean, damp paper towel.
Place a lid on each jar, making sure it is centered. Add a band to each jar and twist it until fingertip tight.
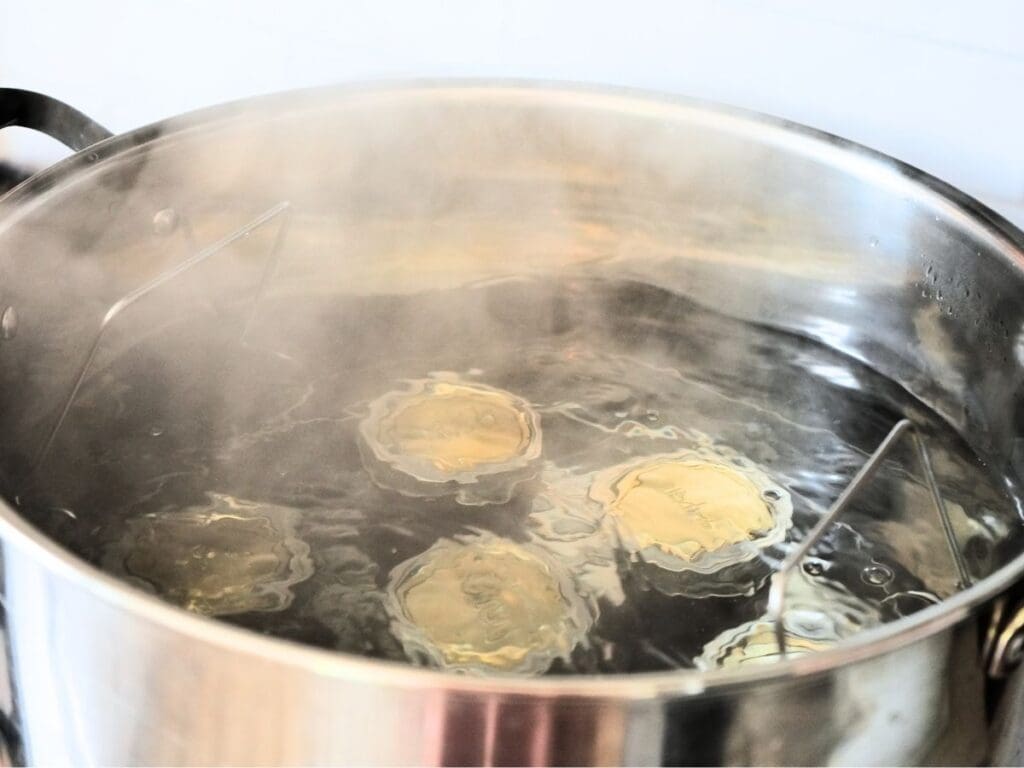
Step 7: Place the jars in the canner, covering them with at least 2″ of water. Cover and return to a boil.
Process them in the boiling water for 10 minutes, adjusting for altitude if necessary.
Before starting the timer, the water must be at a rolling boil. If it at any time during processing it drops below a boil, you will need to restart the processing time.
Step 8: After processing, turn off the heat, remove the lid, and allow the jars to sit in the water bath for 5 minutes.
Remove the jars from the canner and let them sit undisturbed for 12-24 hours.
Check the lids for a proper seal before removing the rings and storing.
Tips for Success
- I’ve found the most accurate way to test if the jam will set is by taking the temperature. At sea level, it should reach 220° F. For every 1,000 feet above sea level, the set temperature drops 2° F. Adjust as needed.
- You can use a small amount of slightly underripe fruit (no more than 25% of the total amount) to boost the natural pectin and help the jam set.
- Before starting, sterilize the jars by running them through the dishwasher, and wash the lids and rings in warm, soapy water. Also, make sure your kitchen and work surfaces are thoroughly cleaned before canning.
- If possible, use a wide, heavy-bottomed pot when cooking the strawberries. This helps moisture evaporate quickly and ensures even cooking. You can use a cast iron Dutch oven on the stove, but I like stainless steel for jam because it is easier to clean.
- If you don’t have a canner, you can use a large pot with a lid. Make sure your pot is large enough to cover the jars with 2 inches of water.
Storing
Without the Rings: Store home-canned strawberry jam without the rings so you'll know if the seal pops.
Cool and Dry: Store your canned strawberry jam in a cool, dry place, ideally between 50° F and 70° F.
Do Not Stack: Do not stack home-canned goods. The weight on the bottom jar can make it hard to tell if the seal has popped.
Upright: Keep the jars upright while in storage.
Lid Recommendations: Most manufacturers state how long their seals will last. Check the packaging for info.
Safety Tips for Canned Strawberry Jam
I always recommend familiarizing yourself with the canning safety tips from The National Center for Home Food Preservation and Ball Canning. Ball's FAQ page answers many common questions about safe canning practices.
Canning food at home is a safe way to preserve your favorite foods, but there are a few tips to remember:
Use a Tested Recipe: Tested recipes undergo a rigorous scientific process to ensure that dangerous microorganisms will not grow in your preserved food.
Clean Environment: Make sure your food, kitchen, hands, and tools are clean before canning.
Use Unblemished Food: Choose foods without bruises or other blemishes.
Adjust for Altitude: Your altitude affects how long you need to process the jalapeños. I live just a few feet above sea level, so I don't have to adjust mine. But if you live at higher elevations, check the altitude adjustments.
Label and Date: Always label and date your canned foods. Use your oldest canned foods first.
Skip Grandma's Methods: Old-fashioned canning methods are often unsafe. Also, food and soil acidity changes over time. So, only use current tested recipes and canning practices.
Canned Strawberry Jam FAQs
No, I know 6 cups of sugar is a lot, but it is necessary for the quality and texture of the jam.
I recommend making jam in small batches. Larger quantities can take much longer to reach the gel stage and may lead to overcooked or unevenly set jams.
Properly sealed jars can last up to a year when stored in a cool, dark place. After popping a jar open, refrigerate it and use it within a few weeks.
It happens. If you get through the process and realize your jam didn’t set, don’t worry. Just label it “strawberry sauce” and enjoy it over pancakes, ice cream, or your other favorites.

More Canning Recipes


If you tried this Old-Fashioned Canned Strawberry Jam recipe or any other recipe on my blog, please leave a 🌟 star rating and let me know how it went in the 📝 comments below. Thanks, y’all!

Canned Strawberry Jam Recipe
Equipment
- Mason jars (pints)
- Lids and rings
Ingredients
- 8 cups strawberries, hulled and crushed
- 4 tablespoons bottled lemon juice
- 6 cups granulated sugar
Instructions
- Following the manufacturer's instructions, prepare your water bath canner, lids, and jars. I always put the jars in the canner so they stay hot.
- Attach a frying or candy thermometer to a large, heavy-bottomed stainless steel pot. Add the crushed strawberries, lemon juice, and sugar. Stir well to combine.8 cups strawberries, 4 tablespoons bottled lemon juice, 6 cups granulated sugar
- Bring the strawberry mixture to a boil over medium heat, stirring continuously to help the sugar dissolve and to prevent burning.
- Boil until it thickens and reaches 220° F (adjust the temperature for high altitudes as needed). Stir frequently to prevent scorching, especially as it thickens. Once it initially comes to a boil, it can take 40-60 minutes to reach 220° F.
- Use a jar lifter to remove the jars from the canner and fill the hot jars with hot strawberry jam, leaving 1/4" headspace. Use a clean debubbler to slide around the jar's edges and release air bubbles. Re-check the headspace and add more jam if needed.
- Wipe the jar rim with a clean, damp paper towel. Place a lid on each jar, making sure it is centered. Add a band to each jar and twist it until fingertip tight.
- Place the jars in the canner, covering them with at least 2" of water. Cover and return to a boil. Process them in the boiling water for 10 minutes, adjusting for altitude if necessary. Before starting the timer, the water must be at a rolling boil. If it at any time during processing it drops below a boil, you will need to restart the processing time.
- After processing, turn off the heat, remove the lid, and allow the jars to sit in the water bath for 5 minutes. This will help them acclimate to the temperature change and prevent siphoning.Remove the jars from the canner and let them sit undisturbed for 12-24 hours. Check the lids for a proper seal before removing the rings and storing.
Notes
- Before starting, sterilize the jars by running them through the dishwasher, and wash the lids and rings in warm, soapy water. Also, make sure your kitchen and work surfaces are thoroughly cleaned before canning.
- I’ve found the most accurate way to test if the jam will set is by taking the temperature. At sea level, it should reach 220° F. For every 1,000 feet above sea level, the set temperature drops 2° F. Adjust as needed.
- You can use a small amount of slightly underripe fruit (no more than 25% of the total amount) to boost the natural pectin and help the jam set.
- If possible, use a wide, heavy-bottomed pot to let the moisture evaporate quickly and promote even cooking.
Nutrition
Nutrition information is auto-calculated and may not reflect your final product. Please verify independently if needed.


This is a spring tradition for us. I love to make and can jam with the strawberries my daughter picks at a nearby farm. We enjoy a few jars, and I give the rest to her grandparents.