This post may contain affiliate links. Please read our disclosure policy.
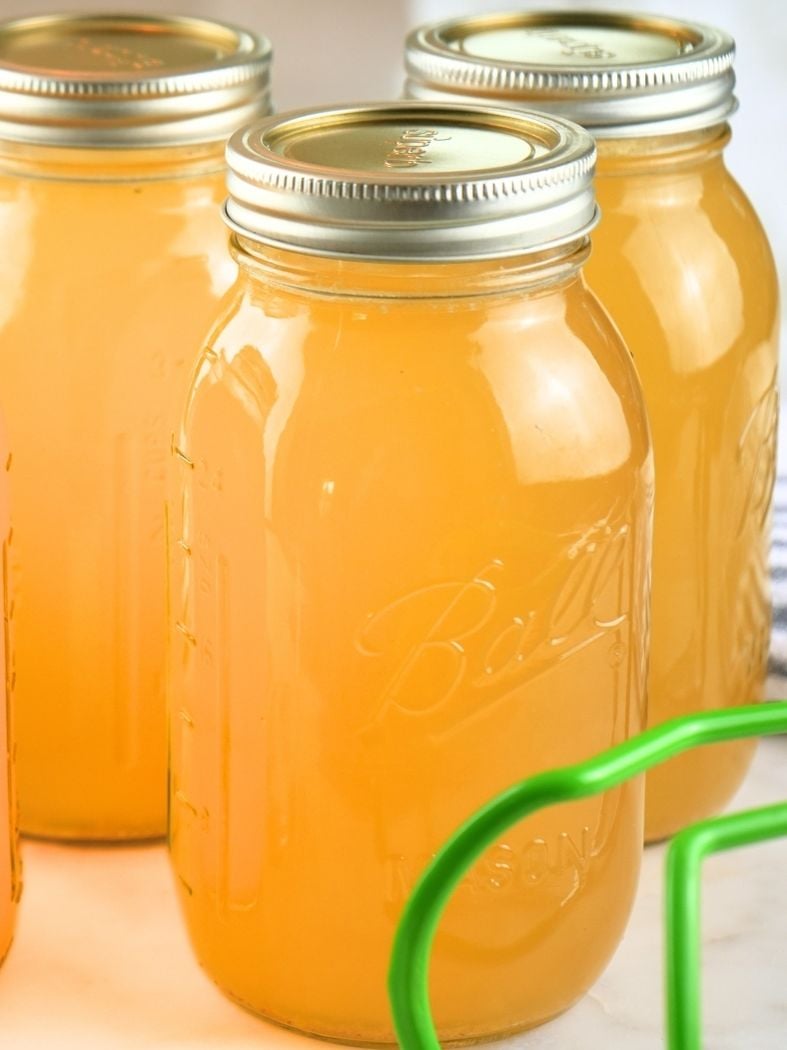
Learning how to can chicken broth is a simple way to turn leftover chicken into a nourishing pantry staple that is healthy and tastes delicious in home-cooked meals. With just a little time in the kitchen, you can stock your shelves with rich, homemade broth that's ready anytime you need it.
This recipe requires pressure canning, but don't worry. It's not as complicated as you may think. (Detailed instructions are below to guide you through the whole process!)
Making your own chicken broth is a great way to keep a wholesome staple on hand that can be used in many different homemade recipes.
I call it chicken broth, though it's really more of a rich, homemade stock made by simmering chicken bones to extract all the nutrients out of the marrow, cartilage, and connective tissue for a nourishing base that's perfect for soups, stews, and other home-cooked meals.
I use the terms “broth” and “stock” interchangeably in my kitchen, as they're nearly the same when it comes to everyday cooking.
I love adding home-canned broth to a comforting chicken corn chowder, hearty veggie soup, and even my homemade cheeseburger helper that takes less than 30 minutes to get on the table.
You can easily replace water with chicken stock for savory and delicious rice, like in this one-pot Japanese curry chicken and rice recipe. Or try cooking Southern cheese grits in homemade stock for an even richer flavor!
You can also warm homemade broth and sip it on its own. It’s gentle on the stomach and full of nutrients that support the immune system.
Preserving homemade chicken stock is a great way to keep something on hand for quick, nourishing meals. It takes a little time up front, but after that, you’ll have a nourishing pantry staple ready to go in all kinds of recipes (right when you need it!)
If you’re new to food preservation, it may seem a little intimidating. But it’s actually easy to learn and empowering. Before you get started, make sure to review the instruction manual for your pressure cooker.

Why You’ll Love Canning Chicken Broth
Shelf-Stable: Canning your own broth means having a shelf-stable pantry ingredient that lasts for months, so you don’t have to worry about freezer space or it going bad quickly.
Zero-Waste Kitchen: Save leftover chicken carcasses and vegetable scraps to make a nourishing staple, instead of tossing them out.
Easier Meals: With broth ready on the shelf, you can pull meals together faster. No last-minute trip to the store, no thawing, just simple, from-scratch cooking.
Heirloom Skill: Food preservation is a skill that can be passed down and shared with others.
Pressure Canning Basics
If you are new to pressure canning, it can initially seem a little intimidating. But I'm totally confident that you can successfully pressure can chicken broth.
Whether to pressure or water bath can depends on the food's acidity. High-acid foods are water-bath canned, while low-acid foods are pressure canned.
Chicken broth is a low-acid food, meaning it needs the high heat of pressure canning to kill bacteria like botulism.
A pressure canner gets much hotter than a water bath canner-somewhere between 240°-250° F, making it the only safe option for canning low-acid foods like chicken stock or broth.
Before starting, familiarize yourself with pressure canning basics from trusted sources such as Ball Canning and the National Center for Home Food Preservation.
For specific instructions for your pressure canner, refer to the manufacturer's user manual.
Ingredients
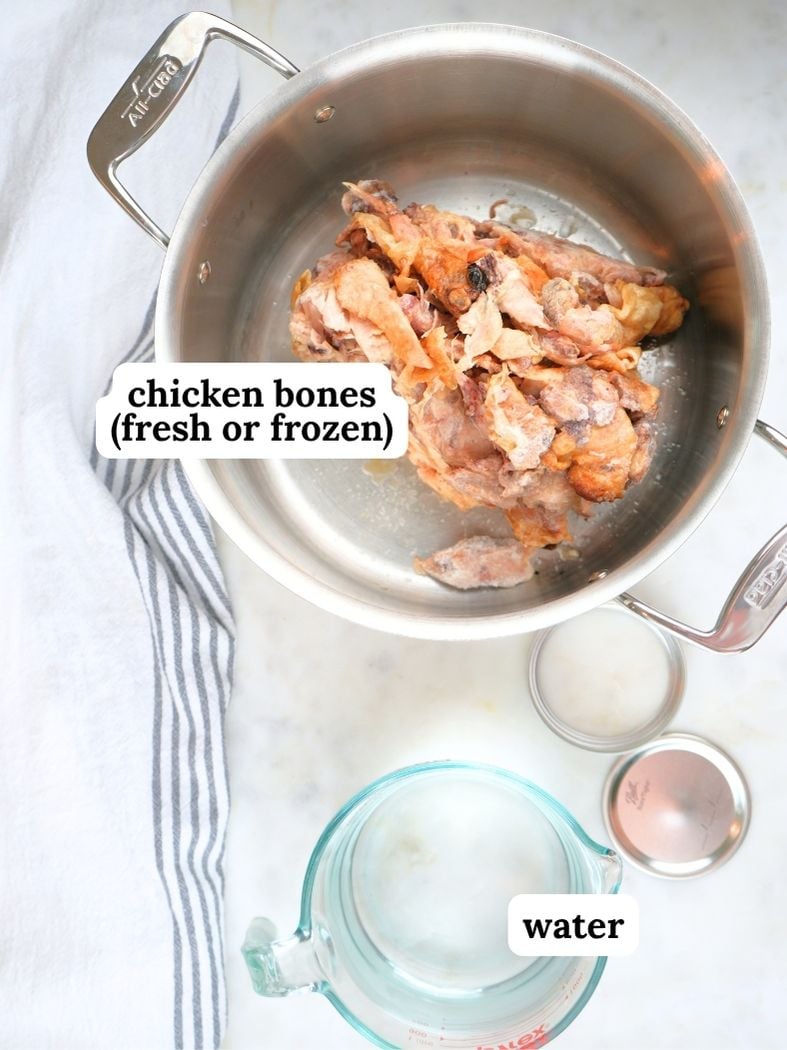
Whole Chicken Carcass (fresh or frozen): You can use a leftover roasted chicken from dinner, raw bones, or a combination of both. Frozen bones work just as well (no need to thaw first).
Water: Use enough to cover the bones in your stockpot.
Get the full list of ingredients and measurements in the printable recipe card below.
Tools You Will Need
Pressure canner: Broth must be canned in a pressure canner because it’s a low-acid food. I use the Presto 23-quart pressure. It’s budget-friendly and works great.
Jars: You’ll need quart-sized mason jars for canning chicken stock.
Lids and Rings: I use Superb lids and Ball canning rings. Make sure you get wide or regular, depending on your jar type. Remember, rings can be reused, but lids are not reusable.
Canning Tools: You will need a set of canning tongs. I also like using a regulator, which helps maintain consistent pressure.
Step-by-Step Instructions
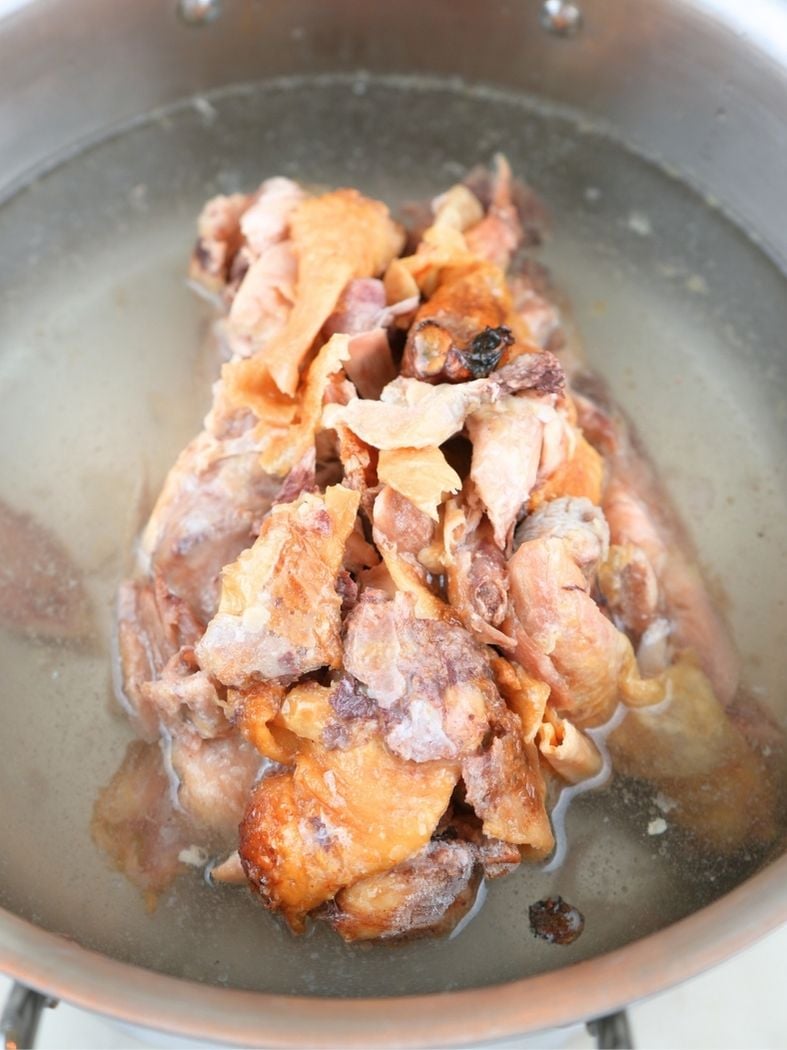
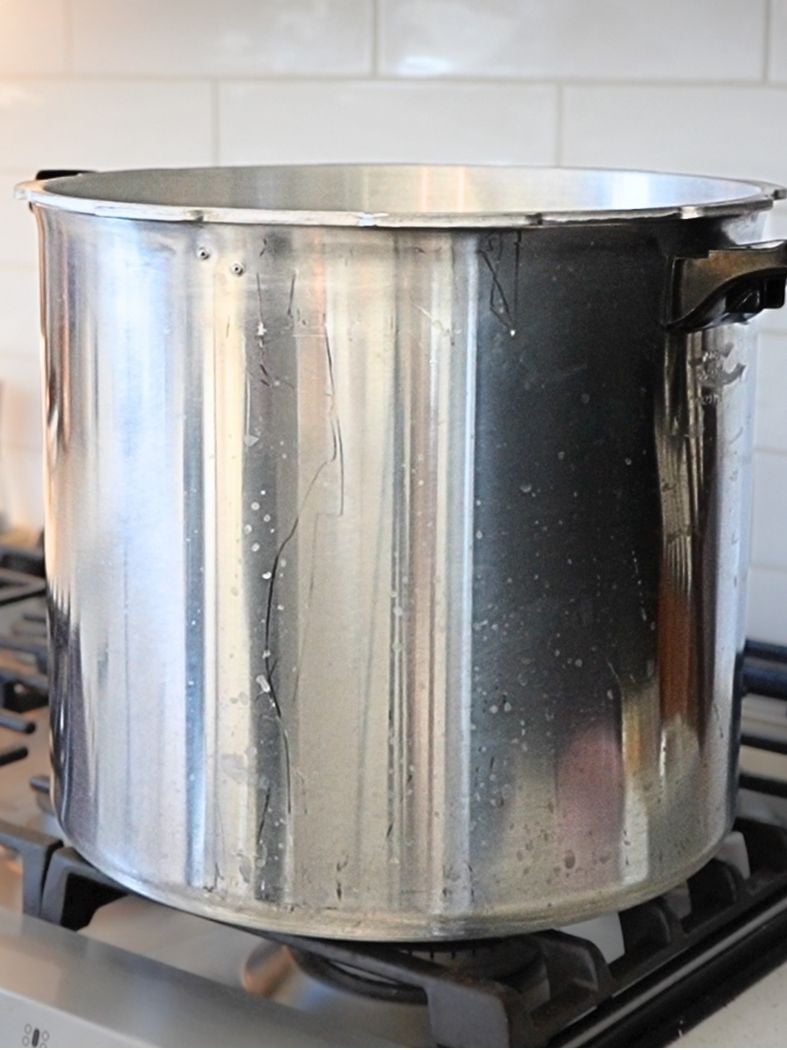
Step 1: Rinse and place the bones in a large stainless steel stockpot, then cover them with water.
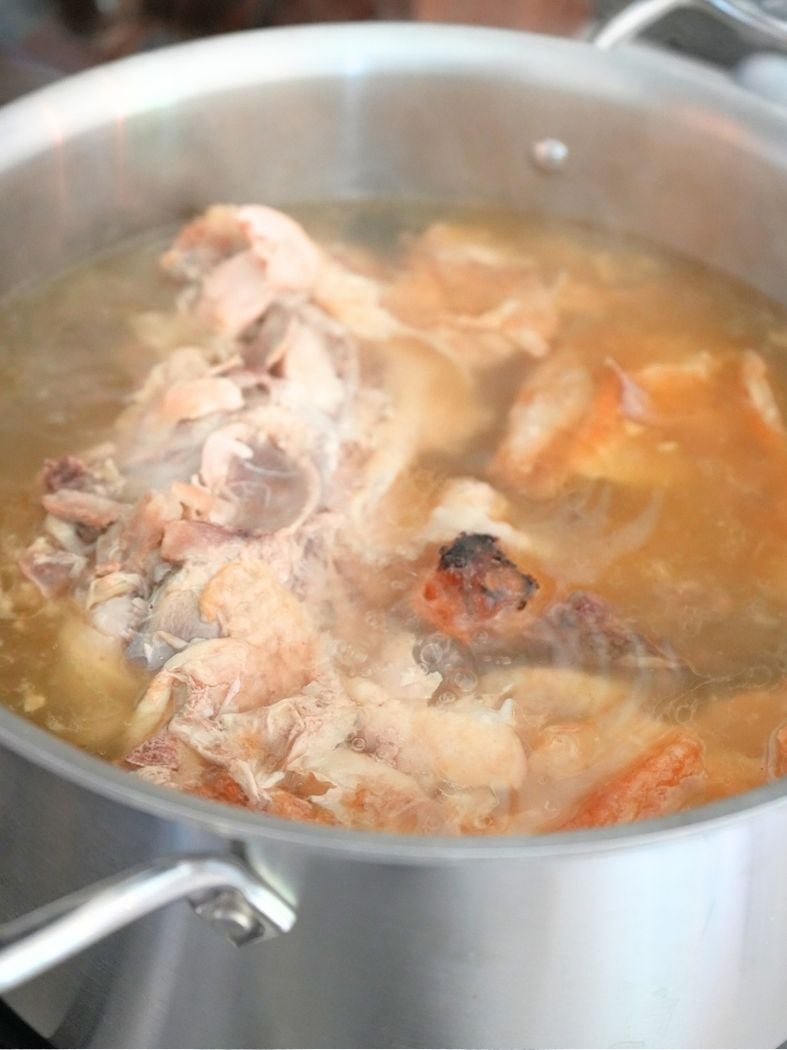
Step 2: Bring to a low boil on medium-high heat. Drop the heat to low, and simmer, covered, for 3-4 hours.
Step 3: Remove the pot from the heat and allow to cool to room temperature.
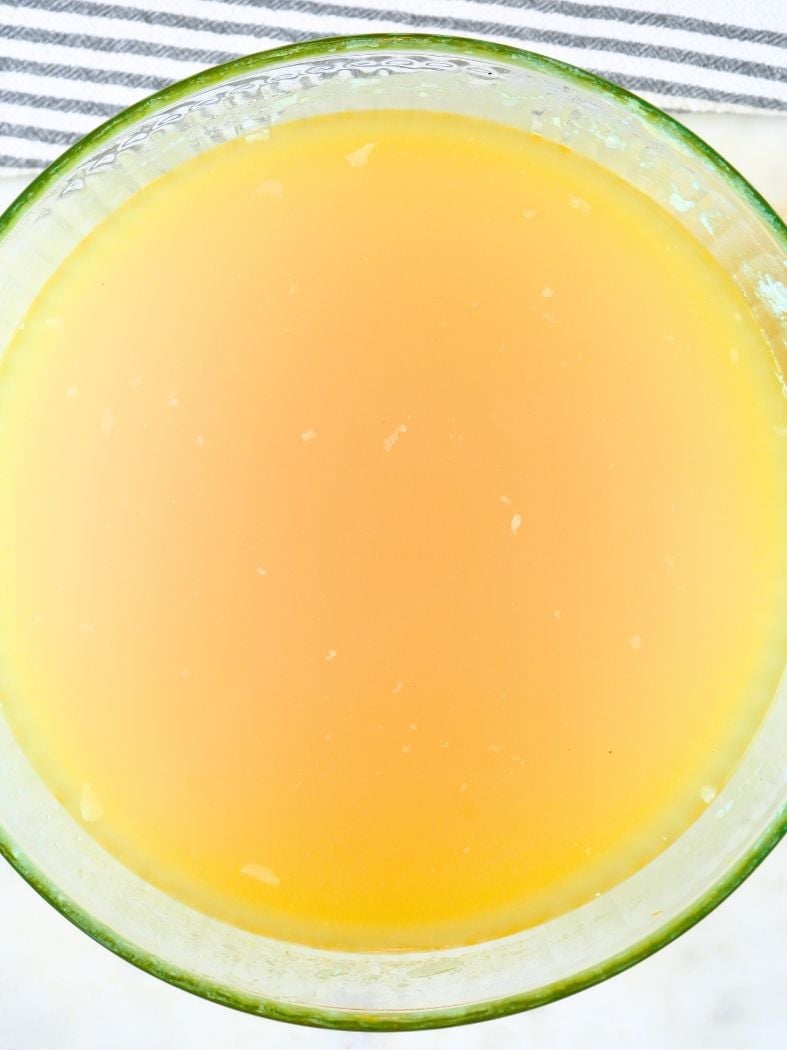
Then, strain the broth into a clean bowl and refrigerate it overnight. This will allow the fat to congeal on top (which is necessary for the next step).
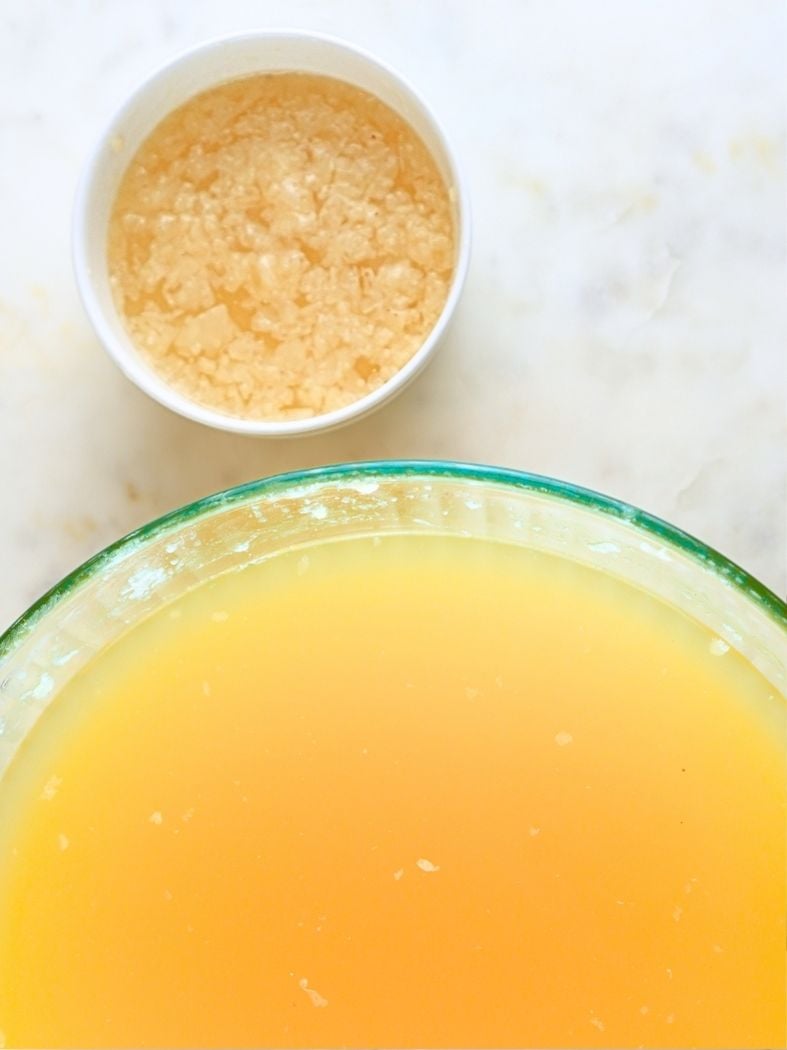
Step 4: The next day, skim the fat off the top of the broth. If there is any siphoning during canning, the fat can prevent the lid from sealing.
Step 5: Prepare your pressure canner according to the manufacturer’s instructions.
Since this is a hot pack, I recommend keeping the jars warm inside the canner while you prep it.
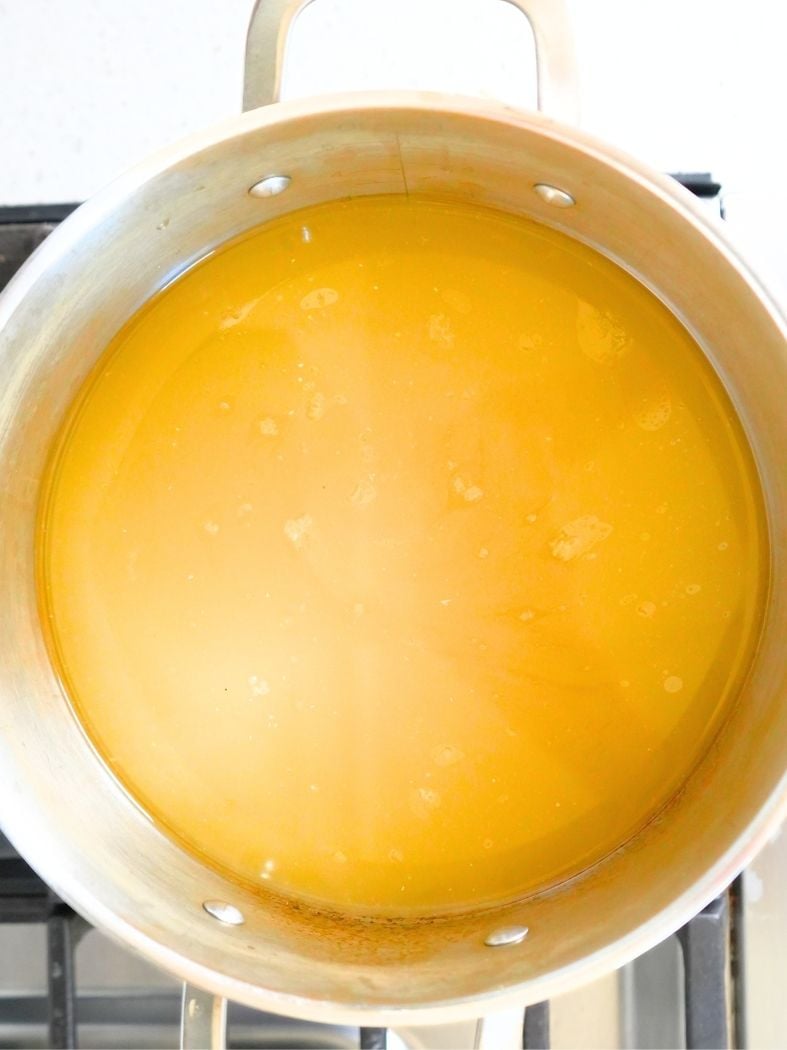
Step 6: Meanwhile, transfer the stock into a clean stainless steel pot and bring it to a boil.
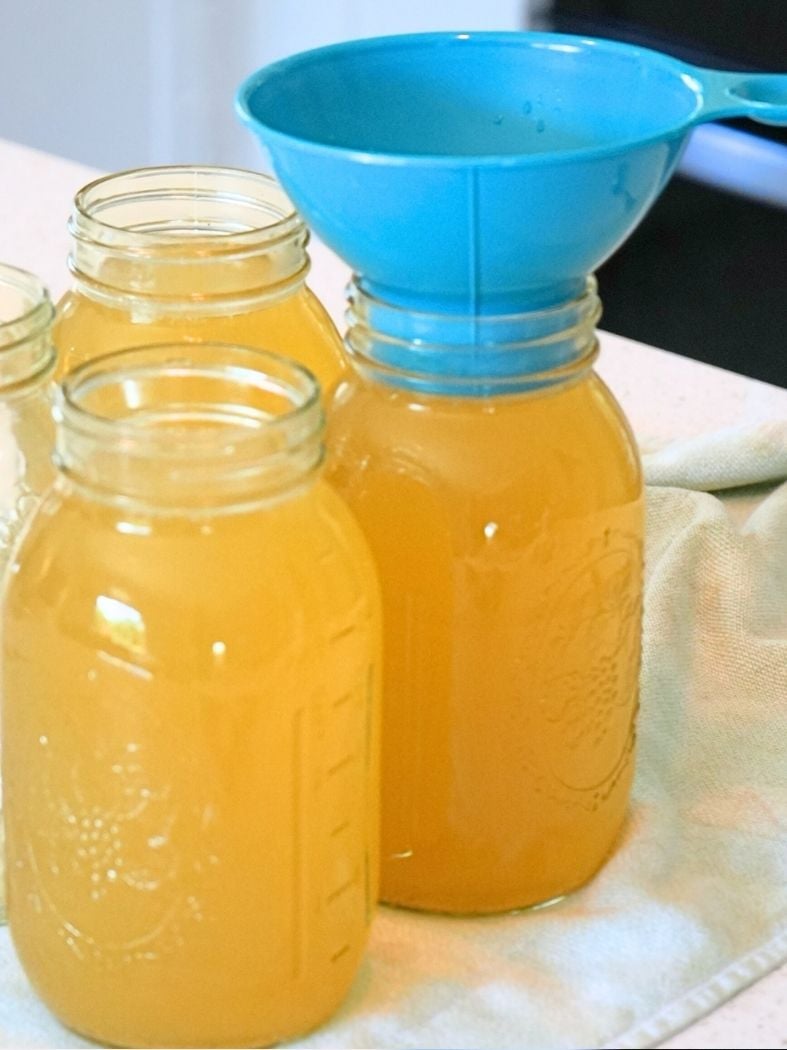
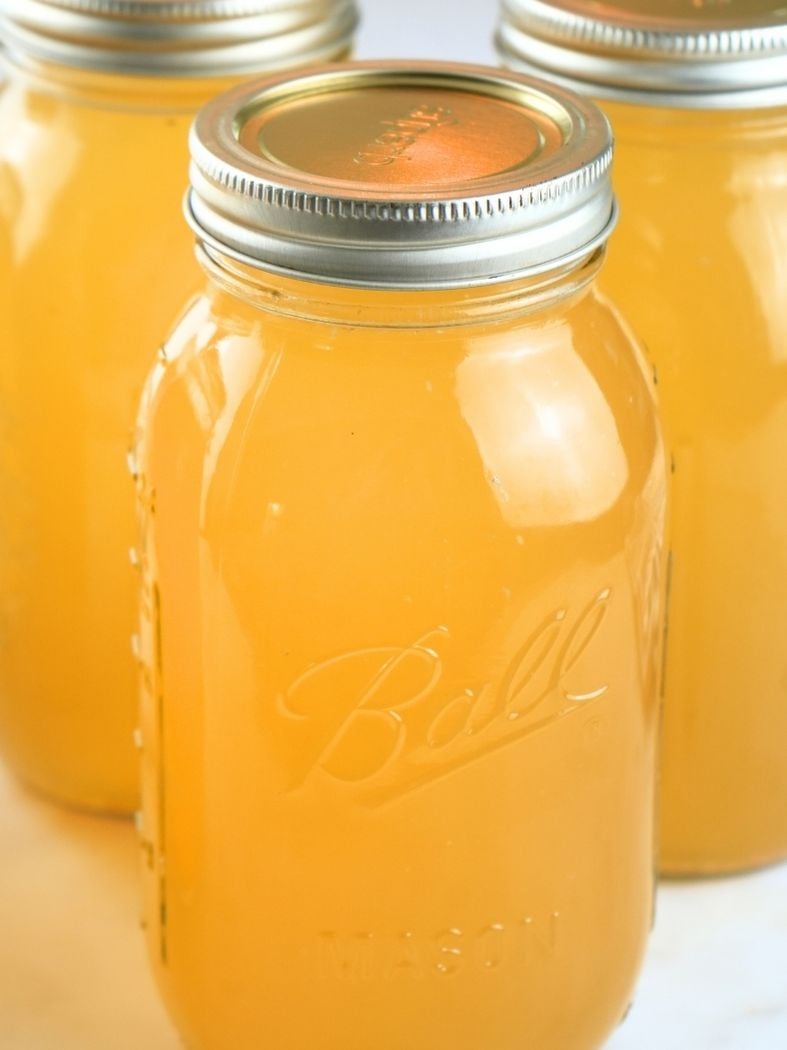
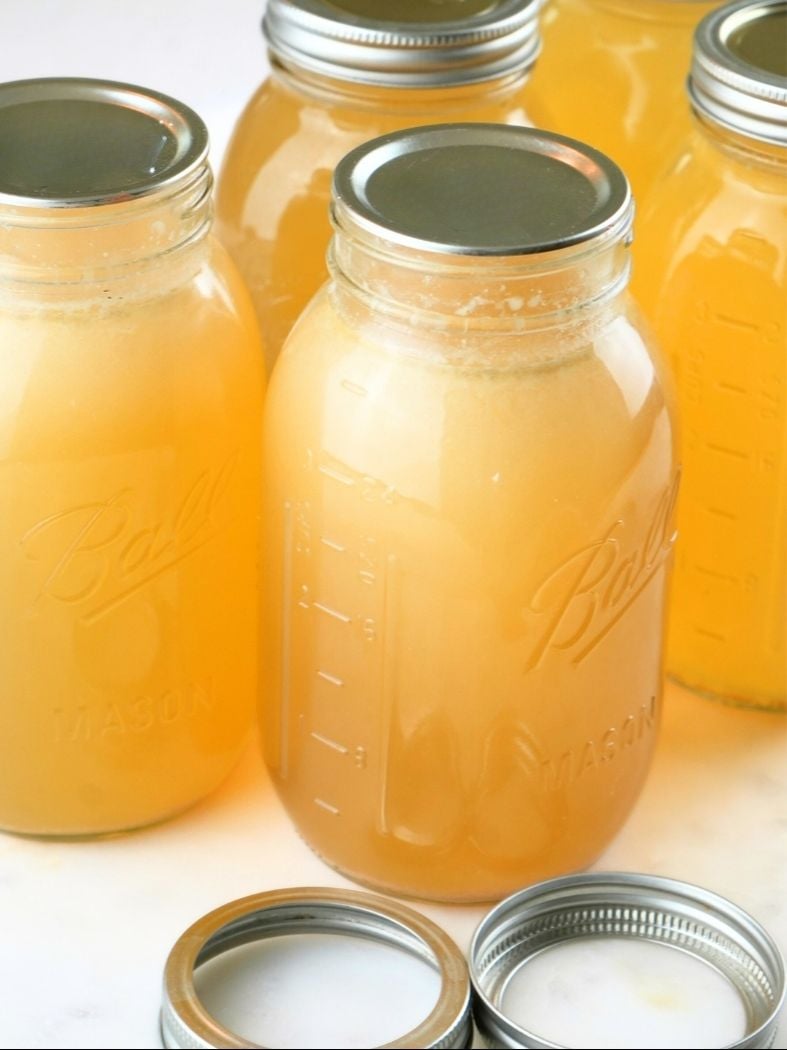
Step 7: Transfer the hot jars to the counter (I like to set them on a towel) and fill the jars with the hot broth, leaving 1″ headspace. I usually get about 3-4 quart-sized jars.
Step 8: Wipe the jar rim with a clean paper towel soaked in vinegar (this will remove any fat on the rim).
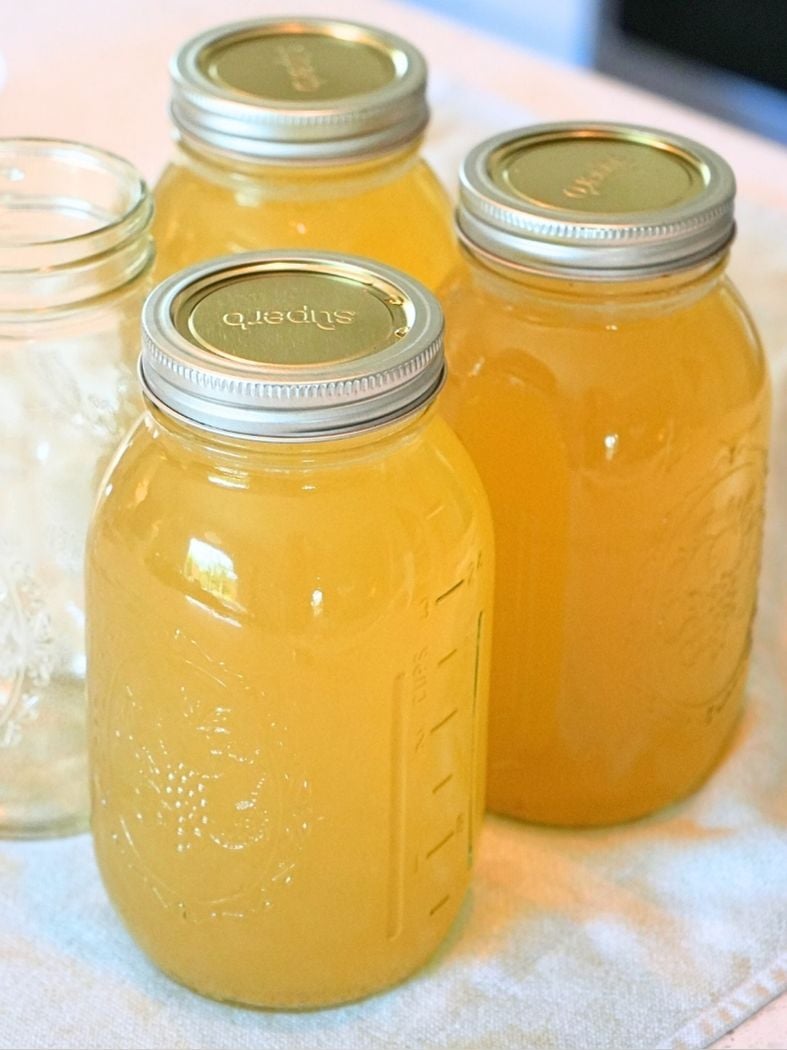
Place a lid on each jar, making sure it is centered. Add a band to each jar and twist it until fingertip-tight.
Step 9: Transfer the jars to the canner using canning tongs.
Follow the manufacturer’s instructions for sealing and venting your canner.
Most canners will take 15 minutes or so to pressurize and also require 10 minutes of venting before placing the weight or setting the dial.
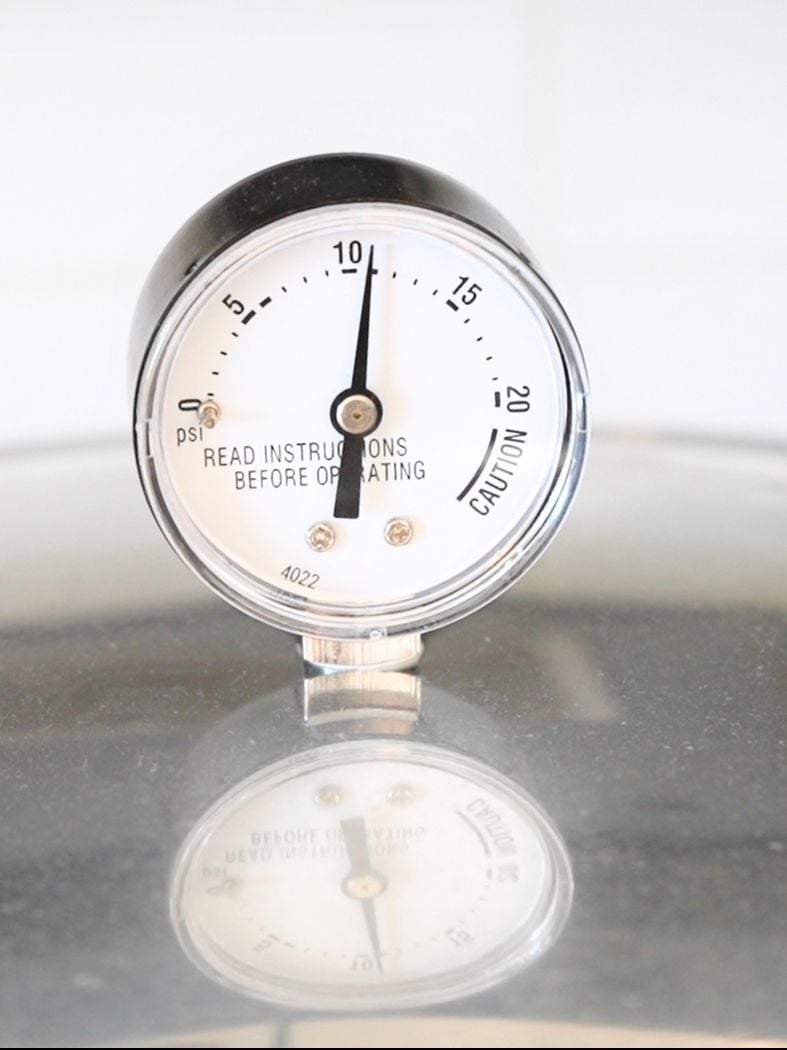
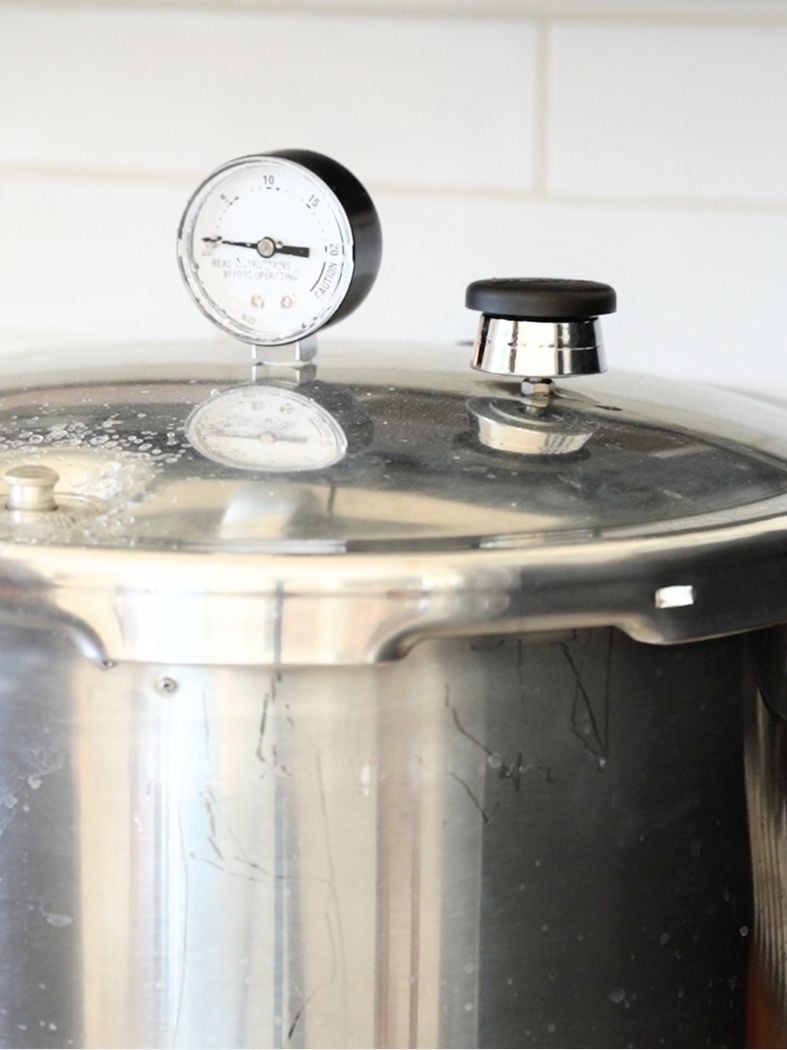
Step 10: Pressure can for 25 minutes. Adjust the pounds of pressure for your elevation. The chart below details the pressure needed for elevation changes.
Keep an eye on the canner and adjust the heat to maintain the correct pressure (or use a regulator).

Step 11: Let the pressure canner completely depressurize.
Once the pressure returns to zero and the vent lock drops, remove the weight and let the canner sit for 10 minutes before opening.
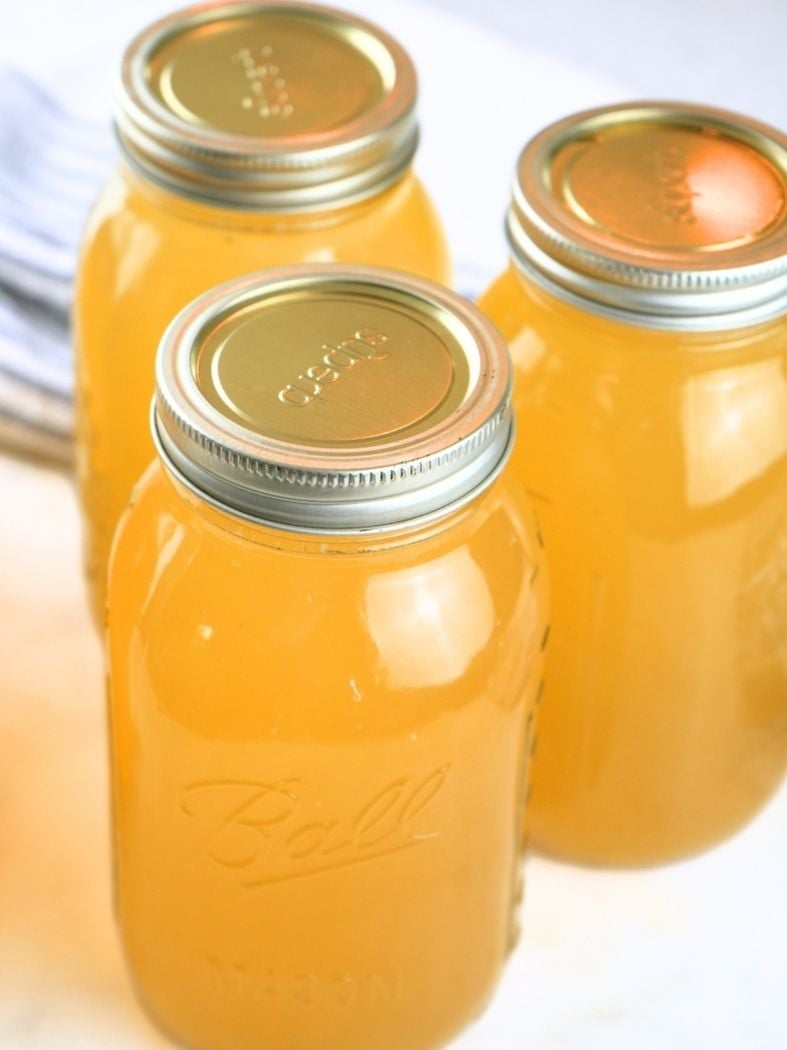
Remove the cans from the pressure canner and allow them to cool undisturbed for 12-24 hours.
Remove the ring and check the seal. Use a damp towel to clean off the outside of the jar before labeling and storing.
Tips for Success
Don't Add Salt Before Canning: You can always season your broth when you use it later. However, I don’t recommend salting beforehand since you may be using it for a wide range of recipes.
Skim Fat Well to Avoid Spoilage: Too much fat in the broth can prevent a proper seal and reduce shelf life.
Simmer the Broth: Keep the broth simmering while you prep the canner and tools. Hot broth helps maintain the right temperature during canning and reduces the risk of jar breakage.
Fat Separation: If there's fat in the broth, it's normal for it to separate in the jars during storage. Just give it a good stir before using.
How To Store
Without the Rings: Store home-canned goods without the rings so you'll know if the seal pops.
Cool and Dry: Store your home-canned goods in a cool, dry place, ideally between 50°F and 70°F.
Do Not Stack: The weight on the bottom jar can make it hard to tell if the seal has popped.
Upright: Keep the jars upright.
Check the Lid Recommendations: Most manufacturers specify the expected lifespan of their seals. Check the packaging for info.
Safety Tips for Canning Chicken Broth
I always recommend familiarizing yourself with the canning safety tips from The National Center for Home Food Preservation and Ball Canning. Ball's FAQ page answers many common questions about safe canning practices.
Canning food at home is a safe way to preserve your favorite foods, but there are a few tips to remember:
Use a Tested Recipe: Tested recipes undergo a rigorous scientific process to ensure that dangerous microorganisms will not grow in your preserved food. I only use and share National Center for Home Food Preservation and Ball recipes.
Clean Environment: Ensure your food, kitchen, hands, and tools are clean before canning.
Use Unblemished Food: Choose foods without bruises or other blemishes.
Adjust for Altitude: How many pounds of pressure needed for pressure canning chicken broth depends on your altitude. I've included a chart in the printable recipe card, but check out this article for more info.
Label and Date: Always label and date your canned foods. Use your oldest canned foods first.
Skip Grandma's Methods: Old-fashioned canning methods are often unsafe. Also, food and soil change over time (fun fact: tomatoes are less acidic now than they were decades ago). So, only use up-to-date, tested recipes and canning practices.
Ways To Use Home-Canned Chicken Broth
Quick Soups, Stews, and Risottos: A jar of broth saves time and adds deep, homemade flavor to weeknight meals, such as Cuban Garbanzo stew. And of course, I put those soups and stews in sourdough bread bowls.
Gravy, Rice, or Pasta Dishes: Use it as a base for sauces or to cook grains and noodles with extra flavor. I like to use it for Instant Pot millet or one-pot coconut rice. I often use a combination of part chicken broth and part water to reconstitute freeze-dried mashed potatoes.
Braising or Slow Cooker Recipes: Perfect for adding moisture and richness to meats and veggies.
Sipping for Nourishment: Warm it up in a mug for a simple, comforting drink. This is great for when you’re under the weather or need something easy on the stomach.
FAQs
No, you should not can chicken broth in a water bath. Because broth is a low-acid food, it must be canned in a pressure canner to kill any harmful bacteria.
Pressure canning reaches high temperatures, so you can safely preserve the broth long-term.
Yes! Turkey bones work just as well as chicken and make a delicious, hearty broth.
You can use the same method. Just be sure your pot is big enough if you're using a whole carcass. It's a great way to use up leftovers after a holiday meal.
If you don't have a full batch, you can still run the canner. Fill the remaining space with jars filled with hot water (without lids) to balance the load. This helps keep the jars stable and ensures even pressure during processing.
Absolutely! This recipe scales up easily. Just make sure you're using a large enough stockpot to handle the extra bones and water, and give it plenty of simmer time to draw out all the nutrients and flavor. Can, freeze, or use any extras right away in other meals.
Depending on how much broth you make, you may need to process them in separate batches.
Let's Connect!
If you tried this recipe and loved it, leave a comment or review below.
Also, don't forget to pin this post and follow Moon + Magnolia on Pinterest. You can save all my recipes on your boards and keep up with the latest happenings!
Share your creations on Instagram and tag @moon_and_magnolia!

How To Can Chicken Broth
Equipment
- Quart Jars
- Canning Lids & Rings
- Canning Tongs (also called jar lifter)
- Regulator (optional, but helpful)
Ingredients
- 1 whole chicken carcass, fresh or frozen, (meat removed)
- water
Instructions
- Rinse and place the bones in a large stainless steel stockpot, then cover them with water.1 whole chicken carcass, fresh or frozen, water
- Bring to a low boil on medium-high heat. Drop the heat to low, and simmer, covered, for 3-4 hours.
- Remove the pot from the heat and allow to cool to room temperature. Then, strain the broth into a clean bowl and refrigerate it overnight. This will allow the fat to congeal on top (which is necessary for the next step).
- The next day, skim the fat off the top of the broth. If there is any siphoning during canning, the fat can prevent the lid from sealing.
- Prepare your pressure canner according to the manufacturer's instructions. Since this is a hot pack, I recommend keeping the jars warm inside the canner while you prep it.
- Meanwhile, transfer the stock into a clean stainless steel pot and bring it to a boil.
- Transfer the hot jars to the counter (I like to set them on a towel) and fill the jars with the hot broth, leaving 1" headspace. I usually get about 3-4 quart-sized jars.
- Wipe the jar rim with a clean paper towel soaked in vinegar (this will remove any fat on the rim). Place a lid on each jar, making sure it is centered. Add a band to each jar and twist it until fingertip-tight.
- Transfer the jars to the canner using canning tongs. Follow the manufacturer's instructions for sealing and venting your canner. Most canners will take 15 minutes or so to pressurize and also require 10 minutes of venting before placing the weight or setting the dial.
- Pressure can for 25 minutes. Adjust the pounds of pressure for your elevation. The chart below details the pressure needed for elevation changes. Keep an eye on the canner and adjust the heat to maintain the correct pressure (or use a regulator).

- Let the pressure canner completely depressurize. Once the pressure returns to zero and the vent lock drops, remove the weight and let the canner sit for 10 minutes before opening.
- Remove the cans from the pressure canner and allow them to cool undisturbed for 12-24 hours. Remove the ring and check the seal. Use a damp towel to clean off the outside of the jar before labeling and storing.

Notes
- You can always season your broth when you use it later, but I don't recommend salting beforehand, since you may be using it for a wide range of recipes.
- Too much fat in the broth can prevent a proper seal and reduce shelf life. Don’t skip skimming the fat off!
-
Keep the broth simmering while you prep the canner and tools. Hot broth helps maintain the right temperature during canning and reduces the risk of jar breakage.
- If there's fat in the broth, it's normal for it to separate in the jars during storage. Just give it a good stir before using.
Nutrition
Nutrition information is auto-calculated and may not reflect your final product. Please verify independently if needed.


Every time I make a roast chicken, I make bone broth and can it. It’s a great way to stretch your grocery budget!