This post may contain affiliate links. Please read our disclosure policy.
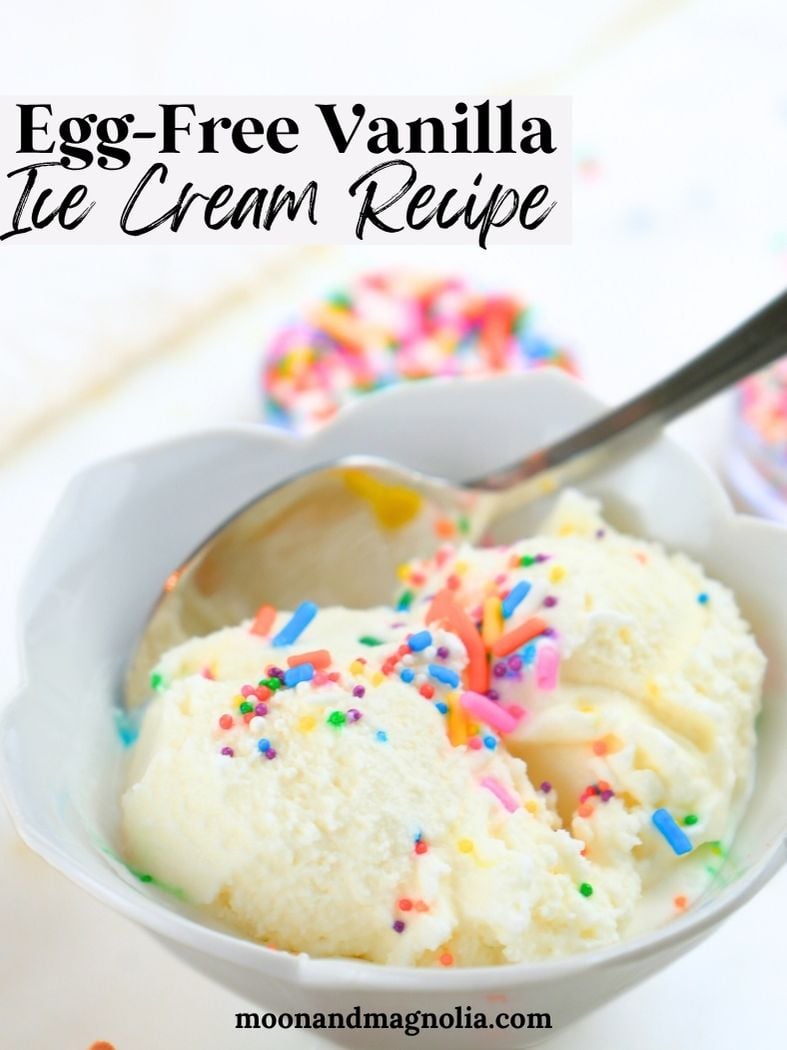
With just four ingredients and three simple steps, this homemade vanilla ice cream without eggs recipe is beyond easy to make. It’s creamy, smooth, and delicious on its own or scooped on top of your favorite desserts.
Growing up, we'd often stop by a retro 50s-style ice cream shop after dinner. As a kid, it felt like the highlight of summer.
I still love those memories, but these days, some of our sweetest moments happen right at home.
Making homemade ice cream has become one of our favorite family traditions. And while we still visit the occasional ice cream shop, nothing beats a batch of homemade vanilla ice cream, especially when we make it together.
When my daughter was really little, she was allergic to eggs, so we couldn’t make ice cream with eggs.
As such, this became our go-to ice cream recipe. Thankfully, she has outgrown her egg allergy, so we now make strawberry ice cream and other custard-based ice creams.
But this easy eggless vanilla ice cream recipe is still one of our family favorites.
It only takes four ingredients and three simple steps. Just a quick stir and a churn in the ice cream maker, and you've got a creamy, dreamy no-cook vanilla ice cream everyone will love.
Why You’ll Love This Recipe
No Eggs: This is a no-cook vanilla ice cream recipe, which means you can skip the egg tempering and custard process. Just mix the ingredients and churn. That’s it!
Year-Around Flavor: Vanilla ice cream is perfect on a hot summer day and delicious on pumpkin cobbler in the fall.
Simple Ingredients: This recipe uses just four simple ingredients: milk, cream, sugar, and vanilla.
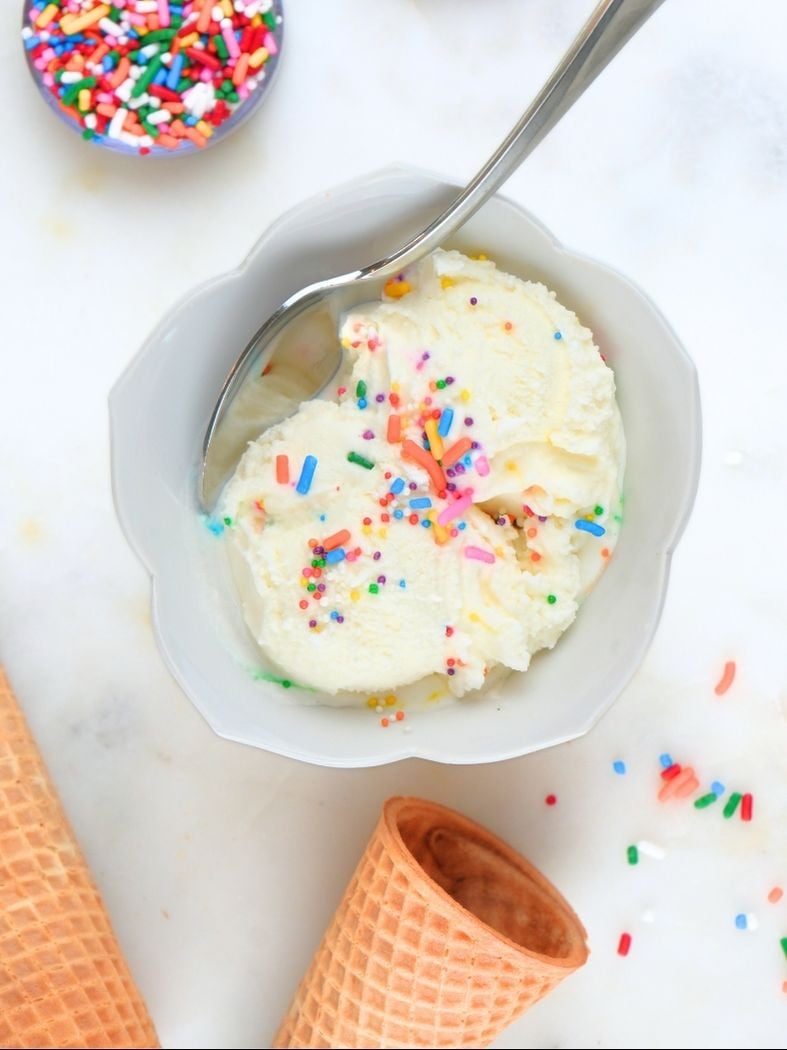
Customizable: Use this as a base for all of your favorite mix-ins and toppings (I like topping it with crumbled sourdough Cinnamon Toast Crunch).
Ingredients

Milk: I used whole milk. Reduced-fat milk will also work, but it will change the texture.
Cream: Heavy cream adds flavor and makes the ice cream ultra-creamy. You can swap the cream for more milk, but the ice cream will have an icy texture.
Sugar: Use regular granulated sugar.
Vanilla: I used homemade vanilla extract, but store-bought works just fine.
Get the full list of ingredients and measurements on the printable recipe card below.
Tools You Will Need
Ice Cream Maker: I recommend the Kumio ice cream maker because it doesn't need pre-freezing or prep, but you can use any ice cream maker that churns.
Step-by-Step Instructions
Follow the manufacturer’s instructions for prepping your ice cream maker. I use a Kumio ice cream maker, which doesn't require any pre-freezing or prep, but any ice cream machine that churns will work just fine.
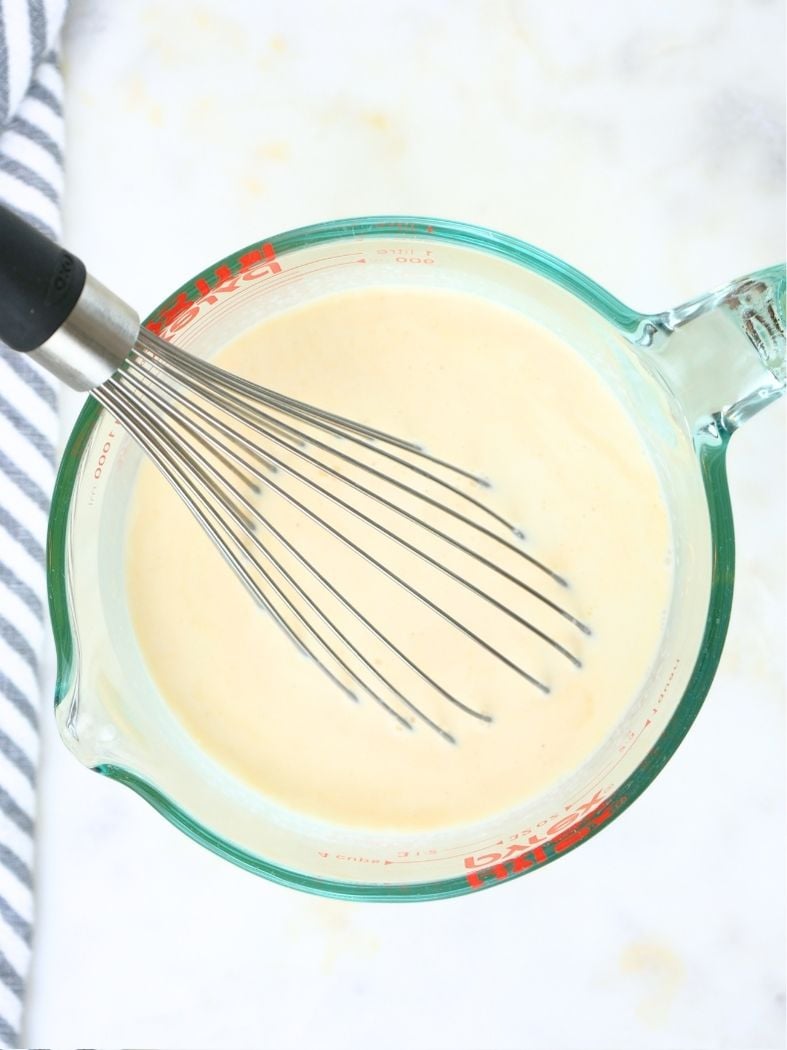
Step 1: In a large bowl, combine the milk, heavy cream, sugar, and vanilla. Whisk together until the sugar is dissolved.
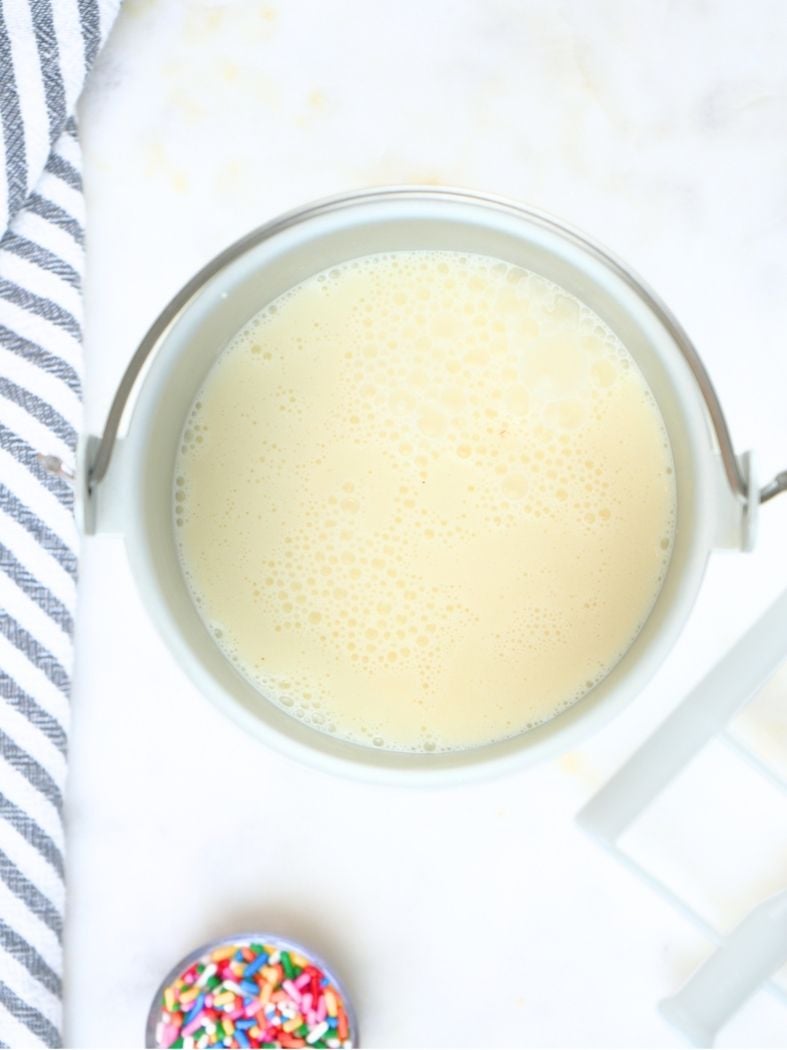
Step 2: Pour the mixture into your ice cream machine canister and follow the manufacturer’s instructions.
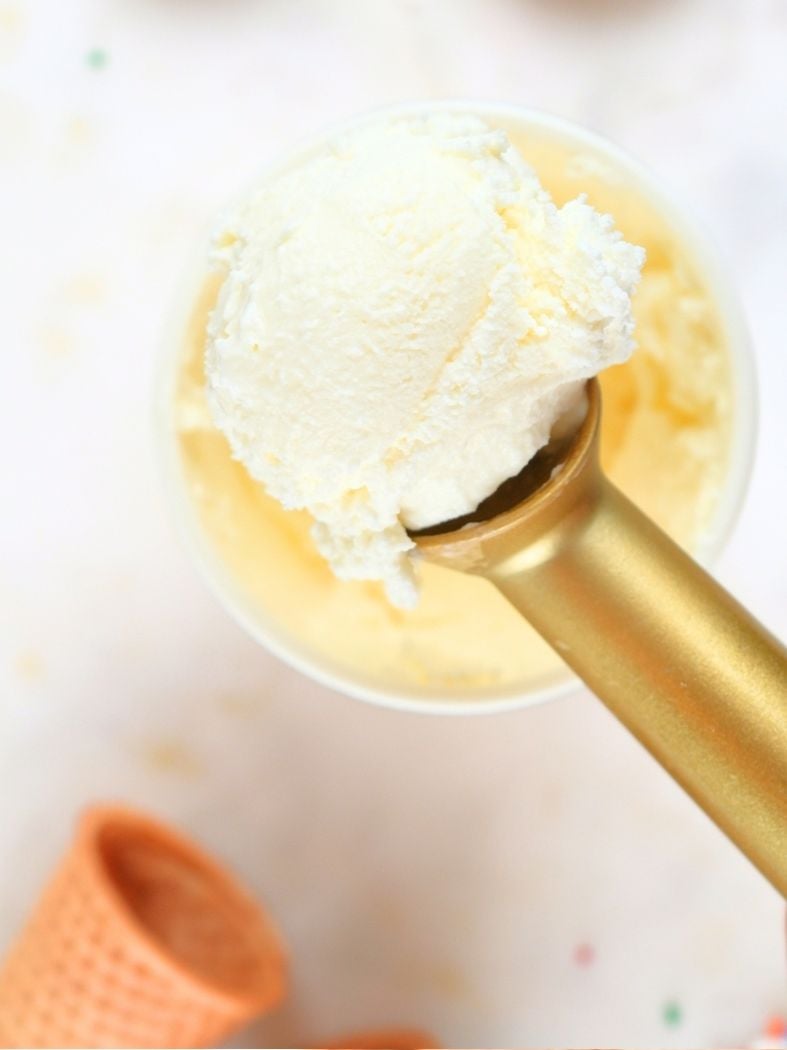
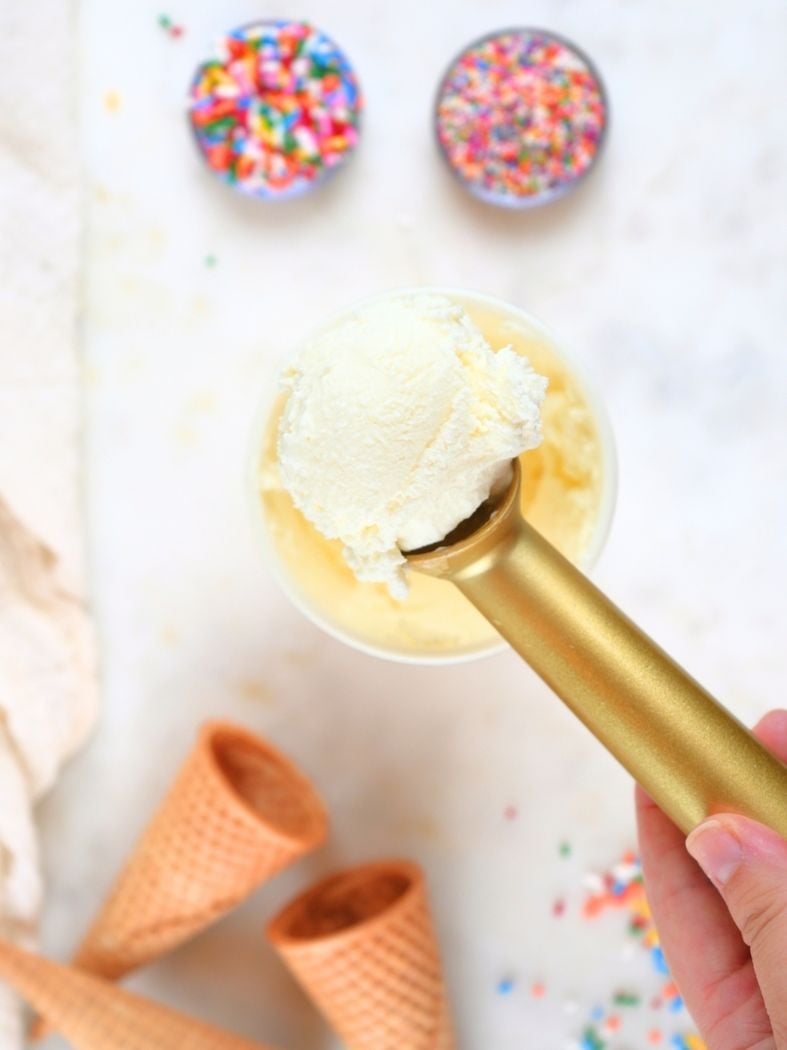
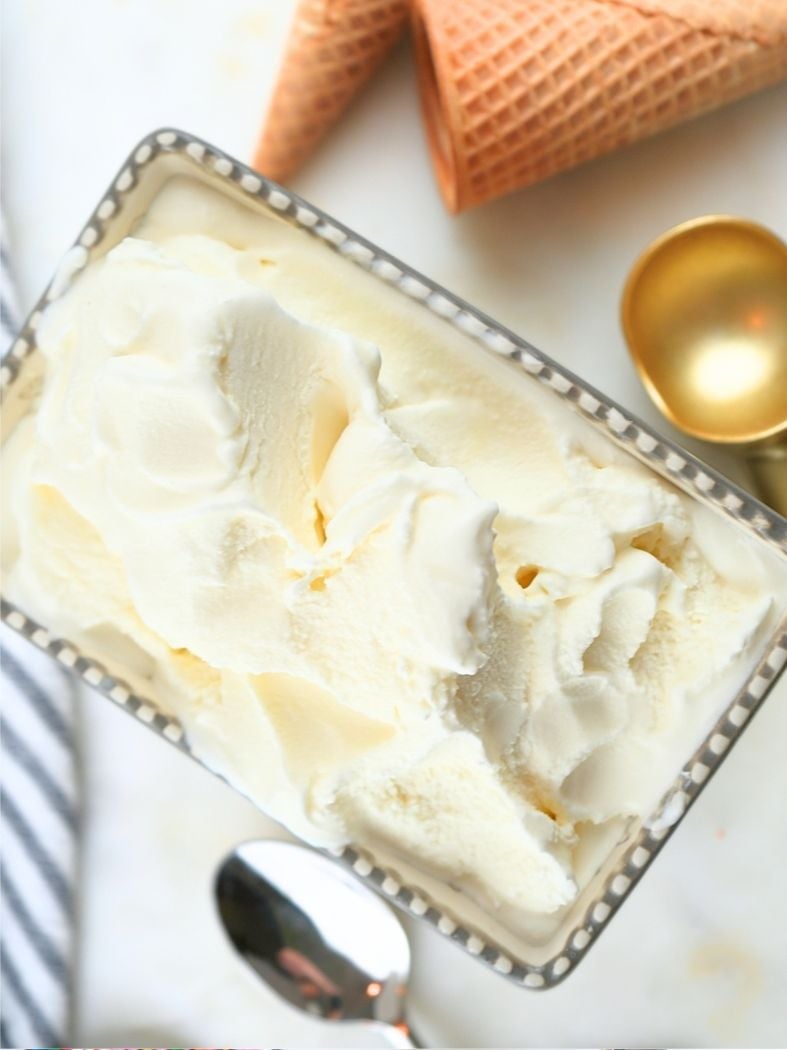
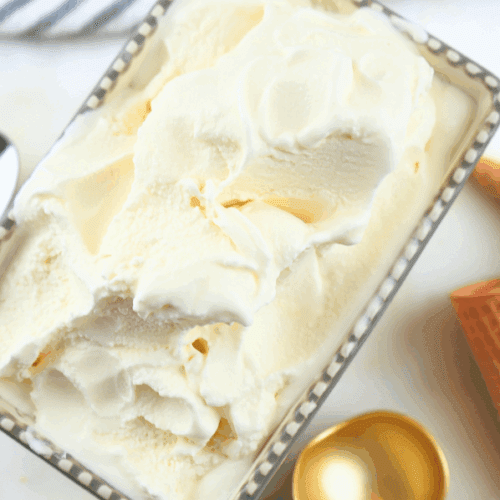
Step 3: Once finished, transfer the ice cream to a freezer-safe container. Freeze for at least 4 hours before serving.
Tips for Success
- If the sugar won’t dissolve in the milk-cream mixture, just let it sit for a few minutes before stirring again.
- If possible, I recommend using full-fat dairy. Whole milk and heavy cream give the ice cream its rich, creamy texture.
- If you prefer soft ice cream, you can skip freezing it after churning. But letting it freeze for a few hours will make it scoopable.
- Add mix-ins at the end. Stir in chocolate chips, fruit, or cookie chunks just before transferring to your freezer container.
- Homemade ice cream doesn't last as long as store-bought. Enjoy it within 1-2 weeks for the best texture.
Storing
- Homemade vanilla ice cream will keep in the freezer for about 1 to 2 weeks, though it's best enjoyed within the first few days for the creamiest texture.
- To help prevent ice crystals from forming, press a piece of parchment paper or plastic wrap directly on the surface before sealing the container.
- The best containers for homemade ice cream are shallow, airtight containers, such as a metal loaf pan or reusable pint containers with tight-fitting lids.
How To Serve
Of course, vanilla ice cream is good on just about any dessert or on its own, but here are a few ideas:
Cobbler and Pie: Homemade vanilla ice cream pairs perfectly with sourdough peach cobbler, peach pie, or any dessert made with sourdough pie crust.
Cookies: Add a scoop between two einkorn chocolate chip cookies or on sourdough London Fog cookies for a spring treat . Or for an easy dessert, scoop it on top of a sourdough skillet cookie.
Floats: A scoop to root beer or other soda for an old-fashioned ice cream float. Don’t forget the whipped cream!
Brownies: A warm brownie with vanilla ice cream is a classic. I like to make these sourdough Valentine’s Day brownies but use seasonal sprinkles.
Variations
Chocolate Chip: Stir mini chocolate chips or chopped dark chocolate into the churned ice cream just before freezing.
Strawberry Swirl: Gently fold in a few spoonfuls of strawberry jam for a ribbon of fruity flavor.
Mint Chocolate Chip: Add a splash of peppermint extract and fold in chopped chocolate or mini chips.
Cinnamon or Chai: Mix ground cinnamon or a pinch of chai spice blend directly into the base before churning.
FAQs
Yes! Pour the mixture into a freezer-safe container, then freeze it for 30 minutes. Stir vigorously (or use a hand mixer) every 30-45 minutes for approximately 3-4 hours, until the mixture is frozen and creamy.
It won't be quite as airy as churned ice cream, but it still tastes delicious.
I have not tested this. However, you can generally use full-fat coconut milk or a blend of oat milk and plant-based cream.
The flavor and texture will be different than traditional dairy ice cream. It will still be creamy, just not quite as rich.
If your ice cream feels greasy or coats your mouth too much, it may be due to over-churning or using ultra-high-fat cream.
Stick with heavy cream, not whipping cream, and stop churning as soon as it reaches a soft-serve consistency.
Homemade ice cream can become icy if it's not churned for long enough or if it freezes too slowly. Make sure your base is well-chilled before churning, and use a shallow container to help it freeze faster and more evenly.
It can also have an icy texture if your ingredients have a high water content, such as reduced-fat dairy, for example.
A little, yes. Sugar doesn't just sweeten the ice cream. It also contributes to the texture.
Reducing it too much can make the ice cream icy or hard, but you can still achieve good results by cutting back a few tablespoons.
Let's Connect!
If you tried this recipe and loved it, leave a comment or review below.
Also, don't forget to pin this post and follow Moon + Magnolia on Pinterest. You can save all my recipes on your boards and keep up with the latest happenings!
Share your creations on Instagram and tag @moon_and_magnolia!

Homemade Vanilla Ice Cream (No Egg)
Equipment
Ingredients
- 1 1/3 cups whole milk
- 1 cup heavy cream
- 3/4 cup granulated sugar
- 1 tablespoon vanilla extract
Instructions
- Follow the manufacturer's instructions for prepping your ice cream maker. I use a Kumio ice cream maker, which doesn't require any pre-freezing or prep, but any ice cream machine that churns will work just fine.
- In a large bowl, combine the milk, heavy cream, sugar, and vanilla. Whisk together until the sugar is dissolved.1 1/3 cups (325 g) whole milk, 1 cup (238 g) heavy cream, 3/4 cup (150 g) granulated sugar, 1 tablespoon (13 g) vanilla extract
- Pour the mixture into your ice cream machine canister and follow the manufacturer's instructions.
- Once finished, transfer the ice cream to a freezer-safe container. Freeze for at least 4 hours before serving.
Notes
- If the sugar won't dissolve in the milk-cream mixture, just let it sit for a few minutes before stirring again.
- If possible, I recommend using full-fat dairy. Whole milk and heavy cream give the ice cream its rich, creamy texture.
- If you prefer soft ice cream, you can skip freezing it after churning. But letting it freeze for a few hours will make it scoopable.
- Add mix-ins at the end. Stir in chocolate chips, fruit, or cookie chunks just before transferring to your freezer container.
- Homemade ice cream doesn't last as long as store-bought. Enjoy it within 1-2 weeks for the best texture.
Nutrition
Nutrition information is auto-calculated and may not reflect your final product. Please verify independently if needed.


This is our go-to ice cream, especially when we want a quick treat. I freeze most it overnight so its scoopable. But we usually eat some right out of the ice cream machine, too.